82
Shooting with Natural Color Tones (White Balance)
When you take pictures under a range of different light sources, you can use the white
balance (see “Glossary” p.198) setting to obtain more natural-looking colors.
POIN
• If the stored white balance setting is unsuitable, you can use presets to manually
set the white balance.
ATTENTION
• If you use a setting other than [AUTO] and the selected setting does not match
the light source, the color tones may appear unnatural.
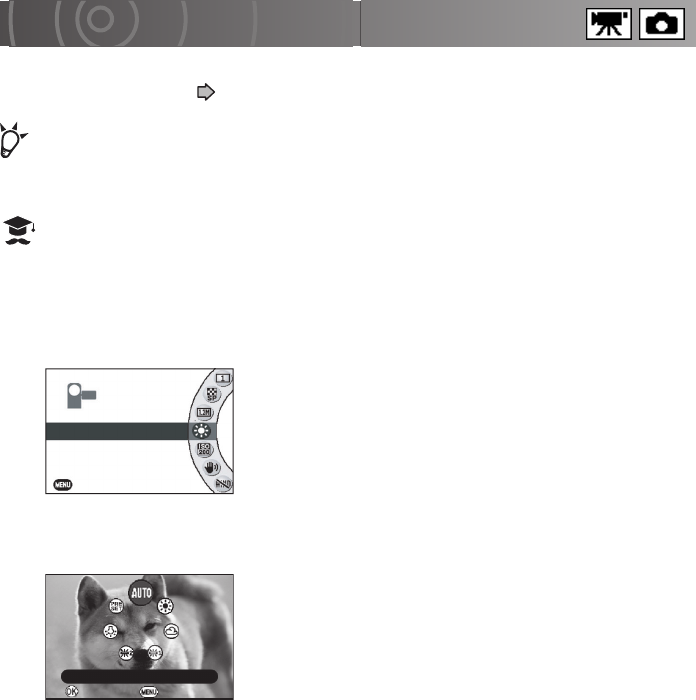
1
From the recording menu, use the jog dial to select
[WHITE BALANCE] and press the OK button.
2
Use the jog dial to select the white balance and press the
OK button.
If you selected [PRESET], proceed to “Overwriting preset
data” or “Using preset data”. If you selected another
setting, the camera reverts to recording mode.
To cancel the setting, press the MENU button.
AUTO : Automatic adjustment
SUNLIGHT : For recording in sunlight
CLOUD : For recording under cloudy skies
FLUORESCENT LIGHT 1
: For recording under daylight fluorescent lights (fluorescent lights with
a bluish cast)
FLUORESCENT LIGHT 2
: For recording under neutral fluorescent lights (fluorescent lights with
a reddish cast)
INCANDESCENT LAMP
: For recording under incandescent lights
PRESET : Presets (using data stored by the user)
VIDEO QUALITY
STILL IMAGE SIZE
WHITE BALANCE
ISO SENSITIVITY
SUNLIGHT
IMAGE STABILIZATION
EXIT
■ RECORDING MENU
OK CANCEL
AUTO
