


47
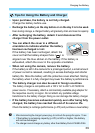
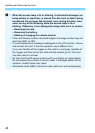
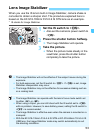
When you turn on the power for the first time or if the date/time/zone are
reset, the date/time/zone setting screen will appear. Follow the steps
below, making sure to set the time zone first. Set the camera to the time
zone in which you currently live so that, when you travel, you can simply
change the setting to the correct time zone for your destination and the
camera will automatically adjust the date/time.
Note that the date/time appended to recorded images will be based
on this date/time setting. Be sure to set the correct date/time.
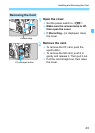
1
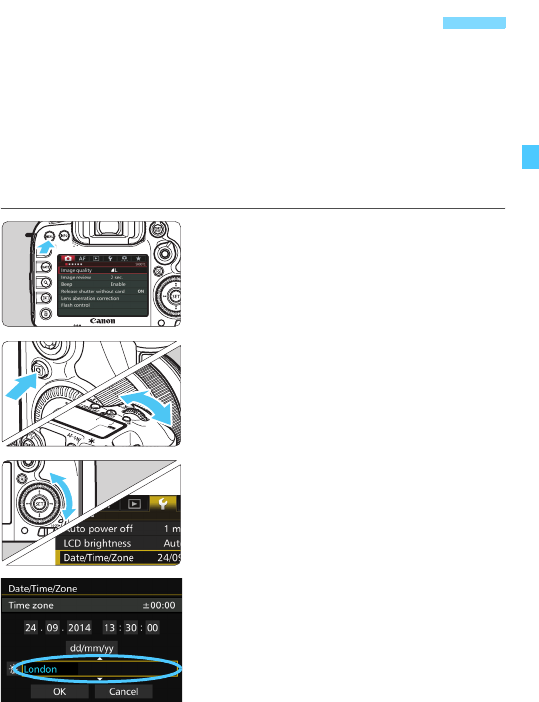
Display the menu screen.
Press the <M> button to display
the menu screen.
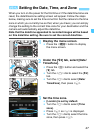
2
Under the [52] tab, select [Date/
Time/Zone].
Press the <Q> button and select the
[5] tab.
Turn the <6> dial to select the [52]
tab.
Turn the <5> dial to select [Date/
Time/Zone], then press <0>.
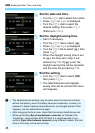
3
Set the time zone.
[London] is set by default.
Turn the <5> dial to select [Time
zone].
Press <0> so <r> is displayed.
Turn the <5> dial to select the time
zone, then press <0>.
3 Setting the Date, Time, and Zone