


62
Photos
Refer to this chapter for details on shooting photos – from capturing
and playing back images to printing them.
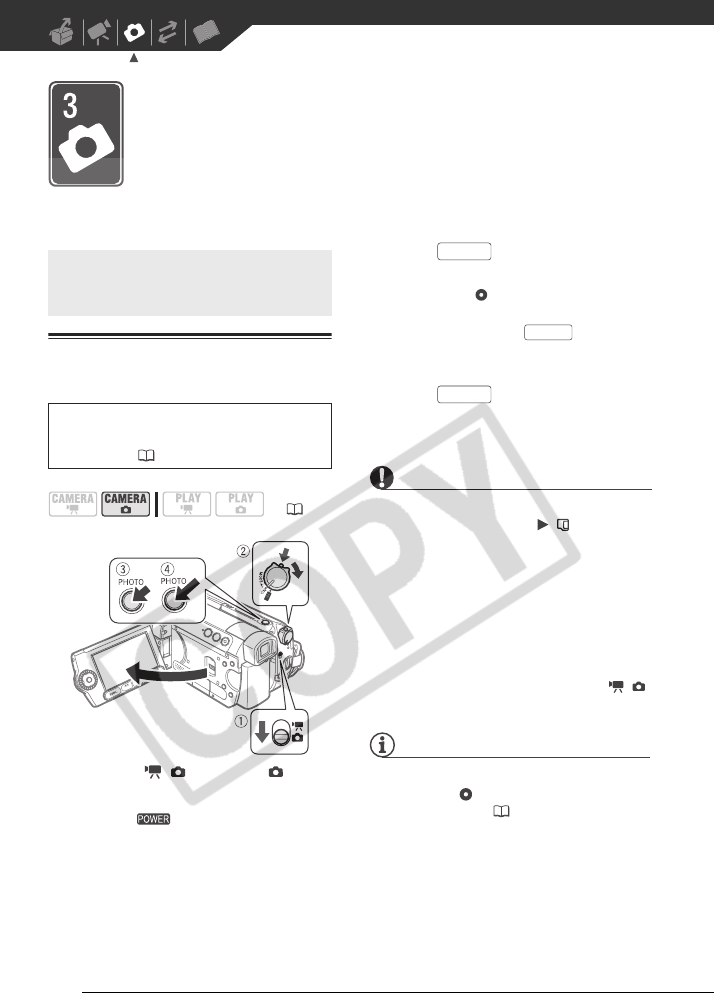
Taking Photos
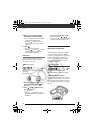
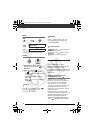
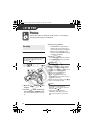
1 Move the / switch to (Still
images).
2 Turn the switch to ON to set
the camcorder in CAMERA mode.
The red CAMERA indicator will turn
on.
3 Press halfway.
• Once the focus is automatically
adjusted, will turn green and
one or more AF frames will appear.
• When you press on the
wireless controller, the still image is
recorded immediately.
4 Press fully.
The CARD access indicator will flash
as the still image is being recorded.
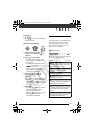
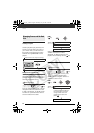
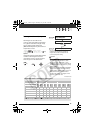
IMPORTANT
Observe the following precautions while
the card access display ( ) appears
on screen, and when the CARD access
indicator is on or flashing. Failing to do so
may result in permanent data loss.
- Do not subject the camcorder to
vibrations or strong impacts.
- Do not remove the memory card.
- Do not disconnect the power source or
turn off the camcorder.
- Do not change the position of the /
switch or the operating mode.
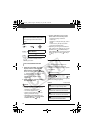
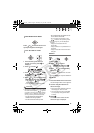
NOTES
• If the subject is not suitable for
autofocus, turns yellow. Adjust the
focus manually ( 53).
• When the subject is too bright,
“OVEREXP.” starts flashing. In such
case, use the optional FS-43U II ND
filter.
Recording
Before using a memory card for the first
time, be sure to initialize it with this
camcorder ( 73).
( 21)
PHOTO
PHOTO
PHOTO
D122_PAL_E.book Page 62 Thursday, July 19, 2007 6:54 PM