26 PIXIS System Manual Version 2.C
Software Installation
WinX
Notes:
1. Before proceeding, please check to see if your computer supports USB 2.0. If it does
not, install a USB 2.0 interface card. Follow the manufacturer’s instructions.
2. Leave the USB cable disconnected from the camera until you have installed
WinView/32 or WinSpec/32.
The following installation is performed via the WinView/32 or WinSpec/32 software
installation CD.
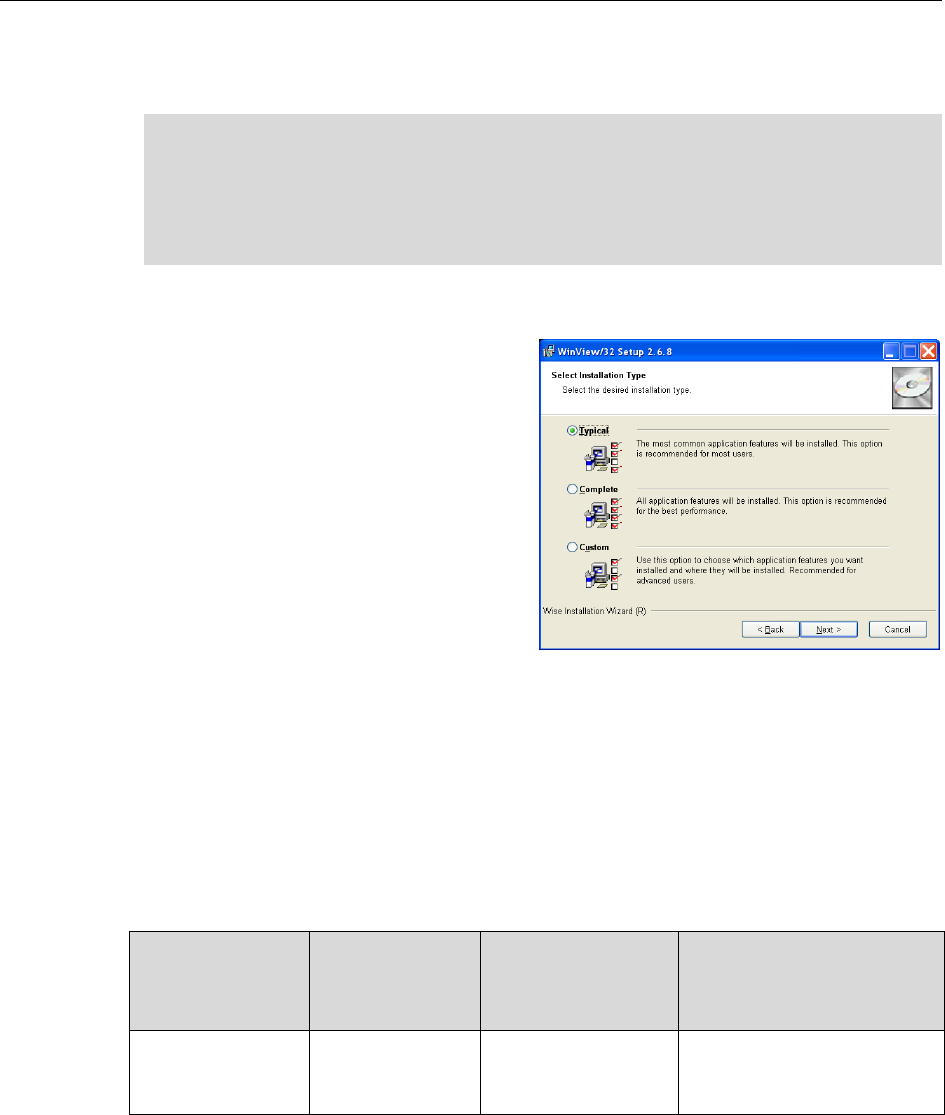
1. On the Select Installation Type
dialog (see Figure 6), click on
Typical radio button to install the
required drivers and the most
commonly installed program files.
Select the Custom radio button if
you would like to choose among the
available program files or do not want
to install the drivers. Complete
installs all of the application features.
The required INF, DLL, and USB
driver files will be placed in the
appropriate "Windows" directories
(see Table 1 for locations).
2. Make sure the camera is connected to the host computer and that the camera power
supply is turned on.
3. Reboot the computer.
4. At bootup, Windows will detect the Princeton Instruments USB2 Interface hardware
in the PIXIS. You may be prompted to enter the directory path(s) for the
apausbprop.dll and/or the apausb.sys file(s), either by keyboard entry or by using the
browse function.
USB INF Filename
Located in
"Windows"/INF
directory*
USB Properties DLL
Located in
"Windows"/System3
2 directory
USB Device Driver Name
Located in
"Windows"/System32/Drivers
directory
Windows
®
XP,
Vista (32-bit),
Windows 7 (32-bit)
rsusb2k.inf (in
WINDOWS/INF,
for example)
apausbprop.dll (in
WINDOWS/System3
2, for example)
apausb.sys (in WINDOWS/
System32/Drivers, for
example)
* The INF directory may be hidden.
Table 1. USB Driver Files and Locations
Figure 6. WinView Installation:
Select Installation Type dialog


