30 PIXIS System Manual Version 2.C
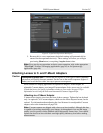
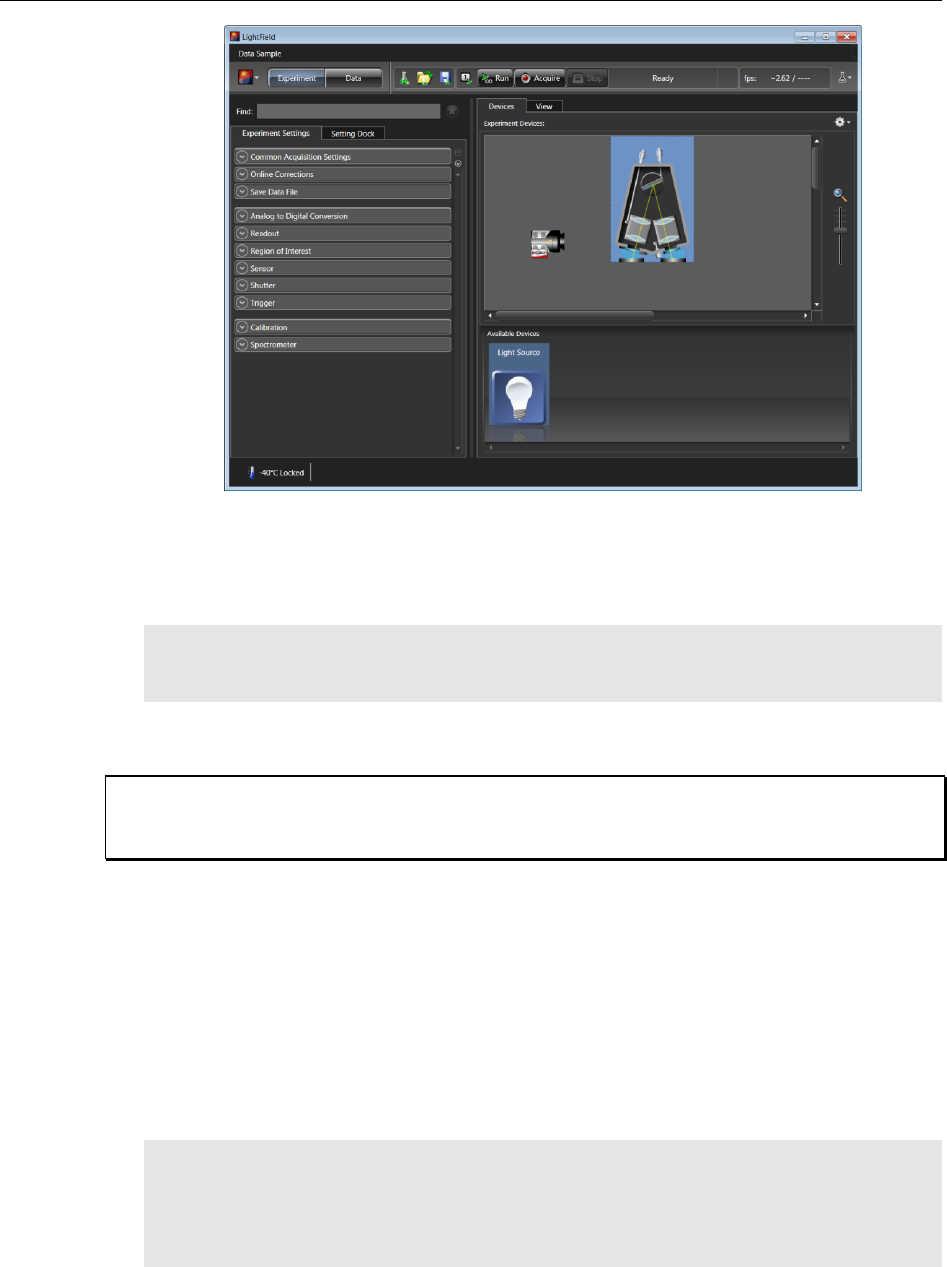
Figure 9. LightField Experiment Workspace
5. Because this is a new experiment, the default settings will automatically be
entered for the experiment device(s). These settings will allow you to begin
previewing (Run button) or acquiring (Acquire button) data.
Note: For a step-by-step procedure on basic system operation, refer to the appropriate
"First Light" sections: for Imaging applications (page 45) or for Spectroscopy
applications (page 48).
Attaching Lenses to C- and F-Mount Adapters
Overexposure protection: Cameras that are exposed to room light or other continuous
light sources will quickly become saturated. Set the lens to the smallest aperture (highest f-
number) and cover the lens with a lens cap to prevent overexposure.
PIXIS cameras for imaging applications incorporate an integral C-mount adapter, an
adjustable C-mount adapter, or an integral F-mount adapter. Other mounts may be available.
Consult the factory for specific information relating to your needs. See page 132 for
Information on accessing the Princeton Instruments Customer Support Dept.
Attaching to a C-Mount Adapter
C-mount lenses simply screw into the front of these cameras. Tighten the lens by hand
only. An optional C-to-F-mount adapter, which uses the Nikon bayonet format, can be
ordered. For information about adjusting the focal distance for an adjustable C-mount
adapter, refer to the instructions on page 109.
Note: C-mount cameras are shipped with a dust cover lens installed. Although this lens
is capable of providing surprisingly good images, its throughput is low and the image
quality is not as good as can be obtained with a high-quality camera lens. Users should
replace the dust-cover lens with their own high-quality laboratory lens before making
measurements.
Caution


