50 PIXIS System Manual Version 2.C
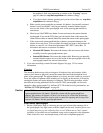
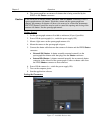
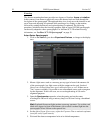
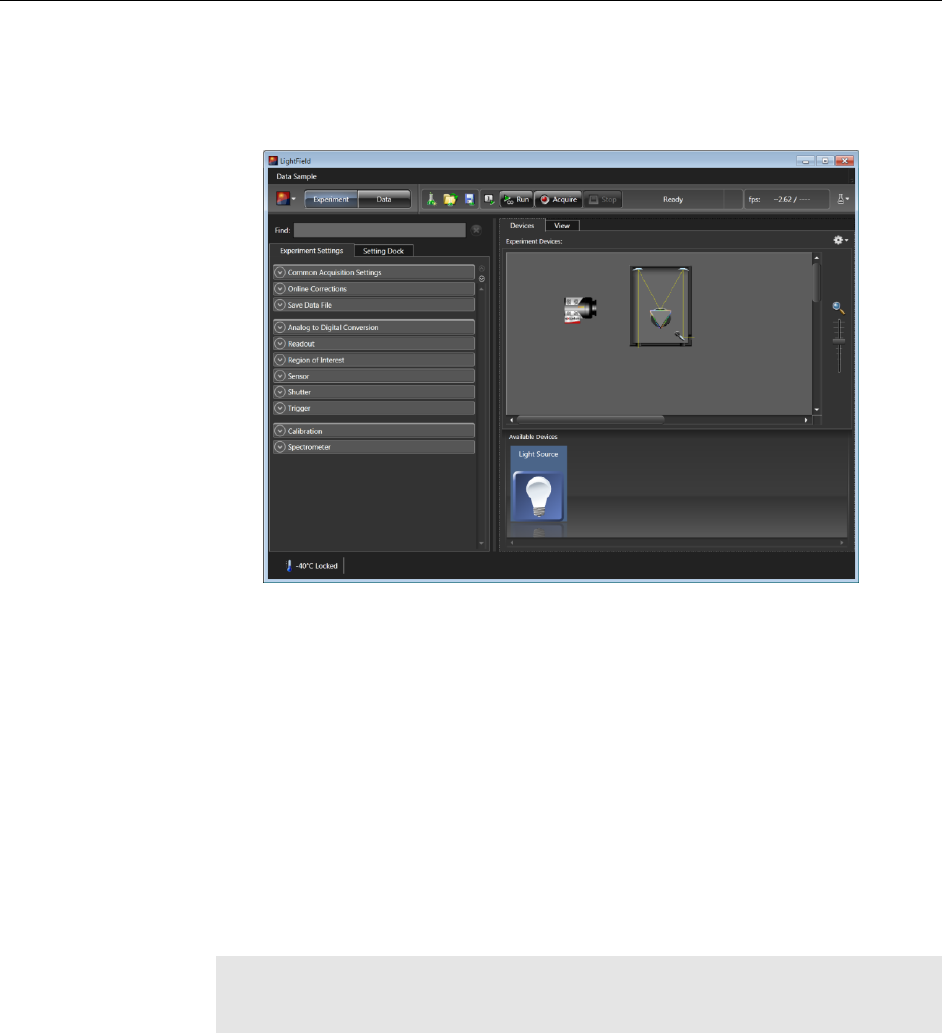
1. After LightField opens, you should see icons representing your camera and the
spectrograph in the Available Devices area. In the figure above, the camera is a
PIXIS:400BR eXcelon
®
and the spectrograph is an SP-2356.
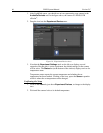
2. Drag the icons into the Experiment Devices area.
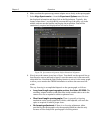
Figure 18. Experiment Devices Area
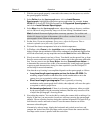
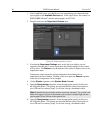
3. Note that the Experiment Settings stack on the left now displays several
expanders. Because this is a new experiment, the default settings for the camera
will be active. The Status bar (at the bottom of the window) displays an icon for
temperature status.
Temperature status reports the current temperature and whether the set
temperature has been reached. Clicking on the icon opens the Sensor expander
where the set temperature can be changed.
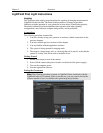
4. On the Shutter expander, select Shutter Mode: Normal.
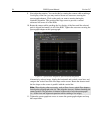
5. Open the Spectrometer expander, select the appropriate grating. In this case,
the 300g/mm (Blaze: 750) grating was selected and the center wavelength was
set to 500 nm for a mercury lamp. Use 0.0 nm if using a broadband source.
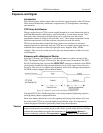
Hint: Overhead fluorescent lights produce a mercury spectrum. Use a white card
tilted at 45 degrees in front of the entrance slit to reflect overhead light into the
spectrograph. Select 500 nm as the spectral line.
6. Open the Spectrometer expander, select the appropriate grating. In this case,
the 300g/mm (Blaze: 750) grating was selected and the center wavelength was
set to 500 nm for a mercury lamp. Use 0.0 nm if using a broadband source.


