Map Editor
98
Link Setting
1. Click (Link) on the toolbar and place it on the screen linked with a sub-map.
2. The Link Map box appears. Select the individual link boxes by using the
Ctrl key on the keyboard, and then adjust the size and position of the link box
using a mouse, a keyboard or the icons shown below.
Interval adjustment: Equalizes the distance between three or more
selected boxes.
Size adjustment: Equalizes the size of two or more selected boxes.
Clicking the arrow keys while holding the Shift key on the keyboard
changes the size of the selected boxes.
Position adjustment: Arranges two or more selected boxes towards one
direction or towards the center. Clicking the arrow keys while holding the
Ctrl key on a keyboard changes the position of selected boxes.
Cut, Copy, Paste: Cuts, copies or pastes the link box.
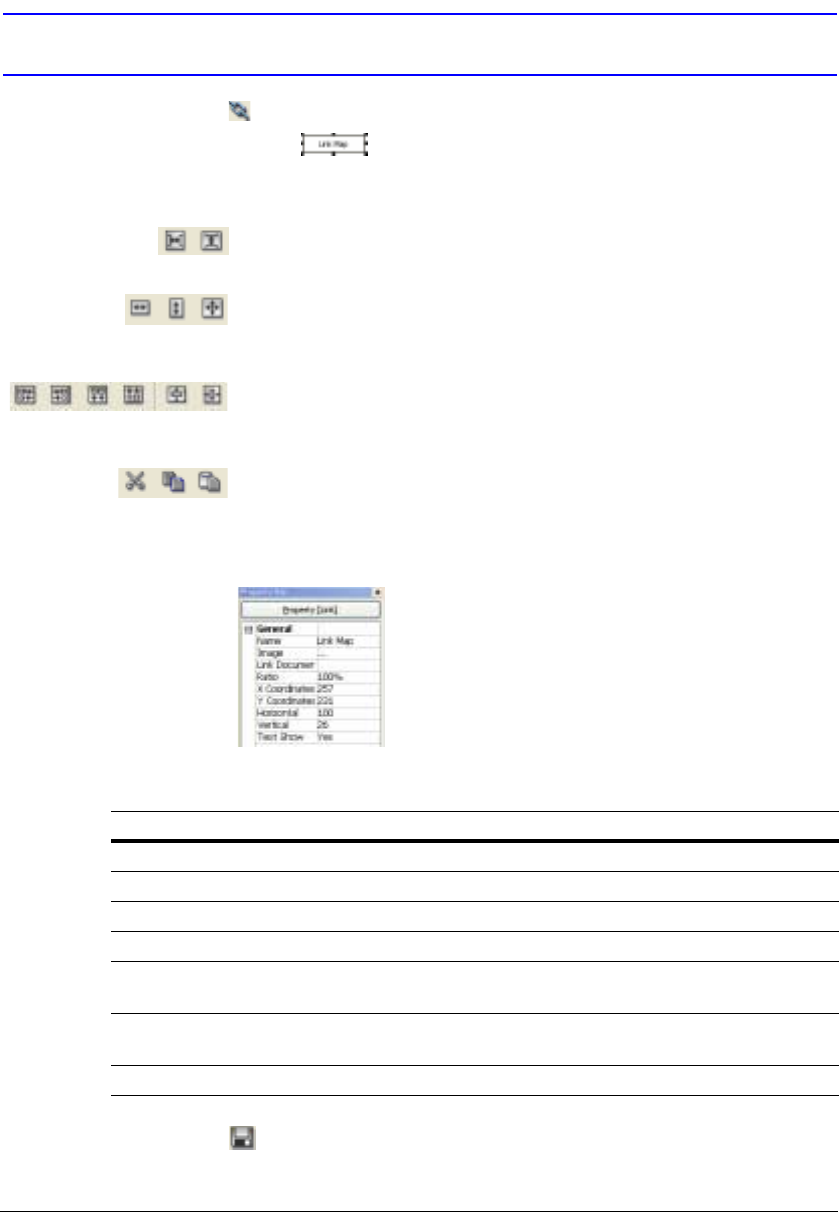
3. Go to the Property [Link] tab and set the properties of the selected link box.
Figure C-13 Property [Link] Tab
4. Click (Save) on the toolbar to save the map.
Table C-2 Property Tab Device Information
Property Description
Name Enter a name for the link box.
Image Double-click the field and select an image to insert in the link box.
Link Document Double-click the field and select a map to be linked with the link box.
Ratio Adjust the image size within the link box.
X Coordinates / Y
Coordinates
Adjust the position of the link box on the screen by clicking each field
and changing the numbers.
Horizontal / Vertical Adjust the link box size by clicking each field and changing the
numbers.
Text Show Select Yes to display the name of the link box on the selected image.


