


13. FEATURES OF THE CAMERA SECTION
95
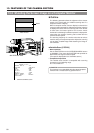
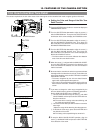
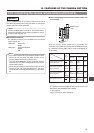
Set the POWER switch of the camera remote control unit to
ON. About 30 seconds after turning the power on, the camera
remote control unit will be operative.
■ Unavailable functions
The following functions are unavailable from the camera
remote control unit.
• RM-P200 : AUTO SET
NEGA
• RM-P300 : AUTO SET/BLACK
NEGA
ABL
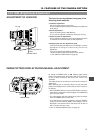
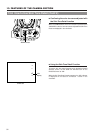
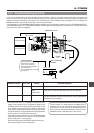
13-8 Connecting the camera remote control unit (Cont’d)
Operation
After the POWER switch is turned on, the camera remote
control unit takes about 30 seconds to prepare for correct
communication with this unit.
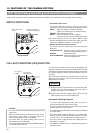
Memo:
• If the switch functions for this unit and the camera remote
control unit are the same, the switch function of the
camera remote control unit will have priority.
• The IRIS AUTO/MANUAL setting will be the camera
remote control unit switch setting regardless of the lens
section switch setting.
• When using the camera remote control unit with the local
remote control unit (RM-LP55/RM-LP57), the local
remote control unit settings will have priority. ☞ See page
93
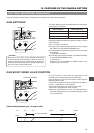
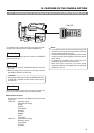
Memo:
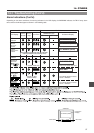
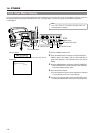
■ TALLY lamp display when the camera remote control unit
is connected.
LIGHT
ON
OFF
COUNTER
AUDIO SELECT
MANUAL
AUTO
CH-1 CH-2 CH-1 CH-2
REAR
FRONT
RM
AUDIO INPUT
MODE
CTL
TC
UB
VTR
ON
OFF
INCOM
MIC
INCOM
MIC
LEVEL
POWER
OFFRM
DC IN
/BATT.
CALL
CARBON
DYNAMIC
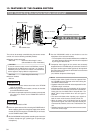
BACK TALLY
lamp
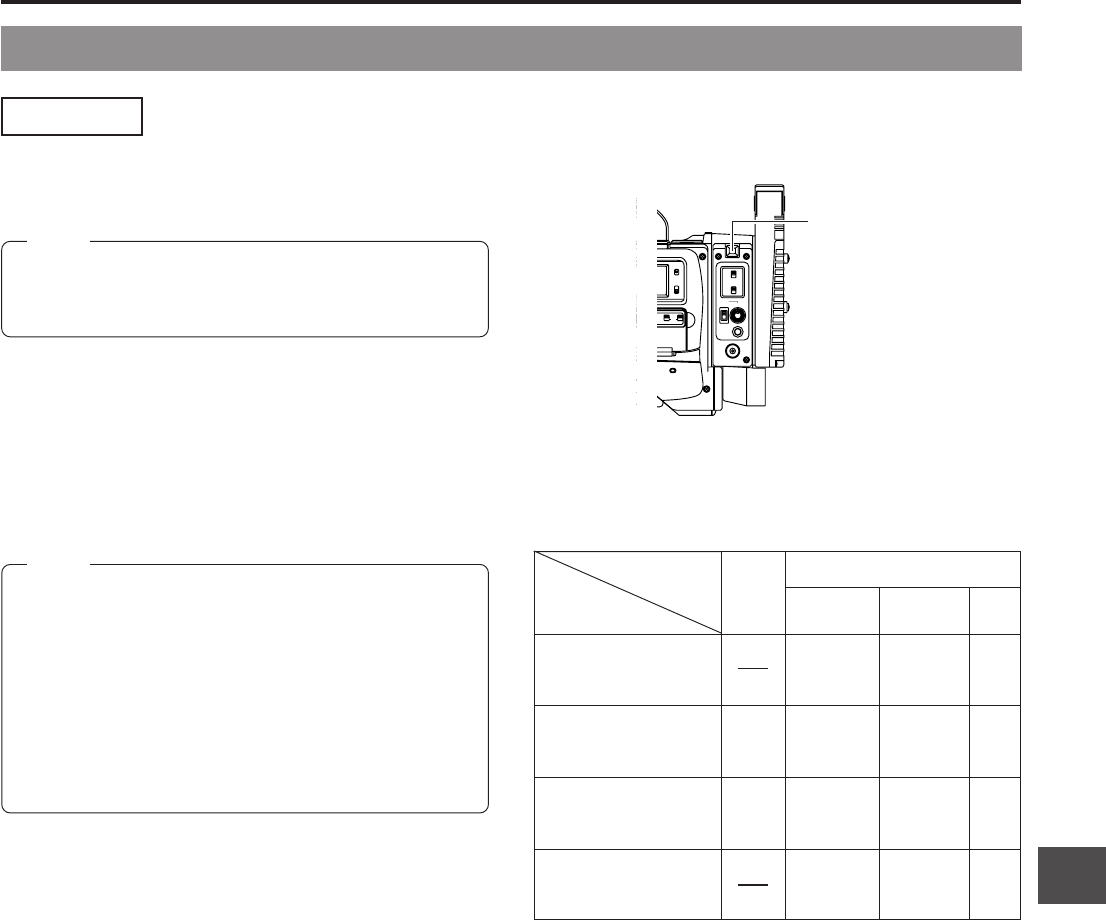
When the camera remote control unit is connected, the
viewfinder (VF) FRONT TALLY lamp, REC/ALARM lamp inside
the viewfinder and the BACK TALLY lamp are displayed as
shown below.
Preview signals of camera Green Green Off
remote control unit light on light on
TALLY signals of camera Red Red Red Off
remote control unit light on light on light on
CALL signals of camera Red Red Red Off
remote control unit light light flashing light flashing
flashing
CALL signals of this unit Red Red Off
light flashing light flashing
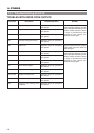
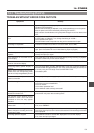
* The display method for the BACK TALLY lamp is set in VTR
Setup menu No. 082 BACK TALLY MODE.
☞ See page 74
• Lamps are off for all other conditions.
BACK TALLY
BLINK* ON* OFF*
VF
TALLY