


25
Turning On the Power
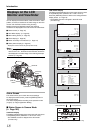
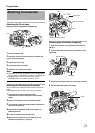
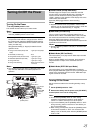
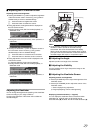
1
Set the [POWER] switch to
A
ON
B
.
The camera recorder starts up in Camera mode.
Memo :
● The camera recorder always start up in Camera mode
when the [POWER] switch is set to AONB.
●
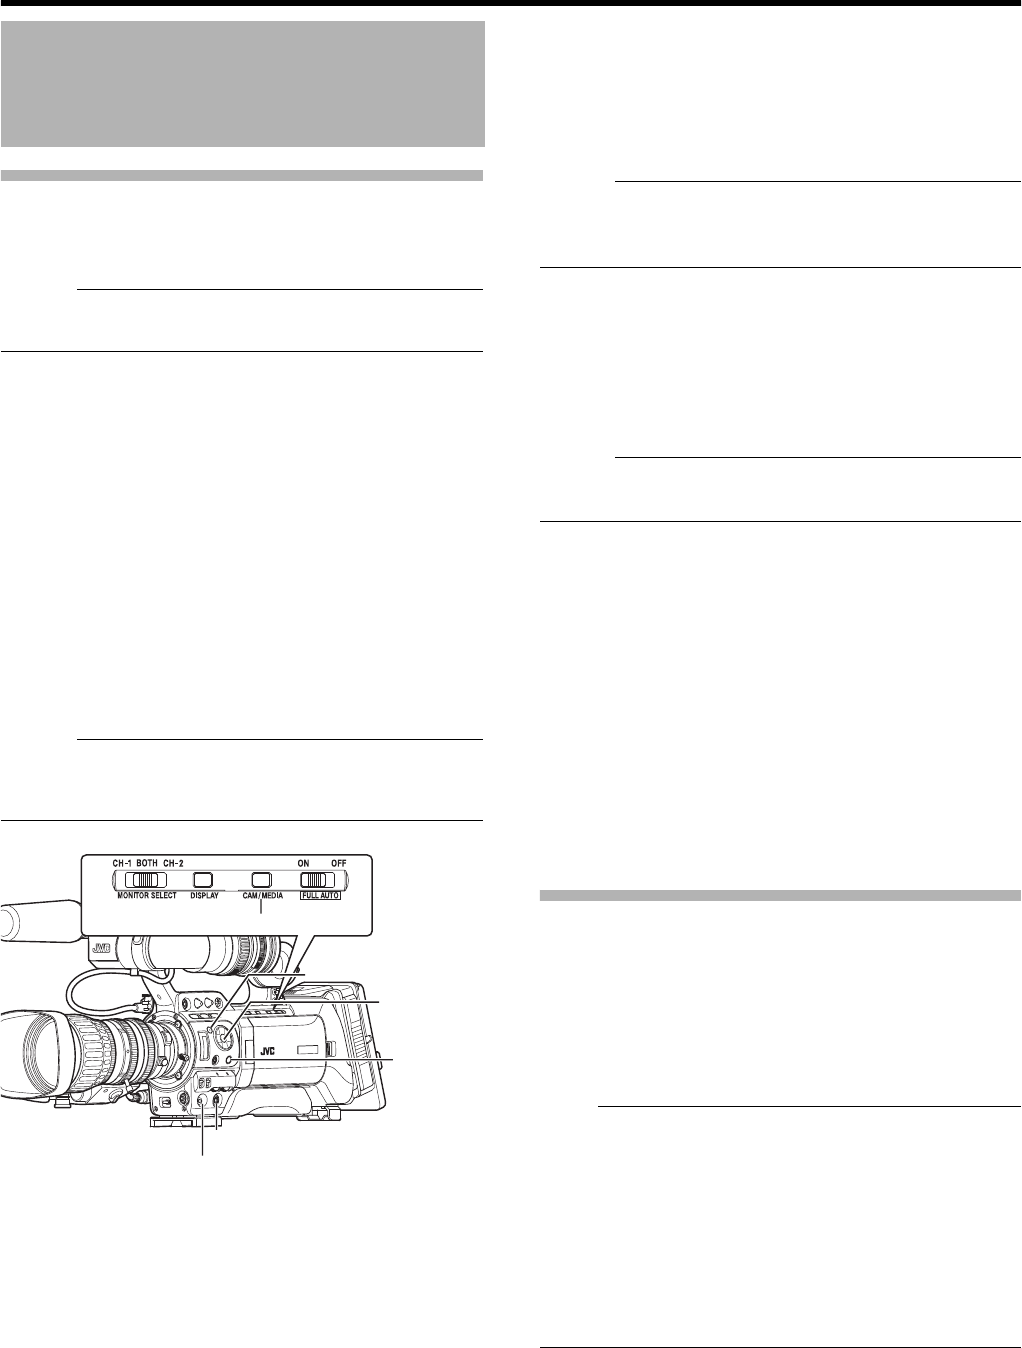
Press the [CAM/MEDIA] button to switch to a different mode.
The operation mode indicator changes as below. While in
the Camera mode, setting the [GENLOCK/AUX] selection
switch to
A
AUX
B
switches the camera recorder to the AUX
mode. (U model only)
See [Operation Mode] (A Page 8) for details of each
operation mode.
Memo :
● The camera recorder will switch to IEEE1394 Input mode
only when the IEEE1394-connected equipment is in
operation.
Ⅵ Camera Mode (Except AUX Mode)
Camera images are output on the viewfinder and LCD
monitor. When a recordable SDHC card is inserted, the
camera recorder enters the recording standby mode.
ASTBYB appears on the operation mode display area of the
LCD monitor and viewfinder.
Press the [REC] trigger button to start recording.
Memo :
●
Playback of SDHC card is not possible in Camera mode.
However, you can use the Clip Review function to check the
most recently recorded video clip. (
A
Page 56)
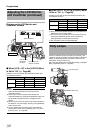
Ⅵ AUX Mode (U model only)
This is a mode for recording composite videos from an
external device. When a recordable SDHC card is inserted,
the camera recorder enters the recording standby mode.
Press the [REC] trigger button to start recording.
Composite videos from the external device are output to the
viewfinder and LCD monitor.
Memo :
●
[System Definition] is fixed at
A
SD (DV)
B
in the AUX mode.
(
A
Page 56)
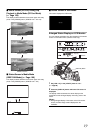
Ⅵ Media Mode (SD Card Mode)
This mode allows you to play back or delete clips recorded
on the SDHC card.
When a playable SDHC card is inserted, the thumbnail or
playback screen is output on the viewfinder and LCD
monitor.
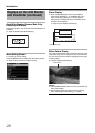
Ⅵ Media Mode (IEEE1394 Input Mode)
This mode allows you to check IEEE1394 input signals.
When playable IEEE1394 signals are input, input images are
output on the viewfinder and LCD monitor. IEEE1394 input
signals cannot be recorded.
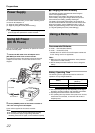
Turning Off the Power
Set the camera recorder to the recording standby or stop
mode.
1
Set the [POWER] switch to
A
OFF
B
.
2 Remove the battery and the power to the [DC INPUT]
terminal (when not in use for a long time).
Note :
● Do not set the [POWER] switch to AOFFB during
recording. Check that the operation mode display is
ASTBYB or ASTOPB before you turn off the power.
● If you have mistakenly set the [POWER] switch to AOFFB
during recording, wait for 5 seconds or more before you
turn on the power again.
● When turning off the power, first set the [POWER] switch
of the camera recorder to AOFFB. Do not remove the
battery or turn off the AC power while the [POWER] switch
is set to AONB.
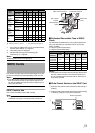
Turning On/Off the Power
●
During Camera mode (Except AUX
mode)
: Lights up in blue/purple
●
AUX Mode (U model only) : Blue
●
During Media mode (SD Card mode) : Lights up in green
●
Media Mode (IEEE1394 Input Mode)
: Lights up in orange
●
During USB mode : Lights up in orange
●
During mode switching : Blinks in the color of the
new mode
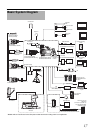
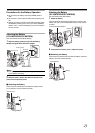
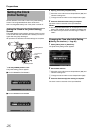
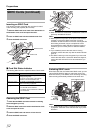
[POWER] Switch
[MENU] Button
Cross-Shaped
Button
(
JKH I)
Set Button (
R)
[CAM/MEDIA] Button
[REC] Button
[CANCEL]
Button