59
Note :
● Video and audio before the above mentioned time may not
be recorded after recording starts in the following cases.
● Immediately after power on
● Immediately after recording stops
● Immediately after switching from Media mode to
Camera mode
● Immediately after setting [Rec Mode]
● Immediately after the end of Clip Review
● Immediately after changing file format
● Immediately after changing video format
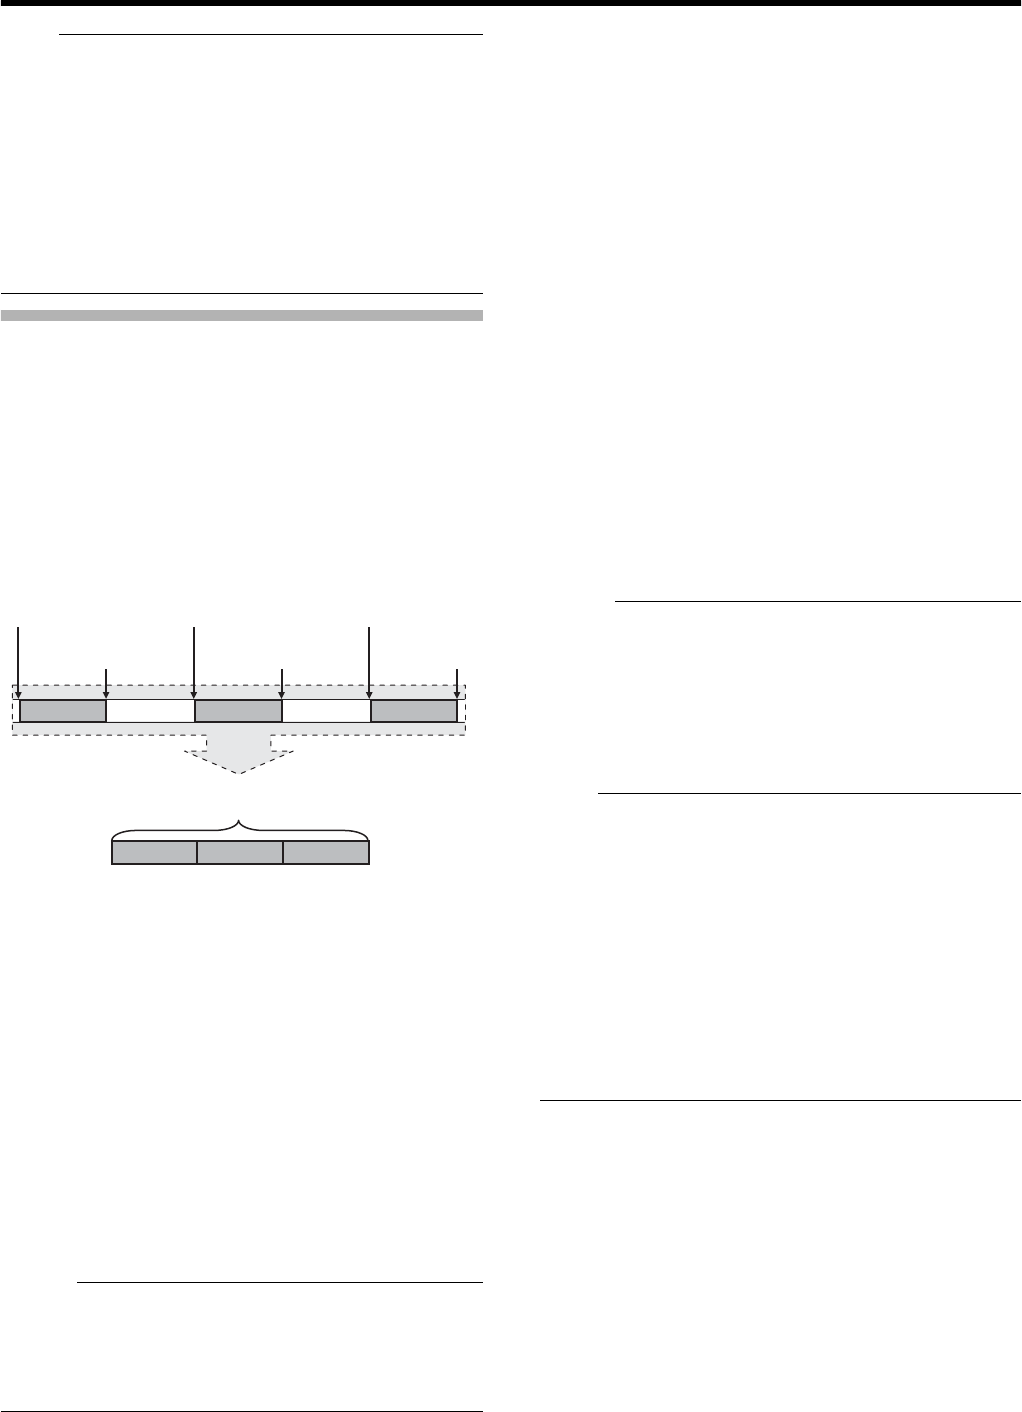
Clip Continuous Rec
In normal recording, when the recording stops, the image,
audio, and accompanying data from the start till the end of
the recording are recorded as one AclipB on the SDHC card.
This mode allows you to consolidate several rounds of Astart-
stop recordingB into one clip.
Example : In normal recording, three clips are generated as
Recording 1, Recording 2, and Recording 3.
However, recording in this mode generates only
one clip.
1
Set [Rec Mode] to
A
Clip Continuous
B
.
● Set [Main Menu] B [Record Set] B [Rec Mode] to
AClip ContinuousB. (A Page 76)
●
The status display changes from
A
STBY
B
B
A
STBY
C
B
.
2 Start recording. (Recording 1)
●
Press the [REC] button to start recording in Clip Continuous
mode.
● The status display changes from ASTBYCB B ARECCB
and the card slot status indicator lights up in red.
3 Pause recording.
●
Press the [REC] button again to pause recording. The display
changes from
A
REC
C
B
B
A
STBY
C
B
(yellow text).
● The card slot status indicator remains lighted in red.
Memo :
●
When the [CANCEL] button is pressed while the camera
recorder is paused (STBY
C
), the display changes from
A
STBY
C
B
(yellow text)
B
A
STBY
C
B
(blinking yellow text)
B
A
STBY
C
B
(white text). A
A
clip
B
is generated. The card slot
status indicator lights up in green.
4 Resume recording. (Recording 2)
●
Press the [REC] button again to resume recording. The
display changes from
A
STBY
C
B
(yellow text)
B
A
REC
C
B
.
● The card slot status indicator remains lighted in red.
5 Pause recording.
●
Press the [REC] button again to pause recording. The display
changes from
A
REC
C
B
B
A
STBY
C
B
(yellow text).
● The card slot status indicator remains lighted in red.
6 Resume recording. (Recording 3)
●
Press the [REC] button again to resume recording. The
display changes from
A
STBY
C
B
(yellow text)
B
A
REC
C
B
.
● The card slot status indicator remains lighted in red.
7 Press and hold the [REC] button.
●
Recording stops and the display changes from
A
REC
C
B
B
A
STBY
C
B
. A
A
clip
B
is generated.
● The card slot status indicator lights up in green.
8 Press the [REC] button again.
● The status display changes from ASTBYCB B ARECCB
and the card slot status indicator lights up in red.
● A new AclipB is generated from here.
Memo :
● The following operations cannot be performed while
recording is paused (STBYC, yellow text).
● Clip Review operation (A Page 56)
● Switching SDHC card slots
● Switching operation mode (A Page 8)
● Files are split into sizes of 4 GB (or 30 minutes)
regardless of the menu settings.
Note :
● Do not remove the SDHC card during recording (RECC,
red text) or recording pause (STBYC, yellow text).
● To remove the SDHC card in AClip ContinuousB mode,
press the [CANCEL] button, check that ASTBYCB (white
text) is displayed and the card slot status indicator is
lighted in green before you remove the card.
● When the SDHC card becomes full during recording,
recording stops and ASTOPCB is displayed.
● When the [POWER] switch is turned off during recording
or recording pause, recording stops and power is cut off
after a clip is generated.
● If the power is cut off due to low battery power, a proper
clip may not be generated.
Completed Clip
(Recorded video and audio)
Recording 1 Recording 2 Recording 3
Recording 1 Recording 2 Recording 3
Press [REC]
(Recording starts)
Press [REC]
(Recording pauses)
Press [REC]
(Recording resumes)
Press [REC]
(Recording pauses)
Press [REC]
(Recording stops)
Press [REC]
(Recording resumes)


