C1695M-B (11/08) 37
Basic DVR5100 Configuration
SYSTEM SETUP
If the Main menu is not already open, press the “M” key [or Menu ]. Click the Setup icon to access the System setup screens, where you
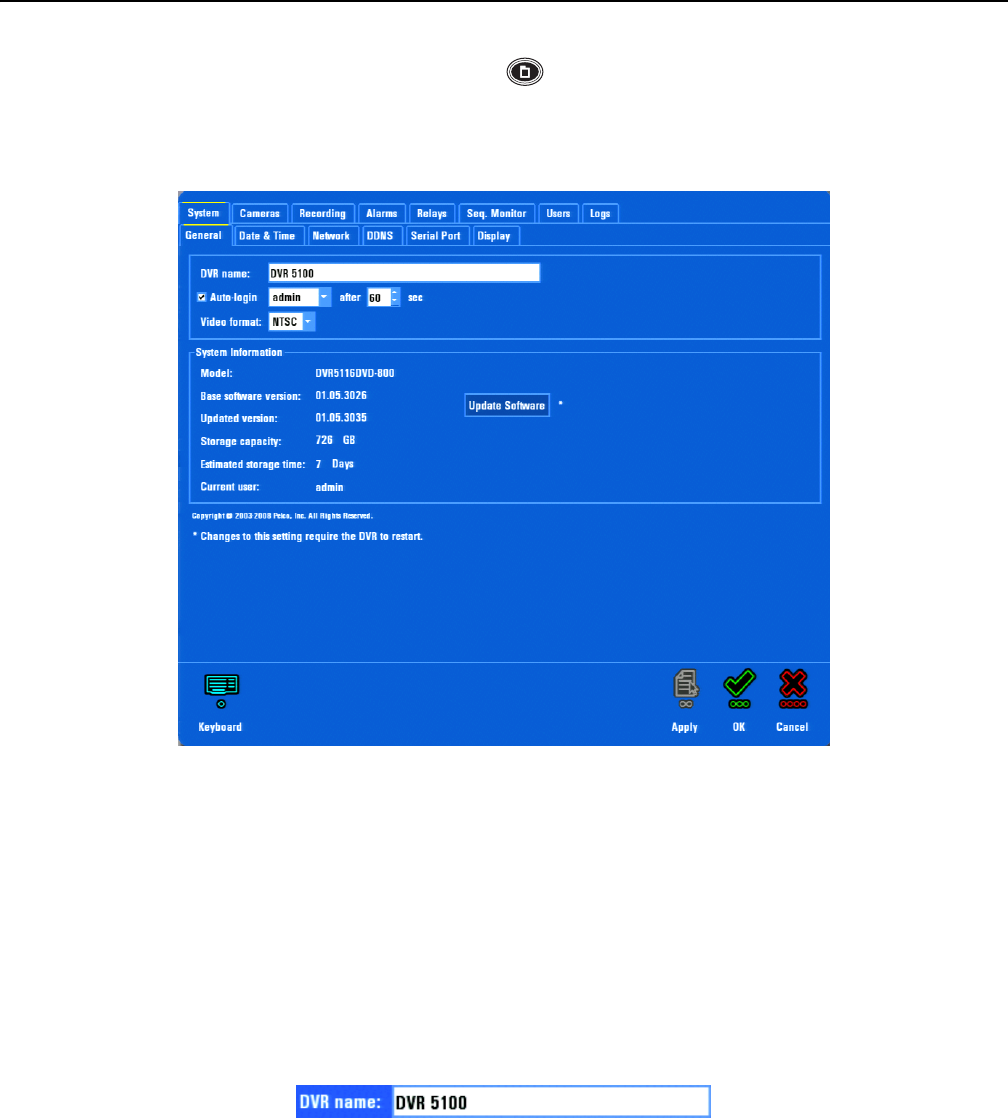
can program critical aspects of the DVR5100 (refer to Figure 34).
The General System screen provides a quick snapshot of critical system information, including software versions and storage capacities. Refer to
Table O on page 68 for additional general system and default settings.
Figure 34. General System Screen
NOTE: Each time you make changes, selecting Apply saves your changes and allows you to continue working with the settings on a page.
Selecting OK saves your changes and closes the screen. Selecting Cancel allows you to retain the original settings. The screen closes and the
DVR5100 main application window is displayed.
CONFIGURE GENERAL SETTINGS
To configure general settings:
1. If desired, click in the “DVR name” box and enter a user-friendly DVR name (refer to Figure 35). This name can be used for the Domain
Name System (DNS) and Dynamic DNS (DDNS) functions to identify one DVR from another when configured in an Endura Enabled
™
configuration. The default DVR name is DVR5100.
Figure 35. DVR Name Box
2. Enable or disable autologin (enabled by default). If you leave autologin enabled, select a user ID with limited access. Leaving this user ID at
the Administrator level provides any user with the ability to change DVR configurations.
