


. . . . . . . . . . . . . . . . . . . . . . . . . . . . .
Accessing Camera Images 6-19
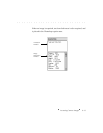
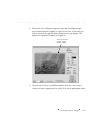
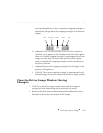
2. Move the cursor over the image, the cursor changes to a special click-
balance eyedropper cursor.
3. Click the point of the eyedropper on a white or light gray area (an
area that is not overexposed) of the image to be corrected, or click a
point that should be white or light gray where each of the red (R),
green (G), and blue (B) color values displayed below the image are as
high as possible, but lower than 255. The change is applied and is
immediately visible on the image.
NOTES: When you click, you may see the message that one of the colors is
saturated. As prompted, click another point.
If there is no white or light gray area in the image, follow the steps in the next
section to take a photograph of a neutral gray or white card and use it for
color balancing.
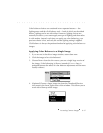
4. (Optional) If the correction was not satisfactory, click the eyedropper
(not the checkbox) in the click-balance tool to turn on click-balance
again, and then click another point in the image.
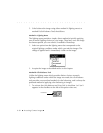
5. (Optional) Remove the click-balance setting for the image by clicking
the click-balance checkbox “off.”
6. Acquire the image as described earlier in this chapter.
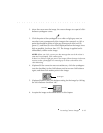
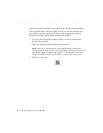
Eyedropper
Checkbox