


. . . . . . . . . . . . . . . . . . . . . . . . . . . . .
4-30 Preparing the Camera and the Computer
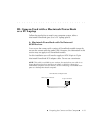
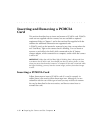
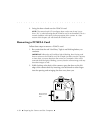
4. Swing the door closed over the PCMCIA card.
NOTE: The camera back LCD (see figure above at the start of step 3) may
show “E6,” a code indicating that the PCMCIA card is not formatted. That is a
normal condition at this point in the preparation of the camera. In a later
section of this chapter you will format the PCMCIA card.
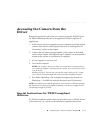
Removing a PCMCIA Card
Follow these steps to remove a PCMCIA card.
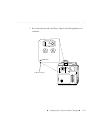
1. Be certain that the red “Card Busy” light is not blinking before you
continue.
IMPORTANT: When the red Card Busy light is blinking, data is being read
from or written to the PCMCIA card, for example just after you take a picture,
or later when you move data from the camera to a computer. If the card is
removed while the light is blinking, you may lose the current image, and may
lose other images as well.
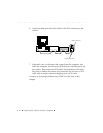
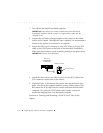
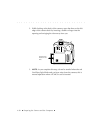
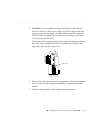
2. While looking at the back of the camera, open the door on the left
edge of the camera back by inserting your left thumb or other finger
into the opening and swinging the door away from you.
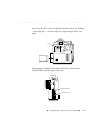
Remove/insert
PCMCIA card
here.
CARD BUSY
MIC
DELETE SCSI ID
MIC BUTTON