


33
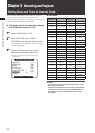
Chapter 3 Recording and Playback
Basic Procedures
This section describes the basic procedure for shooting
and recording.
Before you embark on a shoot, pre-inspect your system to
ensure that it works properly.
For directions on inspecting your memory card camera-
r
ecorder, see [Inspections Before Shooting] (page 123).
Battery Set-up to P2 card Insertion
1
Insert a charged battery.
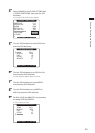
2
Turn the POWER switch to ON to check the
battery remaining level on the LCD monitor or
in the viewfinder.
• When battery capacity is low, replace it with a fully
charged battery.
NOTE
When low battery capacity is indicated after replacing
a battery with a fully charged battery, check battery
installation.
For details, refer to [BATTERY SETUP Screen] (page 117).
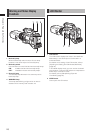
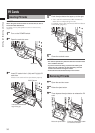
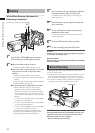
3
Insert P2 cards into the L and R P2 card slots
and check that the P2 card access LEDs light
in orange before closing the slot cover.
Light
NOTE
For secure recording of 3D images, recording cannot be
started even if the REC button is operated in the following
situations:
• While the camera is identifying a P2 card after the power is
turned on or immediately after the P2 card is inserted (when
the P2 card access LED is blinking in orange
• When thumbnails are displayed or during playback or
transport process, such as PLAY, FF, or REV.
• During a recording ending process.
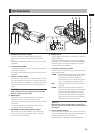
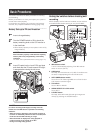
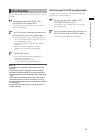
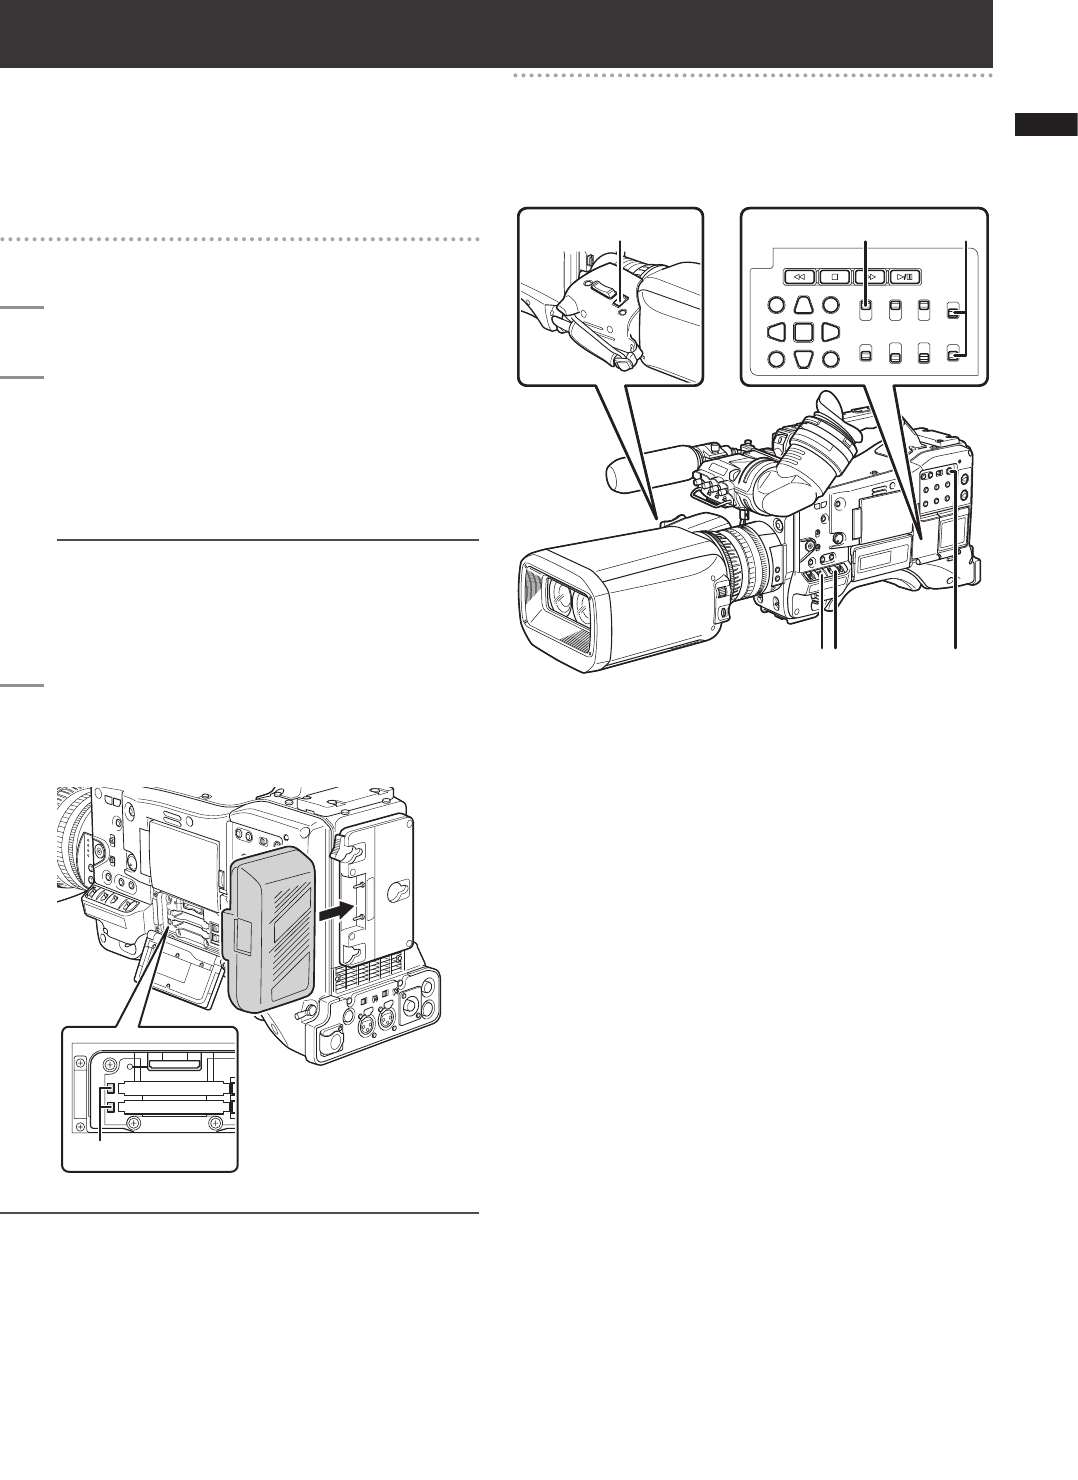
Setting the switches before shooting and
recording
When a battery and P2 cards are installed, set the switches
as detailed below, before starting to use your AG-3DP1.
a
b c
d
f
e
a IRIS selector switch
The iris is automatically adjusting if the IRIS selector
switch is set to A (AUTO).
b
GAIN switch
Normally, this should be set to L (0 dB). If conditions are
too dark, an appropriate gain level should be set.
c
AUTO KNEE selector switch
Set to ON or OFF. Selecting BARS turns off this function
and outputs a color bar signal.
d
TCG switch
Set to F-RUN or R-RUN.
e
AUDIO SELECT CH 1/CH 2 switch
Set to AUTO.
f
LCD/EVF button
Normally, select MIX mode (left and right images are
mixed), by pressing the LCD/EVF button.