Operating Instructions
20
4. Click [Camera Function Check].
• When the check has finished, [Confirmed] is displayed.
• The software will connect to the camera and confirm the resolution and data
format. If the camera does not support the set values, they will be changed
automatically, and a mark will be displayed on the icon for the items that
were changed (see
page 44).
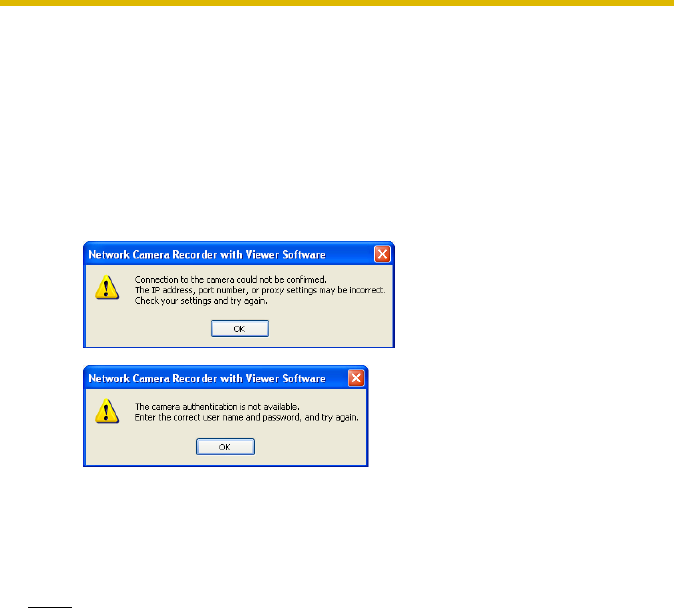
• If you cannot access the camera, the following windows are displayed.
Confirm the camera's connection, IP address, port number, user name and
password.
5. Click [OK] or [Apply].
• If you click [OK], settings page will close.
If you want to register another camera, click [Apply].
• The new camera will be displayed in the multi-monitoring page.
Note
•See page 44 for details on the [OK], [Apply], and [Cancel] buttons.
• The default camera name is “New camera”, followed by a number.
The number is generated automatically.
Default values are used for the other settings.
