151
8
Settings
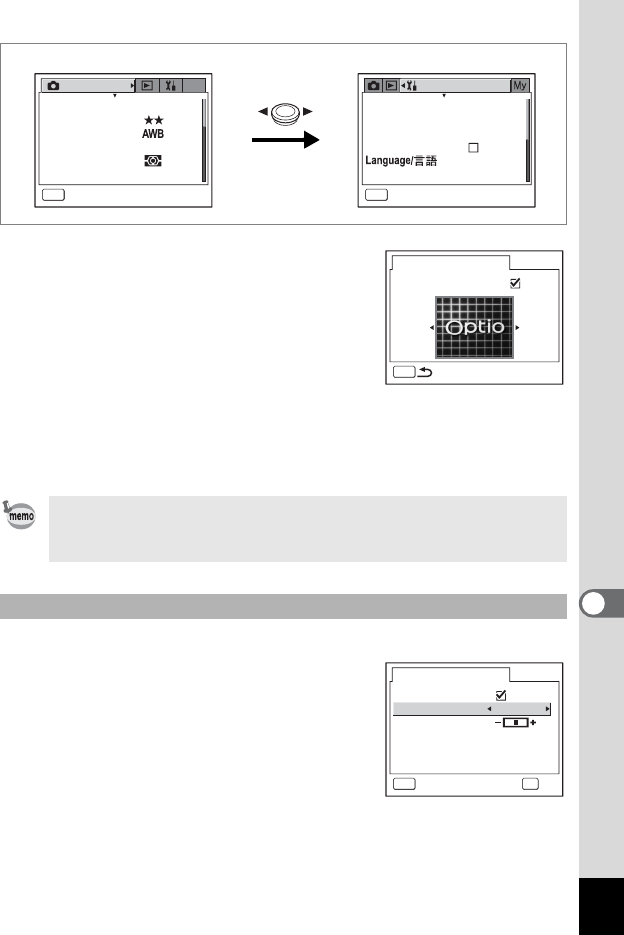
6 Press the four-way controller (3).
The screen for choosing an image appears.
7 Use the four-way controller (45)
to choose an image for the start-
up screen.
8 Press the 4 button.
The setting is saved.
9 Press the shutter release button halfway.
The camera is ready to take pictures.
Refer to Step 6 of “How to Use the
Menus” (p.45) for other operations after the setting has been made.
You can choose the background color of the LCD monitor.
3 Use the four-way controller (23)
to select [Background color].
4 Use the four-way controller (45)
to choose a background color.
The background color of the menus changes.
5 Press the shutter release button
halfway.
The camera is ready to take pictures.
Refer to Step 6 of “How to Use the
Menus” (p.45) for other operations after the setting has been made.
Once the start-up screen has been set, it will not be deleted even if
the original image is deleted or the SD Memory Card or built-in
memory is formatted.
Changing the Background Color
Set-up
MENU
Exit
Format
Sound
Date Adjust
World Time
Folder Name
English
StandardStandard
09/25/2004
MENU
2560
×
1920
My
Recorded Pixels
Quality Level
White Balance
Multiple
AF Setting
AE Metering
Sensitivity Auto
Rec. Mode
Exit
MENU
Change Start-up Screen
Start-up Screen
Screen Setting
1
Background color
OKMENU
OKCancel
Change Start-up Screen
Brightness Level
