68
4
Taking Pictures
R q < I A > ; S B J K E \
Auto bracketing can be used to automatically vary settings such as the
exposure and white balance over a series of three shots when the
shutter release button is pressed. This simple operation ensures that
you are able to get the best shots after shooting.
Auto Bracket Settings
1 Press the { button in A mode.
The Fn guide appears.
2 Use the four-way controller (2) to
select a.
The icon corresponding to the current
setting appears, and then the setting
appears for five seconds.
To take pictures with the displayed setting,
go to Step 8.
Automatically Changing the Shooting Conditions
(Auto Bracket)
a
Exposure
Pictures are taken in the following sequence: normal,
underexposed (dark), overexposed (bright). Choose the
bracketing steps from 0.3, 0.7, 1.0, 1.3, 1.7 and 2.0. (1p.63)
b
White Balance
Conditions change in the following sequence: normal, red
tinge (low color temperature), blue tinge (high color
temperature). Choose the bracketing steps from 1, 2, 3, 4 and
5. (1p.82)
d
Sharpness
Conditions change in the following sequence: current setting,
– (soft), + (hard). (1p.89)
c
Saturation
Conditions change in the following sequence: current setting,
– (low), + (high). (1p.90)
e
Contrast
Conditions change in the following sequence: current setting,
– (low), + (high). (1p.91)
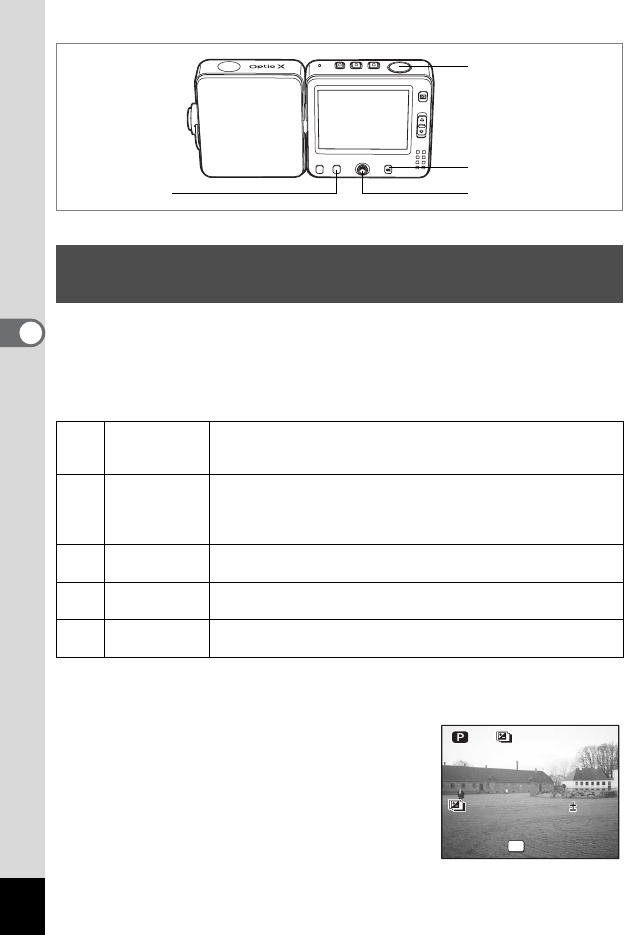
2, 4, 5, 6
3, 7
1
8, 9
OK
0.3EV
Change Setting
Current Setting
Exposure
0.3EV
Change Setting
Current Setting
Exposure


