RealPresence Collaboration Server (RMX) 1500/1800/2000/4000 Administrator’s Guide
Polycom®, Inc. 1017
b Click OK to update the repository.
Step 6: Re-connect to the RMX.
a Remove the USB device that was connected in Step 2a.
b Restart the RMX.
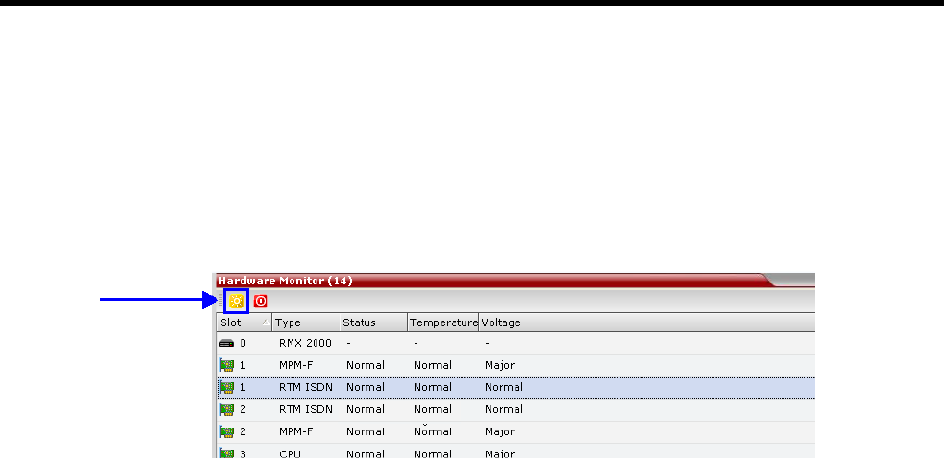
c In the RMX Management pane, click the Hardware Monitor button.
The Hardware Monitor pane is displayed.
d Click the Reset button.
The RMX restarts. System restart can take 5 - 10 minutes, depending on the RMX’s configuration.
Using the RMX Manager:
e In the MCUs list, select the RMX to be updated.
f Right-click in the MCUs list entry and select Connect.
g Click Accept to accept the warning banner.
h Enter an administrator Username and Password.
i Click OK.
Step 7: Re-enable Secured Communications Mode.
Using the RMX Manager:
a In the RMX Management pane, click the IP Network Services button. (Depending on the RMX
Manager configuration, you may have to click Rarely Used first.)
b In the IP Network Services list pane, double-click Management Network.
