


7-3
User Guide for Cisco Show and Share 5.3.x
Chapter 7 Create, Add, and Manage Videos
Procedures
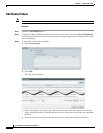
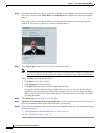
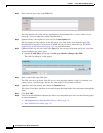
Step 2 Click Allow in response to the Camera and Microphone Access prompt.
This prompt allows Cisco Show and Share to temporarily use your webcam and microphone. To protect
your security and privacy, this permission expires when you leave this page or close your browser. Until
you respond to this prompt, you cannot do anything else on the Record a Video page.
Tip If you do not see the Camera and Microphone Access prompt, confirm that your computer
hardware and software meet all requirements. See http://cisco.com/go/dms/releasenotes. If you
are recording from Mac OS X, you may need to reset the zoom setting in your browser by
pressing Command+0.
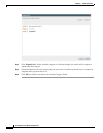
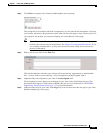
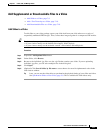
Step 3 Enter a title for your video in the Title field.
This title identifies the video that your webcam will record and any supplemental or downloadable
files—such as slides or a text transcript—that you might later package together with it.
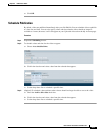
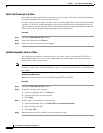
Step 4 (Optional) Enter a description for your video in the Description field.
The description you enter appears on the Info tab of your video on the Video Playback page. The
Description field supports a small subset of HTML that you can use to format the text. See HTML
Supported by the Description Field, page 7-12, for more information.
Step 5 (Optional) Enter tags for your video in the Tags field. You can enter more than one tag for your video.
Separate multiple tags with a space.