


7-6
User Guide for Cisco Show and Share 5.3.x
Chapter 7 Create, Add, and Manage Videos
Procedures
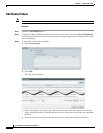
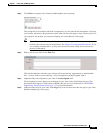
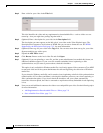
Step 2 Enter a title for your video in the Title field.
This title identifies the video and any supplemental or downloadable files—such as slides or a text
transcript—that you might later package together with it.
Step 3 (Optional) Enter a description for your video in the Description field.
The description you enter appears on the Info tab of your video on the Video Playback page. The
Description field supports a small subset of HTML that you can use to format the text. See HTML
Supported by the Description Field, page 7-12, for more information.
Step 4 (Optional) Enter tags for your video in the Tags field. You can enter more than one tag for your video.
Separate multiple tags with a space.
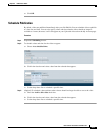
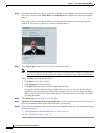
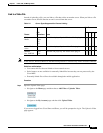
Step 5 Expand the Add Video drawer.
Step 6 Click Browse. Browse to the local video file and click Open.
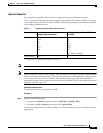
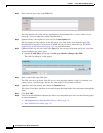
Step 7 (Optional) If you are uploading a .wmv file, and the system administrator has enabled this feature, an
additional checkbox appears. If your .wmv file contains embedded closed captioning or slide
synchronization, and you want to preserve them, check this checkbox.
This option is only available for Windows media files. And it only appears if the system uses Cisco MXE
to transcode video and if the system administrator has allowed bypassing the conversion of Windows
media files.
If you selected a Windows media file, and it contains closed captioning or built-in slide synchronization
(added outside of Cisco Show and Share), selecting this checkbox preserves your closed captioning or
slide synchronization points. If you do not check the checkbox, and your system automatically
transcodes videos on upload, the video is converted to .mp4 format and any embedded closed captioning
is lost.
Step 8 Now you can add additional content to the video or save and publish your video. See the following topics
for more information:
• Add Supplemental or Downloadable Files to a Video, page 7-9
• Save or Publish Your Video, page 7-11