


7-4
User Guide for Cisco Show and Share 5.3.x
Chapter 7 Create, Add, and Manage Videos
Procedures
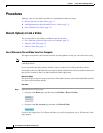
Step 6 If you have more than one video or audio device attached to you computer, select the ones you want to
use for this session from the Video Device and Audio Device drop-down lists in the Capture Settings
drawer.
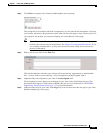
After a few seconds, your webcam should be activated and you should see yourself in the preview
window. If you do not see yourself, try choosing a different device.
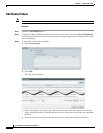
Step 7 Click Start Capture. Pause for a few seconds, then begin to speak.
Note If your recording lasts for 90 minutes, you are given notice that the recording will automatically
shut off. You can cancel the warning and continue recording for longer than the 90 minutes.
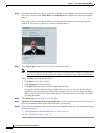
While recording, you can do the following:
• Click Pause to pause the recording.
• Click Continue to resume recording.
• Click Start Over to erase the current recording and start again.
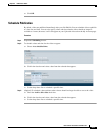
If you make a mistake while recording, it might not be necessary to start over. If video editing is
enabled for your implementation of Cisco Show and Share, You can use Cisco Show and Share’s
editing tools to edit out the mistake. Simply pause for a second and then re-record the part where
you made the mistake.
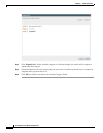
Step 8 Click Pause when you are ready to save your video.
Step 9 (Optional) Click Download a local copy of this video to save a copy of the video locally. The dialog
boxes and download location depend upon the browser you are using.
Step 10 Now you can add additional content to the video or save and publish your video. See the following topics
for more information:
• Add Supplemental or Downloadable Files to a Video, page 7-9
• Save or Publish Your Video, page 7-11