


1-34
DXC-D30WS/P(E)/V1
54
Chapter 4 Viewfinder Screen Indications and Menus
Chapter 4 Viewfinder Screen Indications and Menus
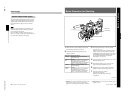
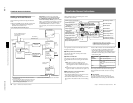
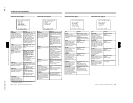
Basic menu page 7
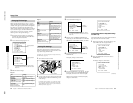
The following display is shown when the DSR-1/1P is
connected.
MARK/CUE:MARK
mFREEZE:OFF
CHG REEL NO:
(YESm4)
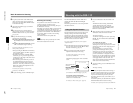
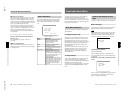
To set the cassette name/number (when using
DSR-1/1P)
1
Connect the DSR-1/1P and load a cassette.
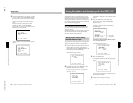
2
Press the MENU/STATUS switch to move the
cursor to CHG REEL NO, then press the UP/ON
button.
MARK/CUE:MARK
FREEZE:OFF
mCHG REEL NO:
(YESm4)
The cursor (→) changes to the text entry arrow (↓)
and the current cassette name/number is displayed.
(“NO TAPE” is displayed if you neglected to load
a cassette.)
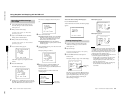
Viewfinder Basic Menu
MARK/CUE:MARK
FREEZE:OFF
CHG REEL NO:
(ABC )
Â
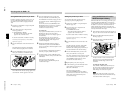
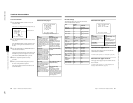
3
Press the MENU/STATUS switch to move the text
entry arrow.
Press the MENU/STATUS switch upward to move
the cursor to the right or downward to move it to
the left.
4
Press the UP/ON button or DOWN/OFF button to
enter the desired characters.
The displayed character changes each time the UP/
ON button is pressed. It changes in reverse order
each time the DOWN/OFF button is pressed.
5
Return to step 2 and repeat the text entry
procedure.
6
After completing text entry, move the text entry
cursor to the parenthesis position.
The display changes as follows.
MARK/CUE:MARK
FREEZE:OFF
CHG REEL NO:
mWRITE? (YESm4)
(DEF )
7
Check your cassette name/number setting, and
press the UP/ON button if no more changes are
required. (To make changes or to abort the
procedure for this setting, return to step 2.)
This writes the new cassette name/number to the
cassette memory, after which the display changes
as follows.
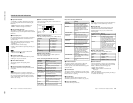
Item
Settings
MARK/CUE
Selects MARK
mode or CUE mode
MARK (normal value), CUE
See “Using the ClipLink Function”
(page 41).
FREEZE
Sets the freeze mix
function.
See “Using the Freeze Mix Function”
(page 44)
.
CHG REEL NO
Sets the cassette
name/number
See “To set the cassette name/
number” below.
Current cassette
name/number
Chapter 4 Viewfinder Screen Indications and Menus
55
Chapter 4 Viewfinder Screen Indications and Menus
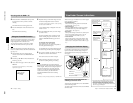
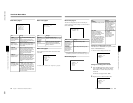
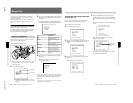
Basic menu pages 8 and 9
You can create a title of up to four lines, each of
twelve alphanumeric or punctuation characters, and
then save it. It is then possible to record the title over
the picture while shooting.
Entering the title (page 8)
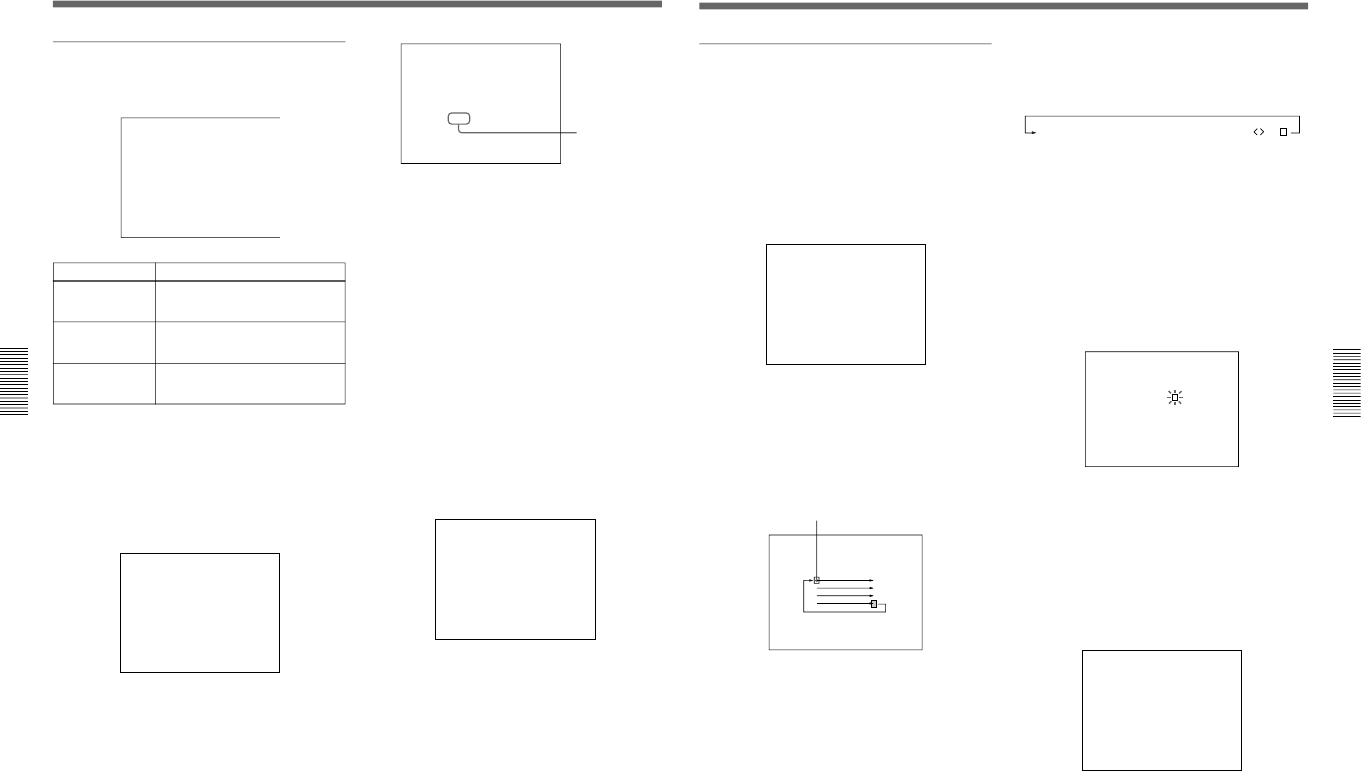
1
Press the MENU/STATUS switch as necessary to
display basic menu page 8 (title setting display) in
the viewfinder.
mTITLE SET?
If a title is already present, it appears on this
screen. To delete the displayed title, press the UP/
ON and DOWN/OFF buttons simultaneously.
2
Press the UP/ON button.
This brings up the cursor on the screen (flashing),
and switches to title editing mode.
3
Press the DOWN/OFF button to move the cursor to
the position where you wish to insert a character.
To move the cursor back
With the DOWN/OFF button held down, press the
UP/ON button.
Initial cursor position
4
Press the UP/ON button to select the required
character.
Each time you press the UP/ON button, the
character cycles through the following sequence.
ABCDEFGHIJKLMNOPQRSTUVWXYZ?;x/0123456789: -
.,
To reverse the character sequence
With the UP/ON button held down, press the
DOWN/OFF button.
5
Press the DOWN/OFF button to confirm the
character selection.
The cursor advances to the next character position.
To change a character after confirming it
Return to step 3, and input the character again.
6
Repeat steps 4 and 5 until the title is complete.
DXC-D30
7
When the title is complete, press the MENU/
STATUS switch as necessary to return to the
normal viewfinder indications.
The title created is retained, even when you power
the camera off.
To record a title (page 9)
1
Press the MENU/STATUS switch as necessary to
access basic menu page 9 (title display).
mTITLE IND?
(continued)
(Space)