On-Screen Manual
>
Scanning Guide
>
Utilizing Images in MP Navigator EX
> Saving
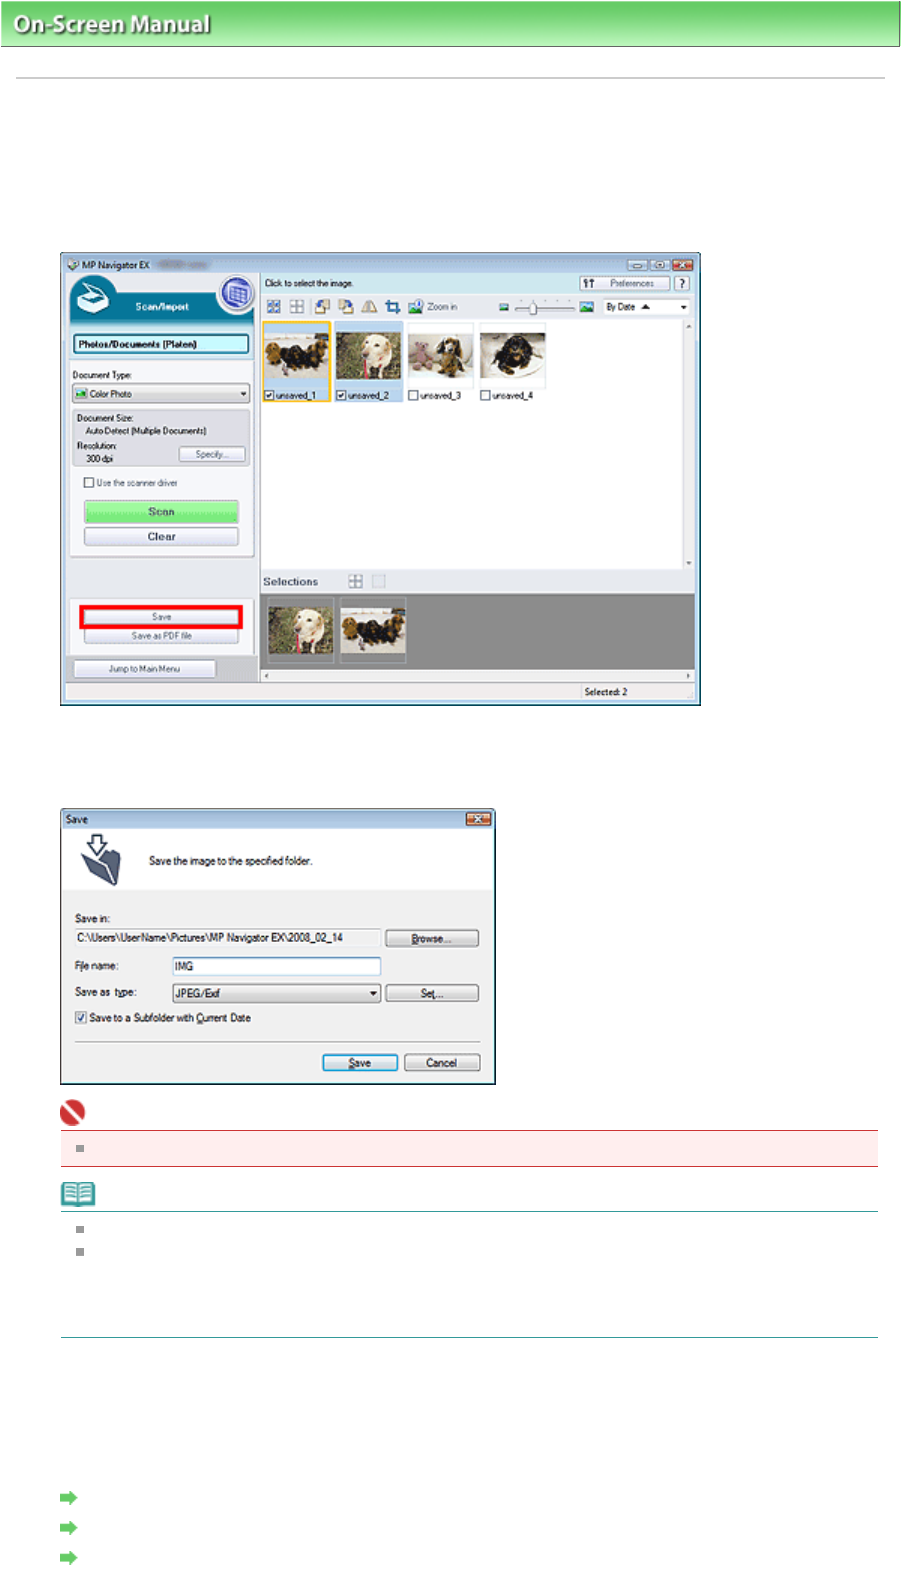
Saving
Save images scanned with MP Navigator EX to a computer.
1.
Select the checkboxes of the images you want to save, then click Save.
2.
In the Save dialog box, specify the save settings.
Specify the destination folder, file name and file type.
Important
You cannot select JPEG/Exif when Document Type is Text(OCR).
Note
See "Save Dialog Box" for details on the Save dialog box.
By default, the following folders are specified as the destination folders.
Windows Vista: MP Navigator EX folder in Picture folder
Windows XP: MP Navigator EX folder in My Pictures folder
Windows 2000: MP Navigator EX folder in My Pictures folder
3.
Click Save.
Scanned images are saved according to the settings.
To further use/edit the scanned images on MP Navigator EX, click Open saved location in the Save
Complete dialog box.
Creating/Editing PDF Files
Printing Documents
Printing Photos
Sayfa 53 / 268 sayfaSaving


