3-17
Compaq ProLiant 3000 Servers, for use with Intel 350 MHz or greater processor-based servers only, Maintenance and Service Guide
Diagnostics Software
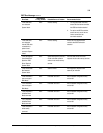
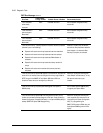
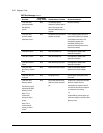
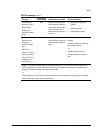
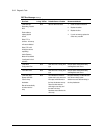
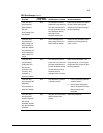
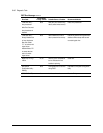
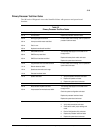
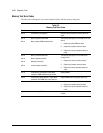
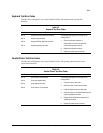
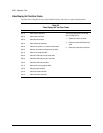
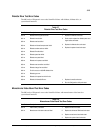
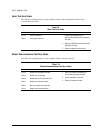
Tables 3-2 through 3-20 include all test error codes generated by Compaq products. Each code
has a corresponding description and recommended action(s). Your system generates only those
codes that are applicable to your configuration and options.
When you select Diagnostics and Utilities from the System Configuration Utility main menu, the
utility prompts you to test, inspect, upgrade, and diagnose the server.
Diagnostics and Utilities are located on the system partition on the hard drive and must be
accessed when a system configuration error is detected during the Power-On Self-Test (POST).
Compaq Diagnostics software is also available on the Compaq SmartStart and Support Software
CD. You can create a Diagnostics diskette from the SmartStart and Support Software CD and
run Diagnostics from diskette.
The following options are available from the Diagnostics and Utilities menu:
■ Test Computer
■ Inspect Computer
■ Upgrade Firmware
■ Remote Utilities
■ Diagnose Drive Array
Diagnostic error codes are generated when the Diagnostics software recognizes a problem.
These error codes, listed in tables 3-2 through 3-20, help identify possible defective
subassemblies.
In each case, the Recommended Action column lists the steps necessary to correct the problem.
After completing each step, run the Diagnostics program to verify whether the error condition
has been corrected. If the error code reappears, perform the next step, then run the Diagnostics
program again. Follow this procedure until the Diagnostics program no longer detects an error
condition.
If you encounter an error condition, complete the following steps before starting problem
isolation procedures:
1. Be certain proper ventilation exists. The computer should have approximately 12 inches
(30.5 cm) clearance at the front and back of the system unit.
2. Turn off the computer and peripheral devices.
3. Disconnect any peripheral devices not required for testing. Do not disconnect the printer if
you want to test it or use it to log error messages.
4. Turn on the computer.
5. Delete the power-on password, if set. You will know that the power-on password is set
when a key icon appears on the screen when POST completes. If this occurs, you must
enter the password to continue. To delete the password, type the current password, a
forward slash ( / ), and press the Enter key.


