Setting the Settings Tab
58
●
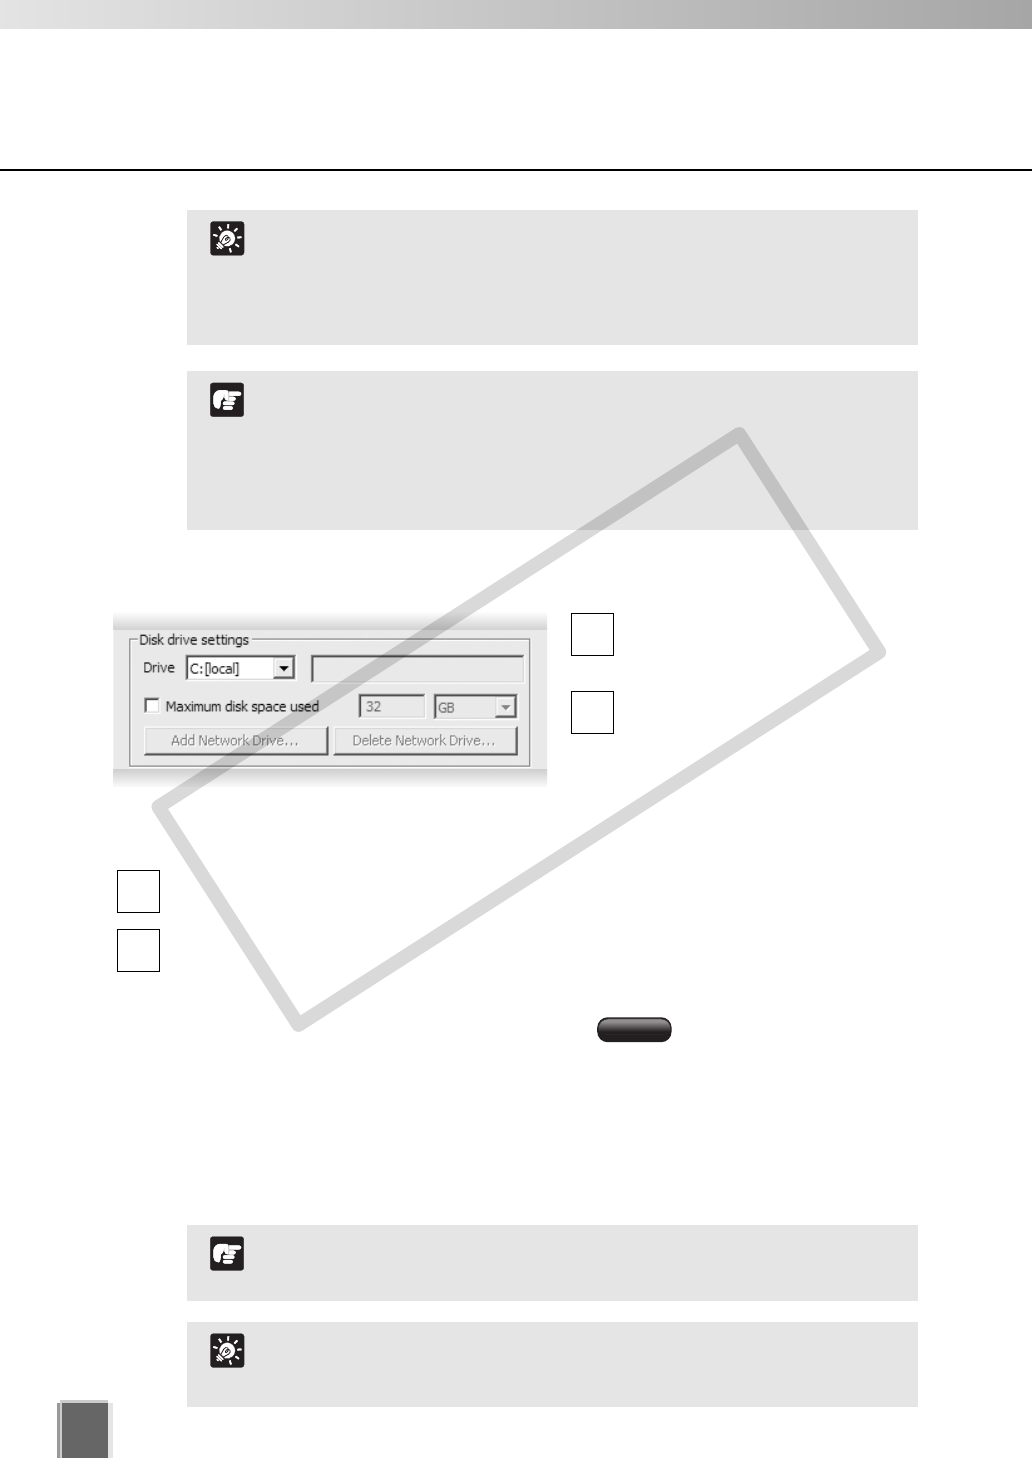
Select Disk Drive Settings
Drive - Select the disk drive to
configure, from the drop-down
menu.
Maximum disk space used -
Check the box and enter a value
in Megabytes (MB) or Gigabytes
(GB), for example, “50”.
This establishes the maximum
disk space used for all video
files on the specified drive.
Add Network Drive - Add a disk drive on the network used as the network drive.
The added network drive is shown on the Drive drop-down menu.
Delete Network Drive - Delete an added network drive.
4
3
2
1
When the free disk space has fallen below the value specified in
the Low Disk Space Warning Level field, an event occurs and an
event notification mail is sent. Also, if the used disk space
exceeds the value specified in the Maximum disk space used
field, recorded video will not be saved until the required free disk
space is secured. Refer to P. 64 for the disk space management.
N
o
t
e
●
Adding Removing a Network Drive
By adding a network drive, you can save recorded video data on a network drive such as
NAS (Network Attached Storage) in addition to the internal HDD.
If you add a network drive in the Storage Server Configuration window, the drive will be
added to the list of the pull-down menu of the Add/Edit Camera Server dialog (➝ P. 93,
100).
When using the Storage Server with the local system account,
the Add Network Drive and Delete Network Drive buttons are
disabled.
T
i
p
Use recommended NAS servers with Windows Storage Server
2003 or Windows Storage Server 2003 R2.
N
o
t
e
If Reduce recording frame rate when disk is under high load is
checked, you will receive an event notification such as Effective
“Recording rate (<recording rate before change> ➝ <recording
rate after change> %)” when the recording frame rate drops.
Ex. “Effective Recording rate (100.0 ➝ 90.0 %)”
T
i
p
COPY


