108
109
Hasselblad H1D
Hasselblad H1D
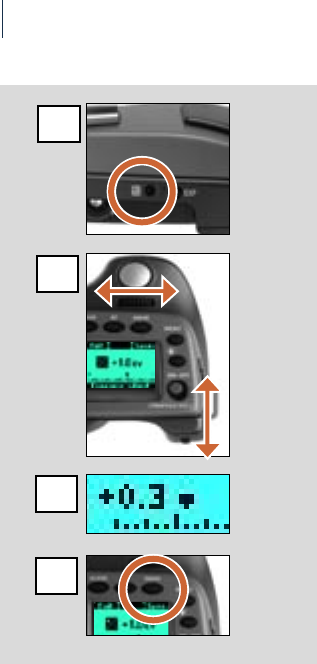
Zone 5 and click the AE-L button. e meter will now display dierent parts of the subject as
zone values in the viewnder LCD as you move the spot marking over the subject. (Included
are Lo and Hi to signify areas beyond the range of the lm).
Alternatively you can choose to re-classify an area as another zone and then check the rest
of the subject to see how other areas fall appear on the zone scale. Do this by following the
above procedure and then turning the rear control wheel until you see the new desired zone
value in the viewnder LCD. You will also see the new exposure (changes will be according
to whether it is Aperture Shutter priority) that will now produce that new zone. For example,
you might have measured a rock at zone 5 but wish to make it darker. By moving the rear
control wheel you could re-classify it as zone 4. In the same setting you will then also be able
to see how the rest of the subject appears on the zone scale.
Alternatively, you can also pre-set the initial zone reading in order to save time and eort
where there is no freely available ‘zone 5’ subject for light measuring. For example, you might
be on a sandy beach where you know that sand is normally classied as zone 6. You can pre-
programme the zone placement by holding down the AE-L button while choosing the new
zone value by turning the front control wheel. Pointing the camera at other parts of the scene
will now display their zone values (in relation to the initial setting of sand at zone 6) to see
whether they still lie within the range of the lm and how they might appear in the result
(aside from lm development considerations). See under Zone in the Appendix for further
information about the zone system.
1
2
3
4


