


154
155
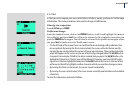
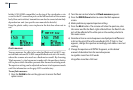
Hasselblad H1D
Green LED ash symbol to left of view-
nder LCD display.
Hasselblad H1D
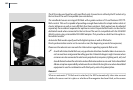
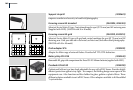
To raise the ash unit into its operative position, slide the ash-unit catch backwards in the
direction of the ash symbol. To return the ash unit into its closed position, push down on
the top of the unit until it clicks back into place. e ash unit is automatically activated when
it is in the operative position and de-activated when returned to its stored position.
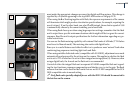
e green LED ash symbol blinks in the viewnder when the ash unit is charging and
remains stationary when fully charged. e ash output can also be adjusted for optimum
light balance in ll-ash situations.
! Do not use the integral ash together when another external TTL ash unit is connected
(and used in TTL or A mode)
! For full coverage with the integral ash, use 80 mm or longer lenses.
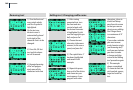
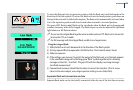
Using the integral ash:
1) Slide the ash-unit catch backwards in the direction of the ash symbol.
2) Set any required ash compensation (FLASH button / front control wheel / Save).
3) Make an exposure.
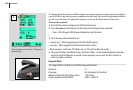
4) If the settings were incorrect to match the output of the ash unit, a red triangle appears
in the viewnder along with a ashing green ‘ash’ symbol together with a warning
message on the LCD - ‘Low ash’. The grip LCD will also display a warning message -
‘Low ash measurement’.
5) Conventional measures should then be taken to correct the situation. (That is: move
closer to the main subject, use a larger aperture setting or use a faster lm).
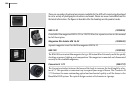
Separate ash unit connection and use
Separate ash units can be electrically connected either by way of the hot shoe accessory