


26 Printing Without a Computer
Printing Your Selected Photos
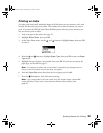
Once you’ve selected your photos, follow these steps to start printing:
1. Load your paper in the printer. See page 14.
2. Press the and buttons to highlight
Paper Type, then press OK to enter the Paper
Type
menu.
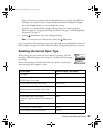
3. Highlight the type of paper you’ve loaded, then press
OK. (If you’re not sure about the
paper type, see the table on page 27.)
Note: It’s important to select the correct Paper Type setting for the paper you’re
using, or the print quality may not be what you expect.
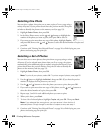
4. Enter the Paper Size menu, then select the size of paper you’ve loaded.
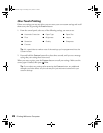
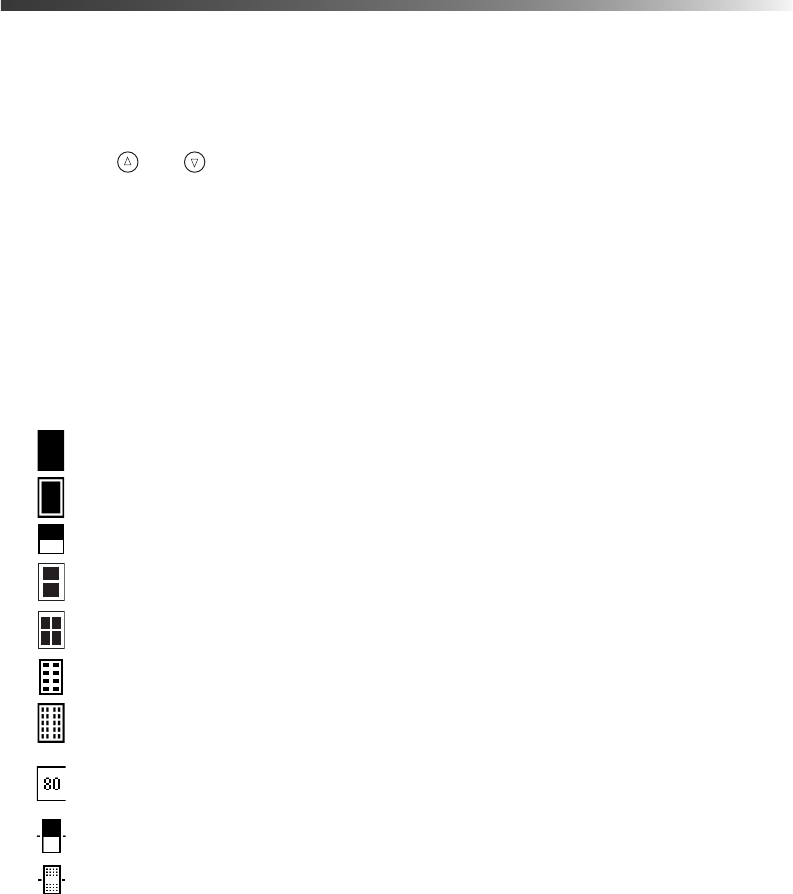
5. In the
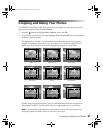
Layout menu, select one of the following:
Prints one photo per sheet, borderless; fits the photo lengthwise on the paper.
Prints one photo per sheet, with borders around the edges.
Prints a photo on the top half of the sheet.
Prints two photos per sheet.
Prints four photos per sheet.
Prints eight photos per sheet.
Prints 20 photos per sheet; the photo number and date are also printed with each
photo. (Good for printing larger-size index prints.)
Prints an index of your photos. 80 photos are printed on letter-size paper.
Prints a jewel case insert with one photo on one side of the insert.
Prints a jewel case insert with twenty-four photos; twelve on each side of the insert.
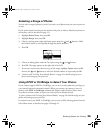
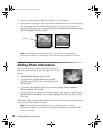
Note: If you don’t see the entire image in your prints, check to make sure the Fit
to Frame and Crop options are Off. See page 31.
6. If you’ve selected a single photo, all photos, an index, or a range of photos, you can print
multiple sheets of your selected layout. Enter the
Copies menu, then select from 1 to 100
copies.
Pbasics.book Page 26 Tuesday, June 1, 2004 1:31 PM