


88 Maintaining Your Printer
Cleaning the Print Head
If your printouts are unexpectedly light or faint, or dots or lines are missing from the image,
you may need to clean the print head. This unclogs the nozzles so they can deliver ink
properly. Print head cleaning uses ink, so clean it only if quality declines.
You can clean the print head either from the printer’s control panel or using your printer
software. To clean using the printer software, the printer must be connected directly to your
computer (not over a network); see your on-screen Reference Guide for details.
Caution: When you don’t turn on your printer for a long time, the print quality can
decline, so turn it on at least once a month to maintain good print quality.
Follow these steps to clean the print head from the printer’s control panel:
1. Make sure the printer is turned on but not printing, and the red
b error light is off.
If the red light is flashing or on, you may need to replace the ink cartridge; see page 89 for
details.
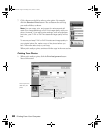
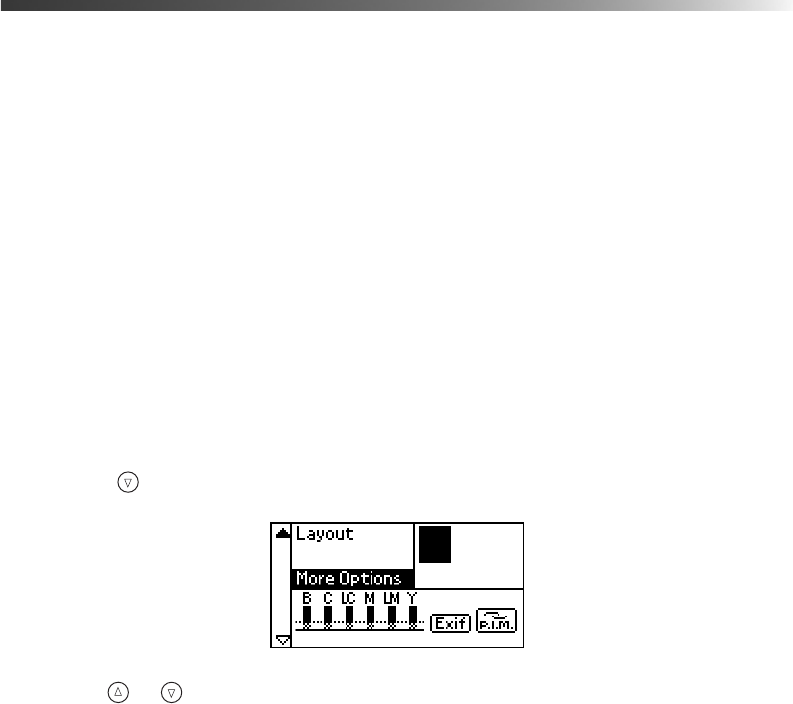
2. Press the button to highlight
More Options, then press OK.
3. Use the or button to highlight
Head Cleaning, then press OK.
4. To begin cleaning, press
OK.
While cleaning, the printer makes noise and you see a progress bar on the control panel
display. Cleaning takes about 30 seconds.
Caution: Do not turn off the printer or interrupt the cleaning process.
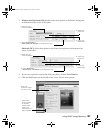
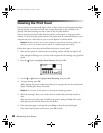
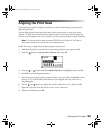
5. When the cleaning is done, run a nozzle check to confirm the print head nozzles are
clean.
Make sure letter-size plain paper is loaded in the printer, then press
Stop. The nozzle
check pattern prints (see the next section for details).
6. If the pattern has gaps or missing dots, press
Stop to clean the print head again.
If the nozzle check pattern looks correct, press
OK to finish.
Pbasics.book Page 88 Tuesday, June 1, 2004 1:31 PM