


Aligning the Print Head 93
Aligning the Print Head
If your printouts contain misaligned vertical lines or horizontal banding, you may need to
align the print head.
You can align the print head either from the printer’s control panel or using your printer
software. To align the print head from the printer software, the printer must be connected
directly to your computer (not over a network); see your on-screen Reference Guide for details.
Note: For the best results, load letter-size EPSON Photo Quality Ink Jet Paper in
the printer whenever you check the print head alignment.
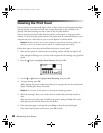
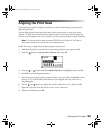
Follow these steps to align the print head using the control panel:
1. Make sure the printer is turned on but not printing, and letter-size paper is loaded.
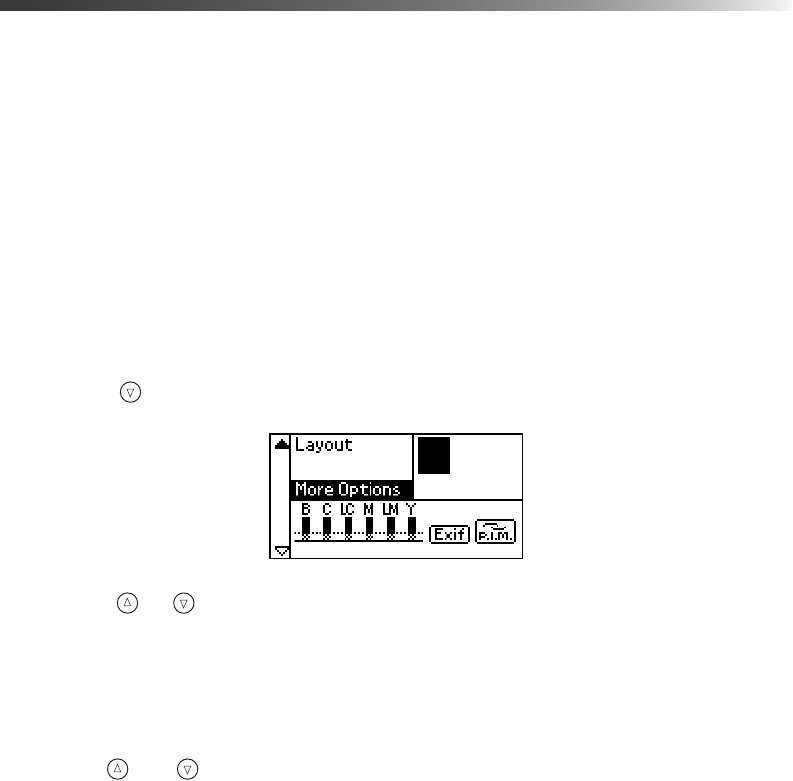
2. Press the button to highlight
More Options, then press OK.
3. Press the or button until
Print Head Alignment is highlighted, then press OK.
4. Press
OK to print the alignment pattern.
5. Once the pattern is done printing, examine the first row or set of lines (marked
#1). Select
the line (1-15) in which all the vertical dots are best aligned. You may need to use a
magnifying glass.
6. Use the and buttons to display the number of that line (1-15), then press
OK.
7. Repeat the selection of the best line for set #2, set #3, and set #4.
8. When you’re finished, press
OK.
Pbasics.book Page 93 Tuesday, June 1, 2004 1:31 PM