Replacing an Ink Cartridge 89
If you don’t see any improvement after cleaning three or four times, check the solutions
beginning on page 102. You can also turn the printer off and wait overnight—this allows
any dried ink to soften—and then try cleaning the print head again.
Examining the Nozzle Check Pattern
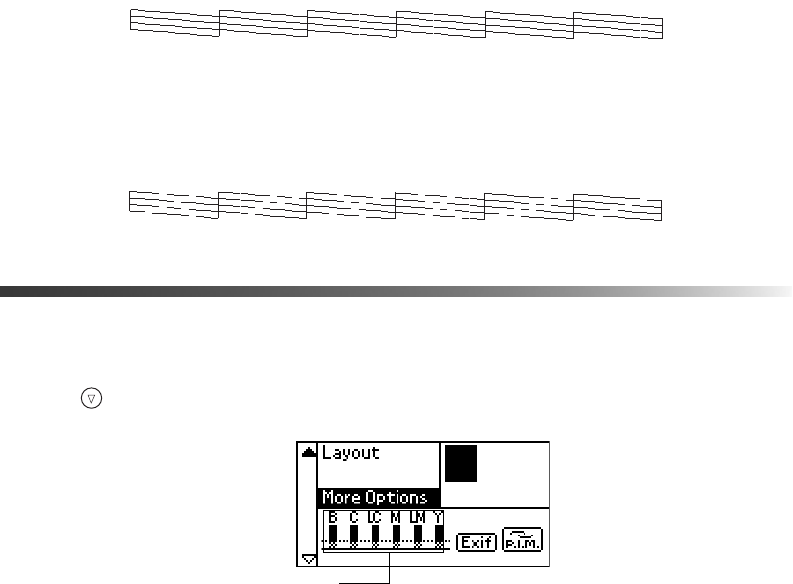
Examine the nozzle check pattern you printed. Each staggered horizontal and straight vertical
line should be complete, with no gaps in the dot pattern, as shown below:
■ If your printout looks okay, you’re done.
■ If any dots are missing (as shown below), clean the print head again; see page 88 for
instructions.
Replacing an Ink Cartridge
You can check the status of the ink cartridges by looking at the icons on the control panel.
Press the button to scroll down to
More Options.
The level of ink shown on the icons indicates the approximate amount of ink remaining. If an
ink cartridge is low, the red
b error light flashes. This is a good time to make sure you have a
new cartridge. If an ink cartridge is empty, the red
b error light remains on and you see a
message on the display telling you that the cartridge needs to be replaced.
Caution: You cannot print if any ink cartridge is empty. Leave the empty cartridge
installed in the printer until you have obtained a replacement, or the ink remaining
in the print head nozzles may dry out. To ensure good results, use genuine
EPSON ink cartridges and do not refill them. Other products may cause damage
to your printer not covered by EPSON’s warranty.
Ink cartridge levels
Pbasics.book Page 89 Tuesday, June 1, 2004 1:31 PM


