


Basic Printing on a Macintosh 57
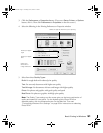
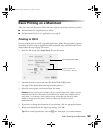
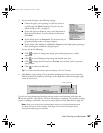
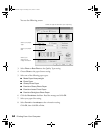
5. You can make changes to the following settings:
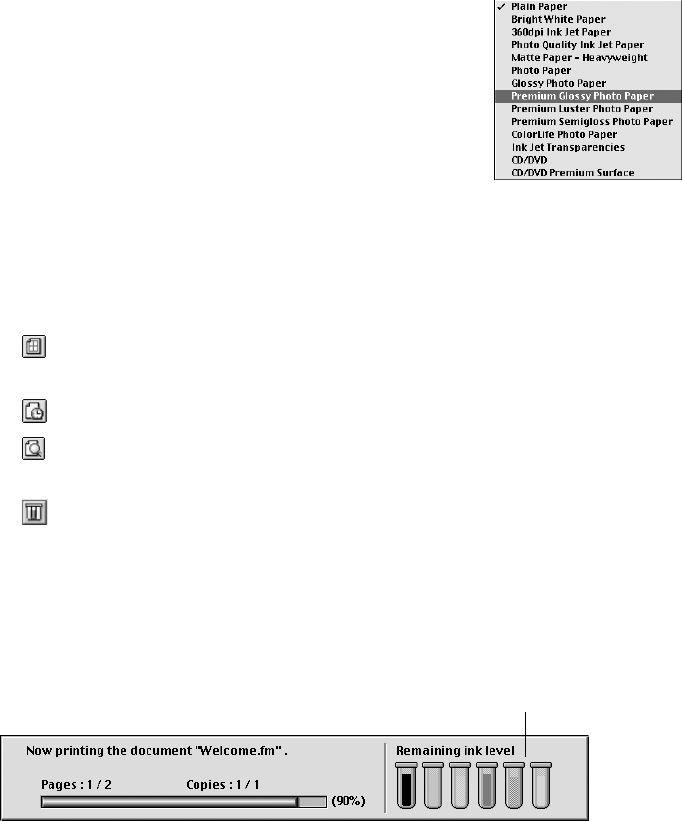
■ Choose the paper you’re printing on (click the arrow to
scroll through the
Media Type list). If you’re not sure
which setting to select, see page 61.
■ Set the Ink option to Color to print a color document or
black-and-white photo. To print a black text document,
click
Black.
■ Set the Mode option to Automatic. It’s the easiest way to
get good printing results on all types of paper.
■ Set the slider in the Mode box to Quality or Speed to select high-quality printing or
faster printing (not available for all paper types).
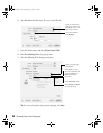
You can also do the following:
■ Click to reduce or enlarge your image, print multi-page layouts, or add a
watermark.
■ Click to control background printing and schedule print jobs.
■ Click to change the Print button to Preview. You can then click it to preview
your printout.
■ Click to check your ink levels.
Tip: For more information about printer settings, click the ? button.
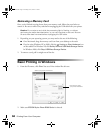
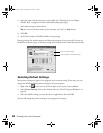
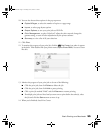
6. Click Print to start printing. If you turned on background printing, you can open the
EPSON MonitorIV window by selecting it in the Application menu in the upper-right
corner of your screen.
If you’re not using background printing and you need to cancel printing, hold down the
J key and press the
. (period) key. For more information on printing—for example, printing
posters or adding a watermark—see your on-screen Reference Guide (described on page 10).
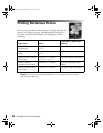
Note: Keep your pictures and unused paper away from high temperatures and
humidity and out of direct sunlight. See page 16 for more information about
storing and displaying your pictures.
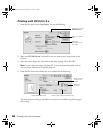
Check ink levels
Pbasics.book Page 57 Tuesday, June 1, 2004 1:31 PM