143
Adjustments and Settings from Menus
Chapter 5 Menu Displays and Detailed Settings
3
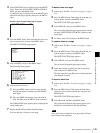
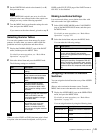
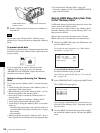
Set the WHITE BAL switch to the channel (A or B)
that you want to set.
If the WHITE BAL switch is not set to A or B, the
adjusted value is not reflected in the video output even
though you carry out the following operation.
4
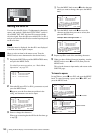
Turn the MENU knob to perform the settings for each
item, and press the MENU knob.
If you want to set the other channel, go back to step 2.
Selecting Gamma Tables
You can select gamma curves from among five preset
patterns, for times when you want to achieve film-like
gradations and color reproduction and other effects.
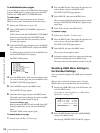
1
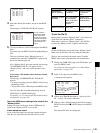
Display the GAMMA SELECT page of the PAINT
menu, and then press the MENU knob.
For details on menu operations, see “Basic Menu
Operations” on page 132.
2
Select the desired item and press the MENU knob.
The following settings are available.
When you select CINE1 to CINE4, the knee point is fixed
at a preset value and cannot be adjusted, even if you set
KNEE on the SW STATUS page of the PAINT menu to
ON. DCC is also disabled.
Making Low-Noise Settings
Low-noise mode allows you to obtain clear video with
little noise under low light conditions.
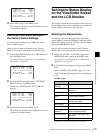
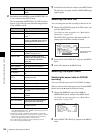
1
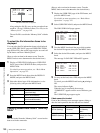
Select LOW NOISE MODE on the CAM CONFIG
page of the MAINTENANCE menu, and then press
the MENU knob.
For details on menu operations, see “Basic Menu
Operations” on page 132.
2
Select the desired item and press the MENU knob.
You can make the following settings.
Assigning Functions to ASSIGN
Switches
You can assign the desired function to any of the ASSIGN
switches.
(How to select an item in the menu screen: Turn the
MENU knob to move the b mark to the desired item.)
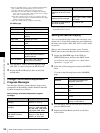
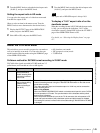
1
Display the ASSIGNABLE page on the OPERATION
menu, and press the MENU knob.
For details on menu operations, see “Basic Menu
Operations” on page 132.
You can assign functions by using the following items.
Note
Item Description
STD Standard setting (factory default
setting)
CINE1 This smoothes the contrasts in
darker sections and accentuates
gradation changes in brighter
sections, for a calm and quiet
effect.
CINE2 This gives almost the same
results as CINE1. Select this
when you want to obtain 100%
video signals for editing or other
purposes.
CINE3 This emphasizes the contrast
between light and dark more than
CINE1 and CINE2, and also
accentuates gradation changes
on the black side.
CINE4 This emphasizes the contrast in
dark section even more than
CINE3. Contrasts in darker
sections are weaker than STD,
and contrasts in brighter sections
are stronger.
Note
Item
Description
OFF Standard setting (factory default setting)
1 Reduce noise by using the noise reduction
circuits, without lowering the sensitivity.
Resolution and gradations under low light are
slightly lower.
2 Reduce noise more than the 1 setting by
lowering the sensitivity. Compared to the OFF
setting, sensitivity is about 20% lower, and the
dynamic range is about 20% lower. (Sensitivity
declines to about F8, compared to the standard
F9.)
Item Description
ASSIGN SW <1> Assigns the function to ASSIGN 1
switch.
ASSIGN SW <2> Assigns the function to ASSIGN 2
switch.
ASSIGN SW <3> Assigns the function to ASSIGN 3
switch.


