


91
Creating Clip Lists
Chapter 4 Scene Selection
9
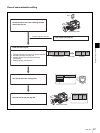
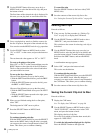
Add all the desired clips to the current clip list, and
press the RESET button on the right of the LCD
monitor.
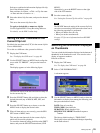
You return to the clip list screen, which displays
thumbnails of the newly added clips (added as sub
clips).
10
Save the contents of the current clip list on the disc.
See “Saving the Current Clip List to Disc” on page 94.
• If the contents of the current clip list is not saved to
disc, then ejecting the disc, or powering off will
destroy the data. After creating a clip list, be sure to
save it to disc.
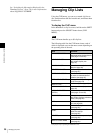
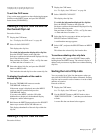
• An asterisk (*) appears after the date and time of
creation when a clip list has not been saved to disc.
• Even when clips whose thumbnail image (index
frame) is not the first frame are added to a clip list, it
is always the first frame that is displayed on the clip
list screen.
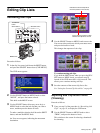
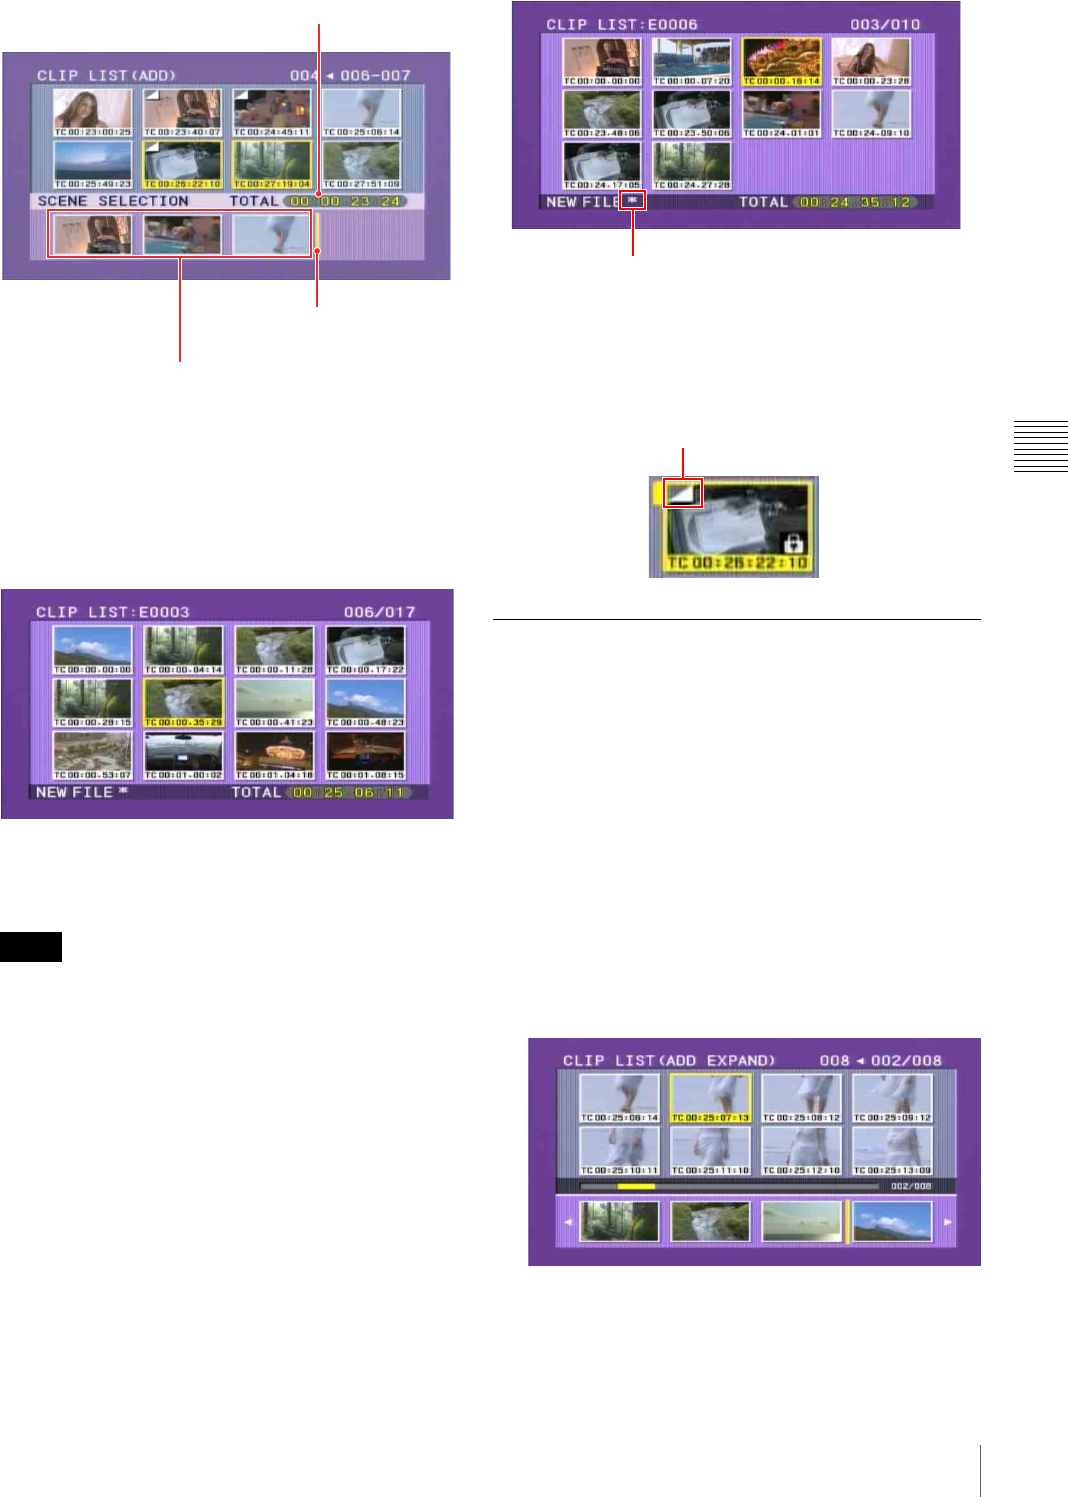
Adding Sub Clips Using the Expand
Function
You can use the expand function (see page 81) to divide a
sub clip and display thumbnails of the divisions. This
allows you to include a section of the sub clip.
Proceed as follows.
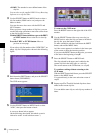
1
In the upper part of the scene selection screen, select
the sub clip for expanded display.
2
Press the DISPLAY/EXPAND button on the right of
the LCD monitor.
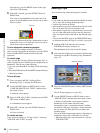
The upper part of the screen shows thumbnails for the
clip in eight divisions.
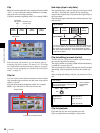
Notes
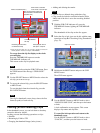
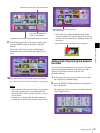
Total duration of sub clips in the current clip list
I-bar cursor (shows insertion
position of next sub clip)
Thumbnails of the sub clips already added to the current clip list
Asterisk appears when clip list has not
been saved to disc.
Mark indicating that the thumbnail is not the first frame