


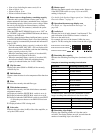

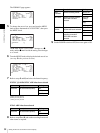
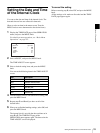
35
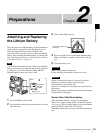
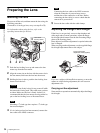
Preparing the Lens
Chapter 2 Preparations
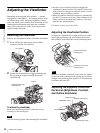
1
Open the iris, position the supplied flange focal length
adjustment chart approximately 3 meters away from
the camera, and arrange the lighting to obtain a
satisfactory video output.
2
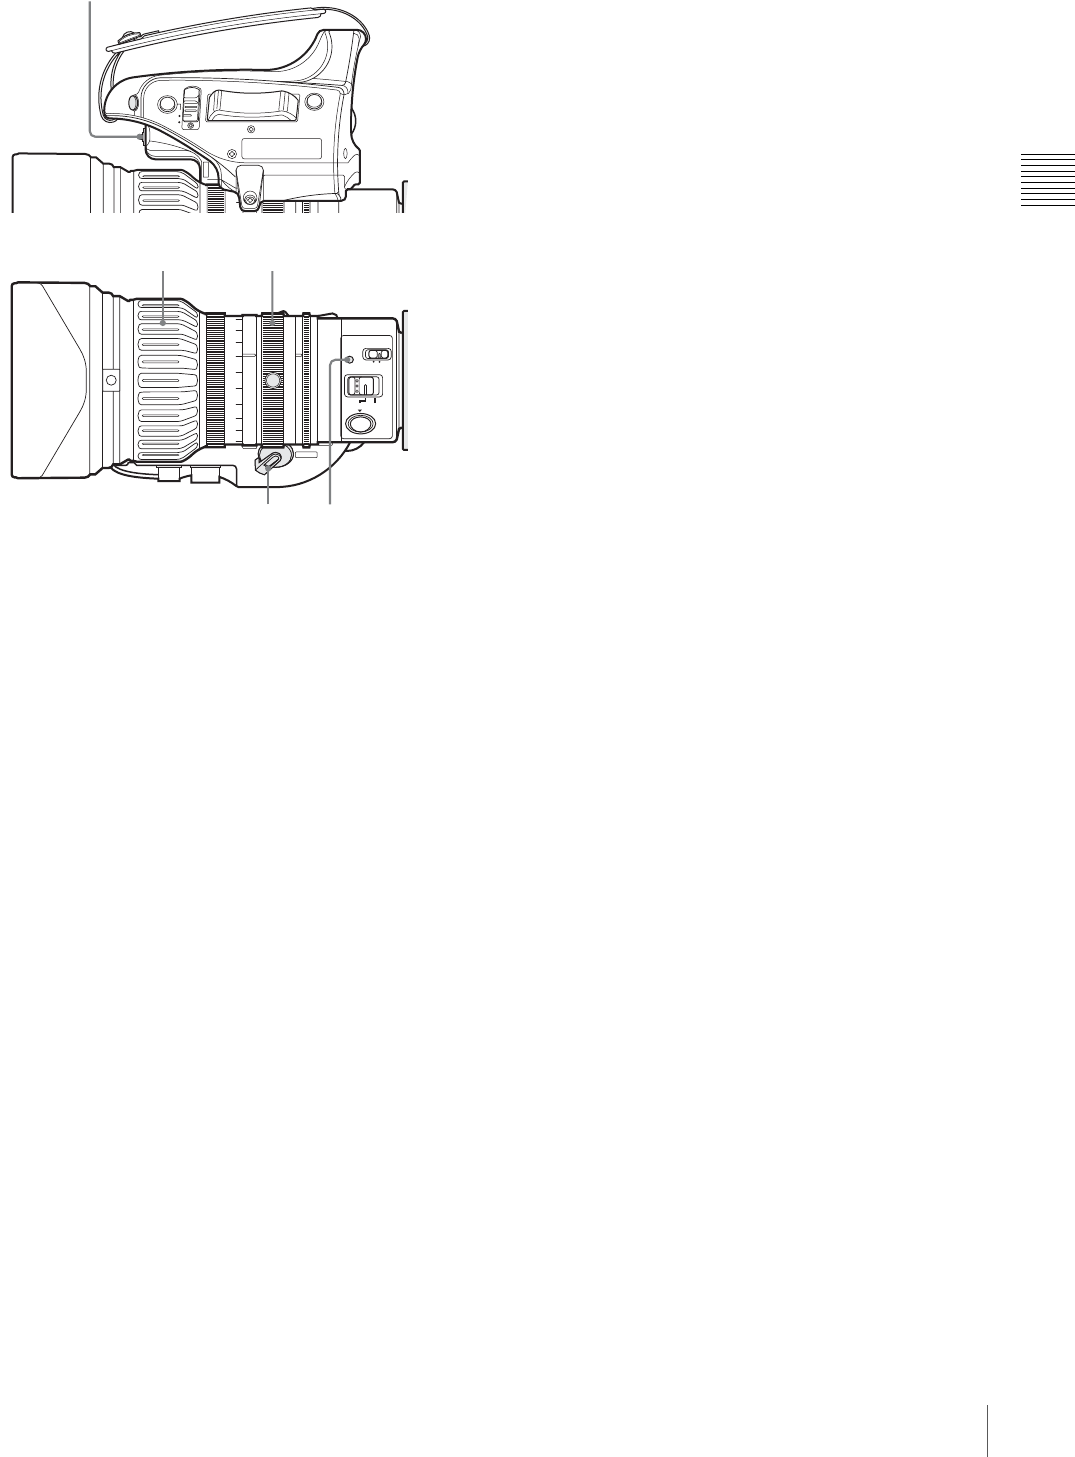
Set the ZOOM switch to SERVO (power zoom mode).
3
Hold down the flange focal length adjustment button
for 3 seconds.
The auto focus indicator flashes orange, and the flange
focal length adjustment starts.
During adjustment
The auto focus indicator flashes alternately orange and
green.
The message “AUTO FB EXECUTING” appears on
the viewfinder screen.
If the adjustment completes correctly
The auto focus indicator goes off, and the message on
the viewfinder screen changes to “FB: OK”.
If the flange focal length adjustment does not
complete correctly
The auto focus indicator lights red.
Check the subject and lighting conditions, and repeat
the adjustment.
When using a non-auto focus lens
Read the instruction manual for the lens in use as well.
1
Set the iris to manual.
2
Open the iris, position the supplied flange focal length
adjustment chart approximately 3 meters away from
the camera, and arrange the lighting to obtain a
satisfactory video output.
3
Loosen the fixing screws on the F.f or F.B ring (flange
focal length adjustment ring).
4
Use manual or power zoom to set the lens to telephoto.
5
Point the camera at the chart by turning the focus ring
and focus on the chart.
6
Set the zoom ring to wide angle.
7
Turn the F.f or F.B ring until the chart is in focus,
being careful not to disturb the focus ring.
8
Repeat steps 4 to 7 until the chart stays in focus ring.
9
Tighten the F.f or F.B ring fixing screws.
M
MACRO
A
PUSH
AF
FOCUS
ON
OFF
SERVO MANU.
ZOOM
T
W
A
M
R
E
T
IRIS
Flange focal length
adjustment button
Auto focus indicator
Zoom ringFocus ring
ZOOM switch