


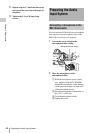
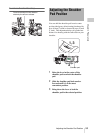
Preparing the Audio Input System
48
Chapter 2 Preparations
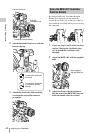
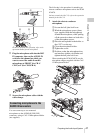
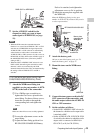
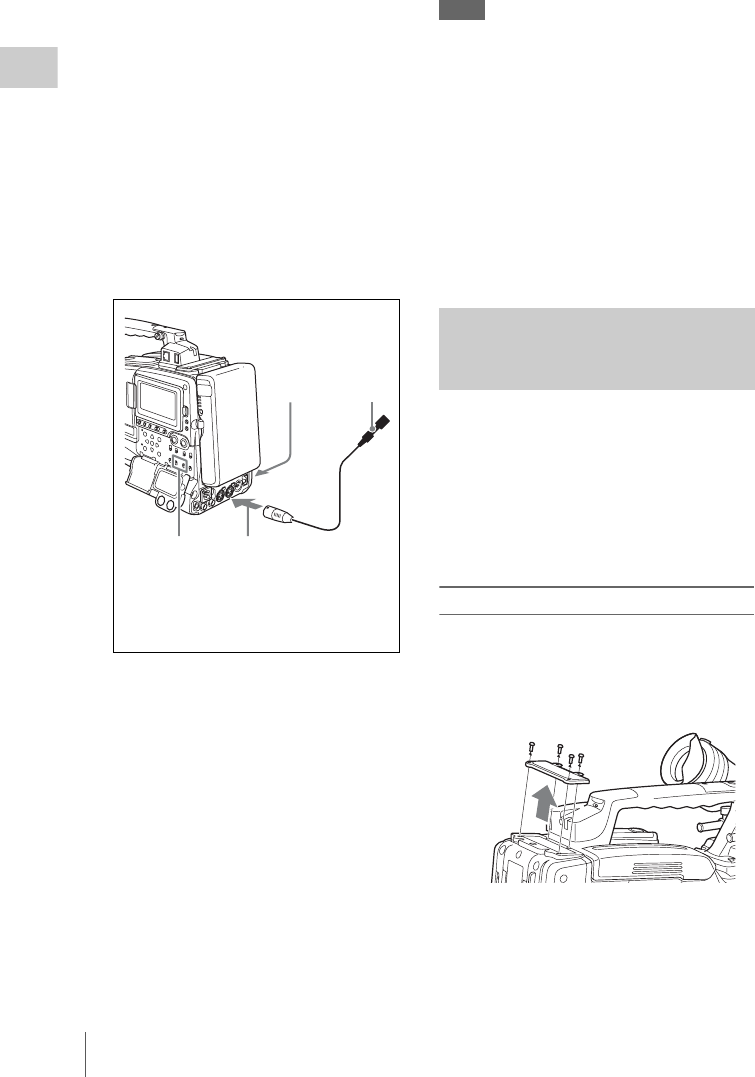
2 Connect the microphone cable to the
AUDIO IN CH1 or CH2 connector.
3 Set the switches as follows.
Set the LINE / AES/EBU / MIC selector to
MIC.
• Set the +48V/OFF switch indicated below,
depending on the power supply type of the
microphone.
Internal power supply: Set the +48V/OFF
switch to OFF.
External power supply: Set the +48V/
OFF switch to +48V.
• Set the AUDIO IN (CH-1/CH-2/CH-3/CH-
4) switch for the channel to which the
microphone is connected to REAR (for
CH-1/CH-2) or R (for CH-3/CH-4).
4 Switch the input level to match the
sensitivity of the microphone used.
Switch the input level by changing the REAR
MIC REF setting on the AUDIO-1 page of the
MAINTENANCE menu (factory default setting
is –60 dB). For details, see page 177.
XLR connection automatic detection function
With the XLR connection automatic detection
function being on, when a cable is connected to
the AUDIO IN CH1 or CH2 connector, the input
from that connector is automatically selected for
audio recording, regardless of the setting of the
AUDIO IN CH-1 or CH-2 switch.
The XLR connection automatic detection
function can be switched on or off on the
AUDIO-1 page of the MAINTENANCE menu,
with the REAR XLR AUTO item.
Notes
• If the input level on this unit is not at an appropriate
setting for the microphone sensitivity, loud sounds
may be distorted, and the signal-to-noise ratio may be
affected.
• In order for the AUDIO IN CH1 and CH2 connectors
on the camcorder to be able to provide a phantom 48 V
power supply, female XLR connectors (3-pin) are
fitted. If the microphone cable has a female connector,
use an adaptor.
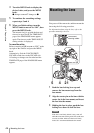
• When you detach a CAC-12 Microphone Holder once
you have attached to the camcorder, be careful not to
lose the two screws fixing the CAC-12 (in step 1).
After detaching the CAC-12, be sure to put the two
screws back into their original places.
To use a Sony UHF wireless microphone system,
fit one of the following UHF portable tuners.
• DWR-S01D Digital Wireless Receiver
• WRR-855S UHF Synthesized Tuner Unit
• WRR-860A/861/862 UHF Synthesized
Diversity Tuner
For details of these units, refer to the operation
manuals for them.
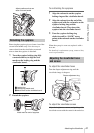
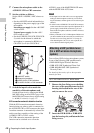
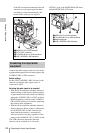
To fit the DWR-S01D or WRR-855S
1 Remove the four fixing screws holding
the cover of the portable tuner/receiver
housing slot located in the rear of this
unit, to remove the cover.
2 Insert the DWR-S01D or WRR-855S
into the housing slot, and fasten the four
fixing screws.
12
43
1+48V/OFF switch
2Monaural microphone
3AUDIO IN CH-1/CH-2 switches
4To AUDIO IN CH1 or CH2 connector
Attaching a UHF portable tuner
(for a UHF wireless microphone
system)