


Microsoft Picture It! Companion Guide
Chapter 2: Making the Most of Your Camera
32
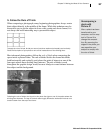
Using the Self-Timer
Many digital cameras, even inexpensive ones, come with a self-timer feature.
Some self-timers open the shutter after a preset amount of time, such as 10
seconds; others allow you to adjust the length of time before the shutter fires.
Either way, this fairly simple feature is great for getting yourself into a photo
and taking long exposure shots.
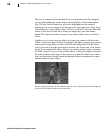
Getting Yourself into a Photo
To get yourself into a photo, plan where you want to position yourself for the
shot. Then set up the camera by putting it on a tripod, a table, or any other flat,
stable surface. With your camera in position, focus the camera on your subject,
which should be close to the position where you will stand for the photo.
If your camera has autofocus, press the shutter halfway down to focus, press
the self-timer button, and then press the shutter all the way down. Then you’ve
got about 10 seconds to get yourself in position for the shot.
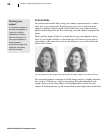
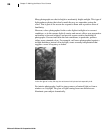
Taking Long Exposure Shots
Another great use of the self-timer is for exposures with a relatively slow
shutter speed. For speeds slower than 1/30th of a second, there is a good chance
the slight movements in your hands will cause blurriness in your photo. Even if
you have very steady hands, the slight movement of your finger pressing the
shutter button can create movement. Using the self-timer will eliminate this
problem. By setting the camera on a firm surface and using the timer, your
hands don’t have to be anywhere near the camera while the shutter is open.
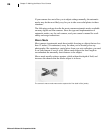
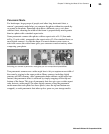
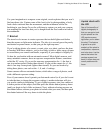
Creating a
makeshift tripod
If you’re outdoors, try
propping the camera
on a rock or car roof.
Then fine-tune the
positioning by putting
the camera on a jacket
or other object that you
can shape to adjust
the camera angle.