Microsoft Picture It! Companion Guide
59
Chapter 4: Picture It! Basics
Manipulating Objects by Using Object Handles
Each element you add to a picture on the canvas is considered an individual
object. Photos, text, clip art, and even some effects are all considered separate
objects, and they can be edited individually. When you’re working with a
composite, which consists of multiple objects on the canvas, you can manipu-
late each object without affecting the other objects.
Each object on the canvas is a separate layer, and each layer is represented by a
thumbnail on the Stack. You can change the order of layers by dragging them
up and down the Stack.
Selecting objects
When you select an object, you can edit it without affecting other objects on the
canvas. You can select an object by clicking it, either on the canvas or on the
Stack. If you want to select a small object or one that is hidden behind other
objects, it is often easiest to select it on the Stack.
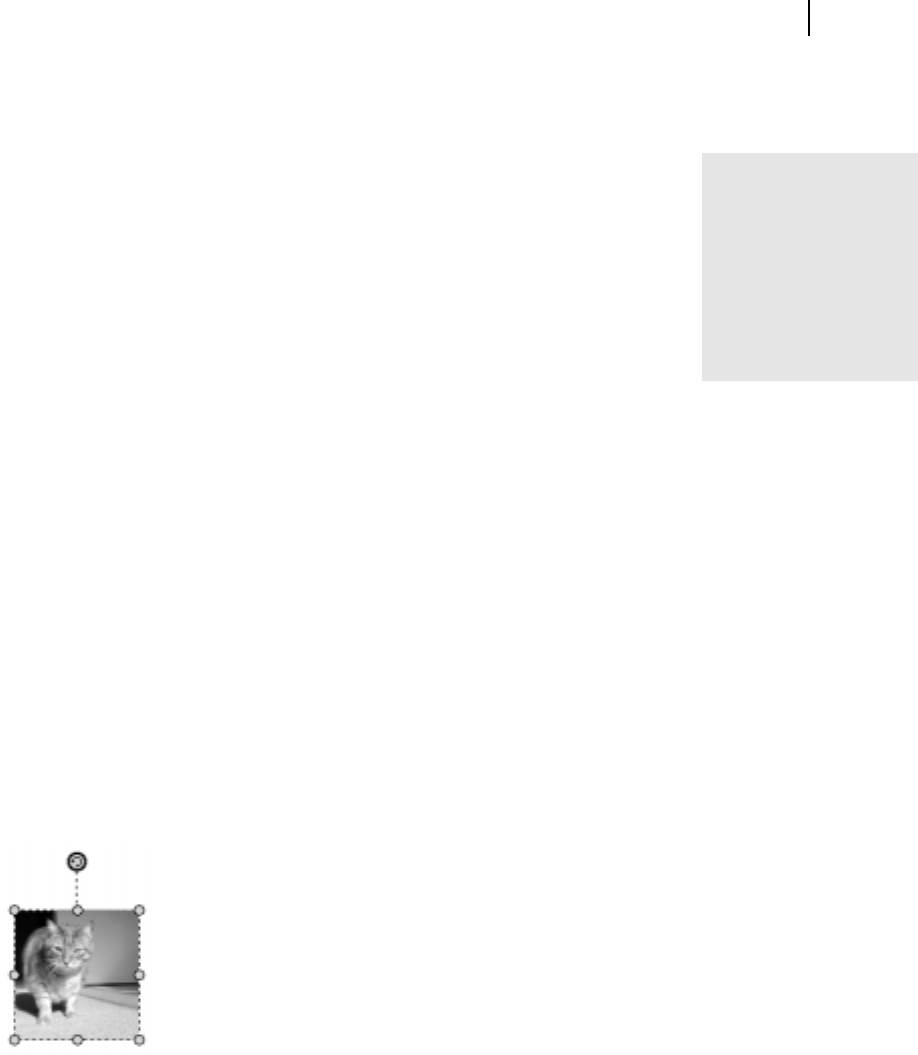
You can tell when an object is selected because it will be bordered by a
selection box, a dashed-line rectangle surrounding the selection. Around the
edges of the selection box are yellow circles are called object handles, which
are used for moving and resizing the object. There are two types of object
handles:
■
Resize handles Resize handles are located on the corners and along each
edge of the selection box. Use the corner resize handles to resize a picture
proportionally. Use the top, bottom, or side resize handles to stretch a
selection box.
■
Rotate handle The rotate handle is attached to the top of the selection
box. Use the rotate handle to rotate a picture clockwise or counterclock-
wise.
Use object handles to rotate, resize, and stretch an object.
Centering an
object on the
canvas
To center the object on
the canvas, on the
FormatFormat
FormatFormat
Format menu, click
Center Object onCenter Object on
Center Object onCenter Object on
Center Object on
CanvasCanvas
CanvasCanvas
Canvas.
