


Microsoft Picture It! Companion Guide
Chapter 4: Picture It! Basics
64
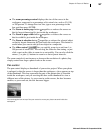
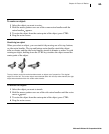
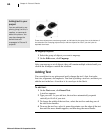
These three objects have now been grouped, as indicated by the group icon at the bottom of
the selection box. Grouping objects lets you edit the objects as a set if you don’t plan to
separate them later.
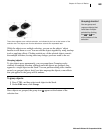
To ungroup objects:
1 Select the group of objects you want to ungroup.
2 On the Edit menu, click Ungroup.
After you ungroup a set of objects, they will remain multiple selected until you
click in the workspace outside the selection.
Adding Text
You can add text to any picture and easily change the text’s font, font color,
font size, alignment, and emphasis. You start by adding a text box, and then you
edit the text in the box. A text box is its own layer in the Stack.
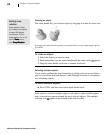
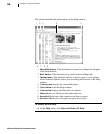
To add text:
1 On the Text menu, click Insert Text.
A text box appears.
2 Type your text. As you add text, the text box automatically expands
vertically to fit all of your text.
3 To change the width of the text box, select the text box and drag one of
the side resize handles.
4 To move the text box, select it, pause the pointer over the edge of the text
box until the move handle appears, and then drag the move handle.
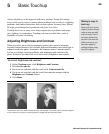
Adding text to your
project
You can add text to any
photo, giving it a title, a
caption, or comments
about the picture. You
can also change the
default text and
messages in Picture It!
projects.