Microsoft Picture It! Companion Guide
77
Chapter 6: Using Special Effects
Filters
The term filter originates from the colored glass covers placed over a camera
lens. The first filters in digital imaging sought to mimic the results of these
physical camera filters, providing a slight shift in color, or increasing the
intensity of colors. But the filters in Picture It! can create many other effects,
from sharpening an image to making the photo look like a painting or a mosaic.
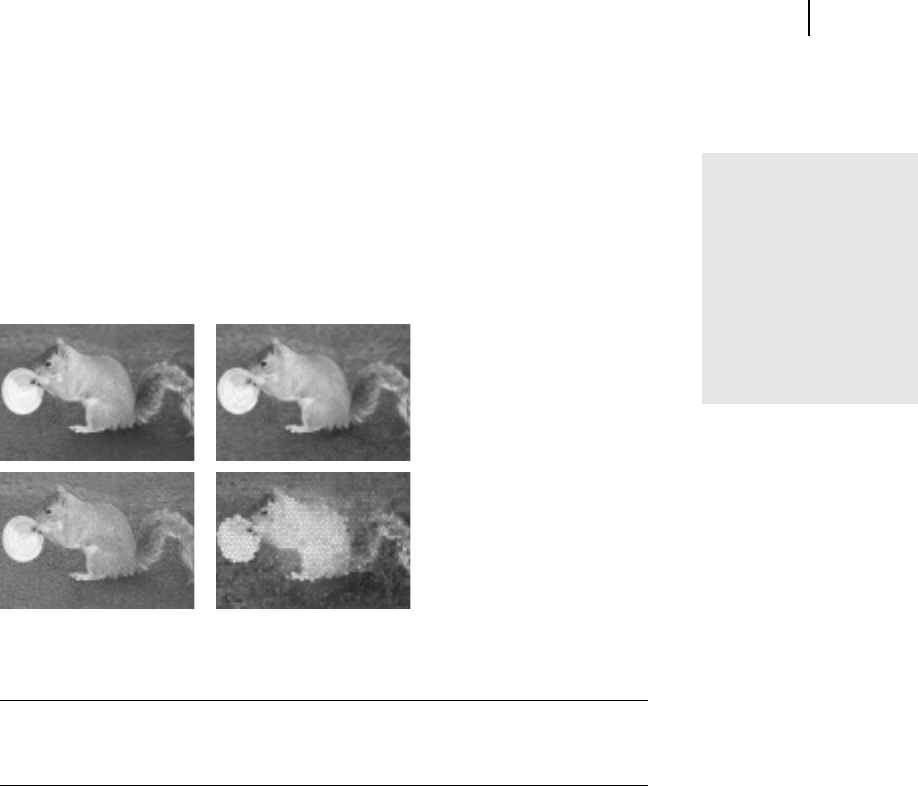
Three different filters were used on the original photo (upper left): the colored pencil filter
(upper right), the emboss filter (lower left), and the stained glass filter (lower right).
To apply a filter:
■
On the Effects menu, point to Filters, and then click a filter.
Filters create a whole new look for your photos. Many filters make the image
look less like a photograph and more like a drawing, painting, mosaic, or other
hand-created artwork. Filter-enhanced photos can become an attractive focal
point of projects such as greeting cards and calendars.
Waiting for filters
to be applied
Some filters require
your computer to make
many calculations, so
on a slower computer
they may take a couple
of minutes to be
applied.


