ERASING DATA
You can erase data that is stored on the card if you no longer need it. You can erase the images,
video clips, and sound recordings one at a time, or all at once.
1
Display the data that you want to erase.
œ See “PLAYING BACK STILL IMAGES” on page 98, “PLAYING BACK SEQUENTIAL
SHOTS” on page 102, “PLAYING BACK VIDEO CLIPS” on page 103, or “LISTENING TO
AUDIO RECORDINGS” on page 107.
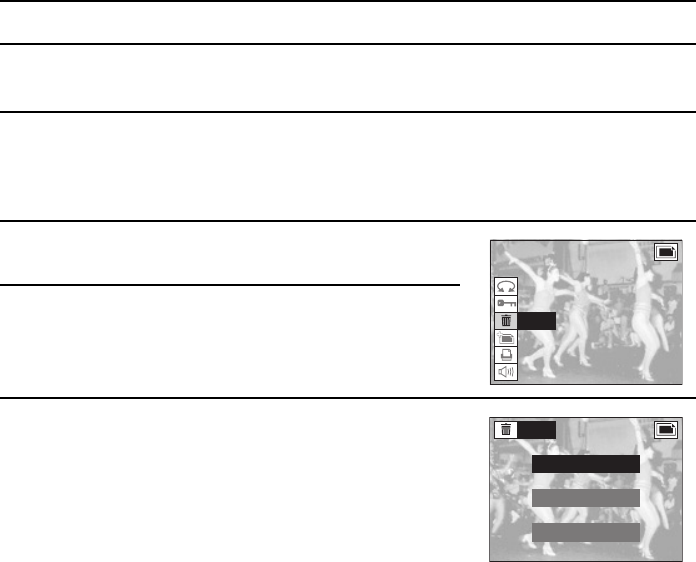
2
Press the MODE button to display the Playback Setting
Screen.
3
Select the “ERASE” icon q, and press the SET
button.
œ The Erase Screen appears.
4
Press [j] or [l] on the arrow button to select the type
of erase.
For still images:
ONE ERASE: Erases one still image at a time.
GROUP ERASE: Erases all the still images.
EXIT: Returns to the Playback Setting Screen.
For sequential shots:
ONE ERASE: Erases the one still image displayed.
GROUP ERASE: Erases the entire folder for the
sequential shot displayed (the data for
other sequential shots remains).
EXIT: Returns to the Playback Setting Screen.
For video clips:
ONE ERASE: Erases the video clip displayed.
GROUP ERASE: Erases all the video clips.
EXIT: Returns to the Playback Setting Screen.
For audio recording:
ONE ERASE: Erases one audio recording at a time.
GROUP ERASE: Erases all the audio recordings.
EXIT: Returns to the Playback Setting Screen.
ROTATE
PROTECT
ERASE
EDIT PHOTO
PRINT SETTING
VOLUME
ERASE
ONE ERASE
GROUP ERASE
EXIT
SX511/EX, /E, /U (VPC-AZ1EX, VPC-AZ1E, VPC-AZ1 GB) Thu. Nov., 29/2001
English
116


