


EXPOSURE CORRECTION
Use the exposure correction function when shooting to make the entire image that you capture
darker (underexposed) or lighter (overexposed) as desired.
1
Display the Shooting Setting Screen (see page 31).
2
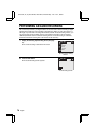
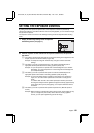
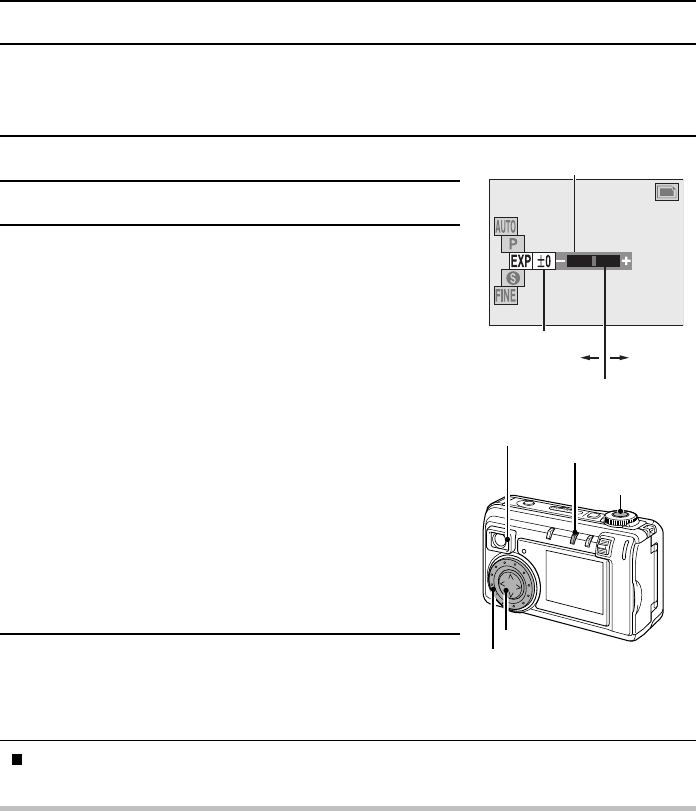
Select the exposure correction icon Ê.
3
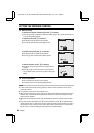
Press [d] or [c] on the arrow button to adjust the
exposure.
œ Press [d] or [c] to move the pointer on the exposure
correction bar to the left or right and correct the exposure
accordingly.
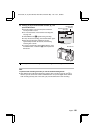
œ The exposure setting numerical value is shown at the left
end of the exposure bar. The exposure can be set within
the range shown below.
Still image/normal sequential shot/best shot/video clip
shooting:
–1.8EV to +1.8EV
Auto bracket shooting (AE shift sequential):
–0.9EV to +0.9EV
œ While the exposure is corrected, the stand-by indicator
will flash green.
œ Exposure correction is cancelled when the main switch is
set to “MONITOR OFF” or Ô, the camera is turned off,
or the pointer is returned to the center position.
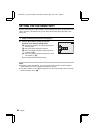
4
Press the shutter release button.
œ The image is captured with exposure correction.
When you have finished capturing images, turn off the digital camera.
NOTE
œ When the exposure control setting [page 82] is set to manual Í, exposure correction is not
possible. To use the exposure correction, set the exposure control to a setting other than
manual Í.
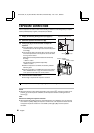
HINT
Shortcut for setting the exposure correction
œ When the Shooting Setting Screen or Information Screen is not displayed, you can press the
arrow button to quickly display the exposure correction bar. (The exposure correction bar will
not appear if exposure correction is not available.) Press [d] or [c] to set the exposure
correction.
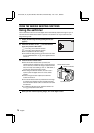
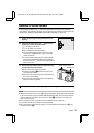
EXPOSURE
12
Exposure correction bar
Make brighterMake darker
Exposure correction
Pointer
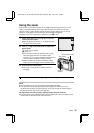
Stand-by indicator
Shutter release
button
Arrow button
MODE button
Jog dial
SX511/EX, /E, /U (VPC-AZ1EX, VPC-AZ1E, VPC-AZ1 GB) Thu. Nov., 29/2001
81
English