2-26
To Make Settings...
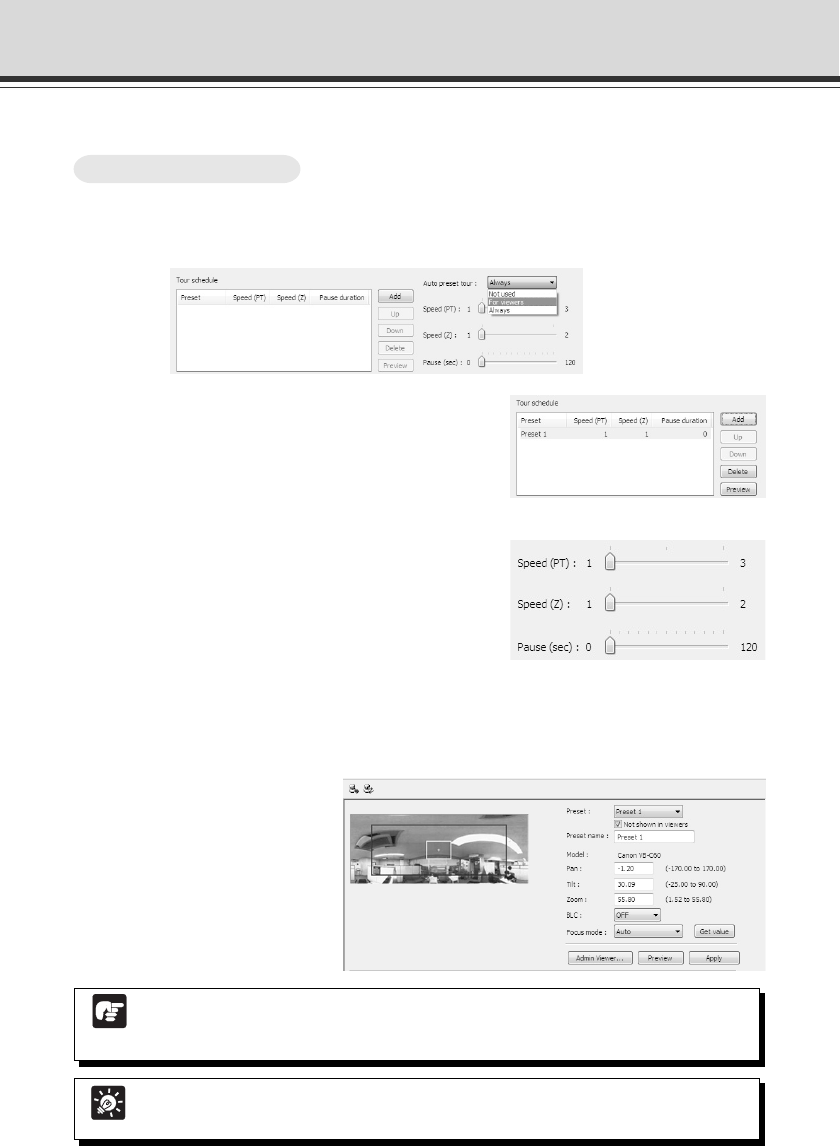
1. Select the tour method from “Auto preset tour”
Select either “For viewers” or “Always”.
2. Select the preset number to add in the Tour
Schedule from “Presets” in the Preset Setting
area and click “Add”
The preset is registered in the Tour Schedule list. You
can register up to 20 presets.
3. Select a preset from the Tour Schedule list
and set the speed of panning, tilting and
zooming and the duration (sec.) to pause at
the preset position for each preset using the
slide bar for “Speed (PT)”, “Speed (Z)” and
“Pause (sec.)”
Click “Preview” to reflect the setting values for the selected preset in the Preset Preview
frame. The camera angle is switched based on this preset, which can be confirmed in the
Admin viewer.
4. Click “Apply”
Check the Status List to make
sure that the values are applied
correctly and click “Save Preset
Settings” to save the values to
VB-C60.
Preset Setting Tool
■ Set Preset Tour
Note
When using Preset Tour, do not use the Motion Detection function.
When Day/Night is set to Auto, the camera may pause longer than your setting.
Tip
The home position cannot be added to the Tour schedule list.


