


Chapter 7 Menu Displays and Detailed Settings
109
7-1 Menu Organization and Operation
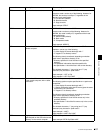
USER 19 EDIT and ASSIGN SEL EDIT, then press
the MENU knob to display the page.
If a different page is displayed, turn the MENU knob
until the desired page appears, then press the MENU
knob to select the page.
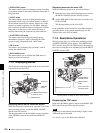
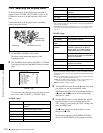
Example: When you select the USER 2 EDIT page
4
Move the b mark to the item to be added (this
operation is unnecessary, if no item exists on the page
as shown in the figure for step 3), then press the
MENU knob.
The EDIT FUNCTION page appears.
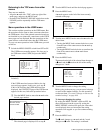
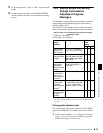
5
Move the b mark to “INSERT”, and press the MENU
knob.
The page for the last added item appears.
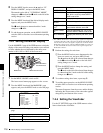
6
Add the items.
1 Turn the MENU knob until the page that has the
desired items appears, then press the MENU knob.
2 Turn the MENU knob to move the b mark to the
desired item, then press the MENU knob.
The USER P2 EDIT page appears again,
displaying the newly added item.
7
Add the remaining items by repeating steps 4 to 6.
You can add up to 10 items on one page.
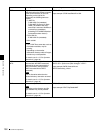
Deleting items from a page by using the CANCEL/
PRST / ESCAPE switch
You can delete items from any of the USER 1 EDIT to
USER 19 EDIT pages. Proceed as follows.
1
Turn the MENU knob to move the b mark to the item
to be deleted.
2
Push the CANCEL/PRST / ESCAPE switch to
CANCEL/PRST.
The message “PRESET DATA OK?” appears.
3
Push the CANCEL/PRST / ESCAPE switch to
CANCEL/PRST again.
The item is deleted.
Deleting items from a page by using the menu
Proceed as follows.
1
Move the b mark to the item to be deleted, and press
the MENU knob.
The EDIT FUNCTION page appears.
2
Select “DELETE”, and press the MENU knob.
The previously displayed page appears again, and the
message “DELETE OK? Yes b No” appears at the
upper right.
3
To delete, turn the MENU knob to move the b mark to
“YES”, and press the MENU knob.
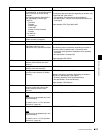
Replacing items on a page
You can replace the items on any of the USER 1 EDIT to
USER 5 EDIT pages. Proceed as follows.
1
Turn the MENU knob to move the b mark to the item
to be replaced, then press the MENU knob.
The EDIT FUNCTION page appears.
2
Select MOVE, then press the MENU knob.
The previously displayed page appears again.
3
Turn the MENU knob to move the b mark to the
position where you want to move the item, then press
the MENU knob.
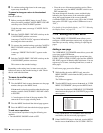
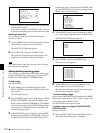
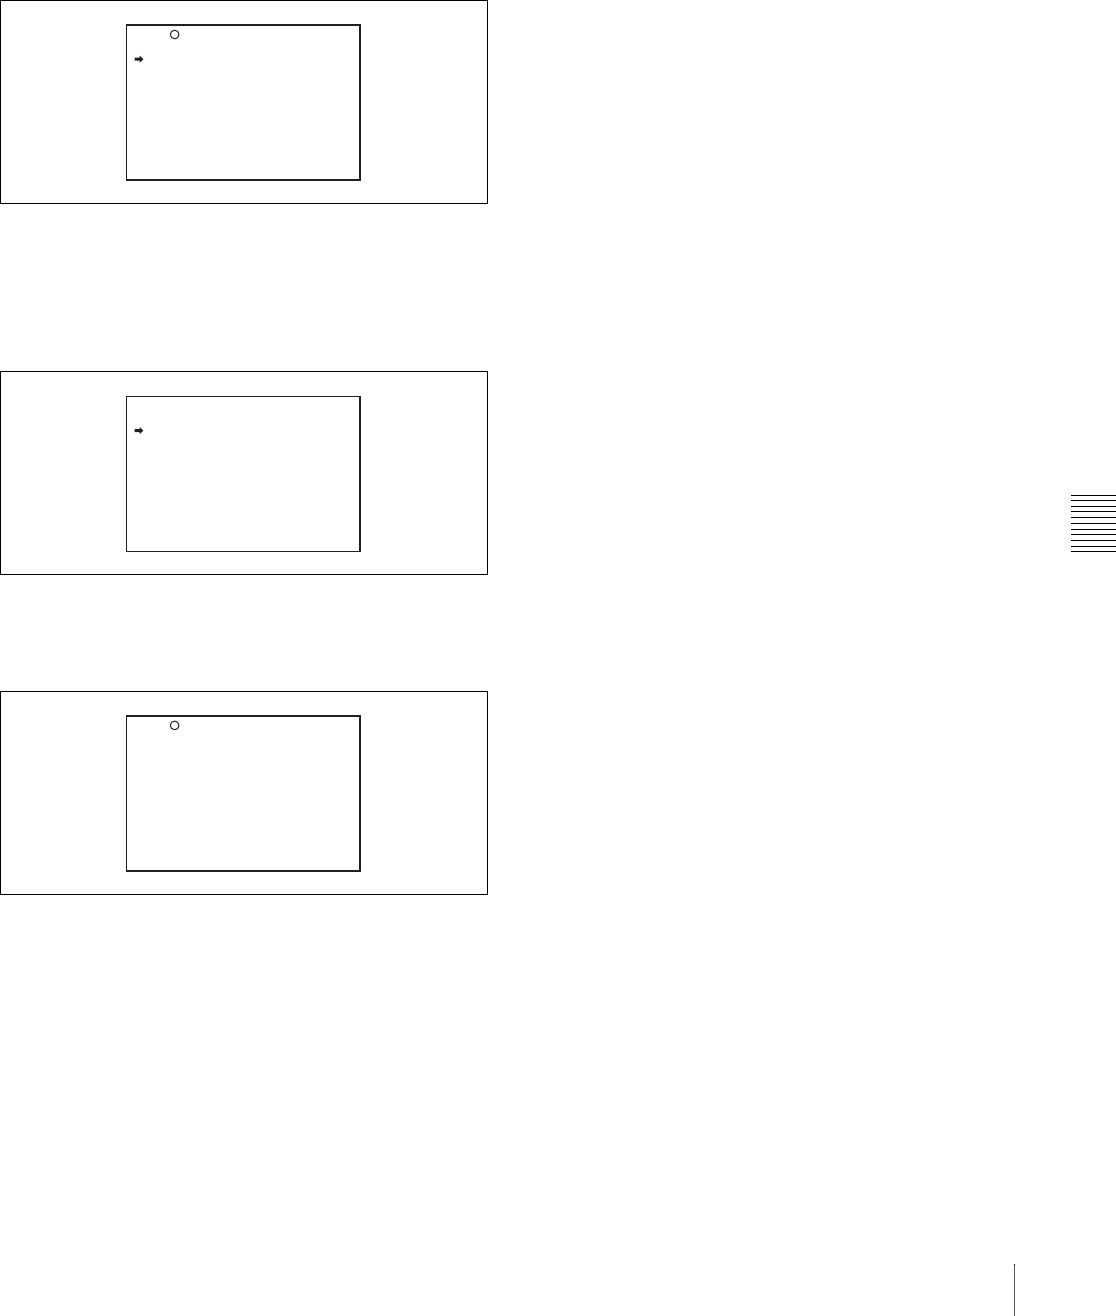
U03 USER 2 EDIT
TOP
EDIT FUNCTION
INSERT
MOVE
DELETE
BLANK
ESC
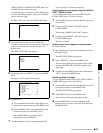
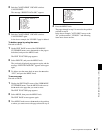
P25 BLACK/FLARE
MASTER BLACK : 0
R GLACK : 0
B BLACK : 0
MASTER FLARE : 0
R FLARE : 0
G FLARE : 0
B FLARE : 0
FLARE : ON
TEST OUT SELECT : ENC
ESC