


Chapter 9 Setting Up the Camcorder
152
9-3 Mounting the Lens
3
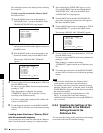
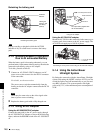
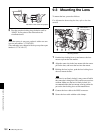
Turn the eyepiece locking ring clockwise until its
“LOCK” arrow points at the red mark on the
viewfinder barrel.
Note
When the eyecup is worn out, replace it with a new one
(service part number 3-723-079-03).
(The camcorder was shipped with an eyecup whose part
number is 3-776-341-01.)
9-3 Mounting the Lens
To mount the lens, proceed as follows.
For information about using the lens, refer to the lens
manual.
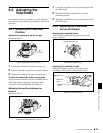
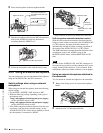
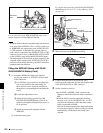
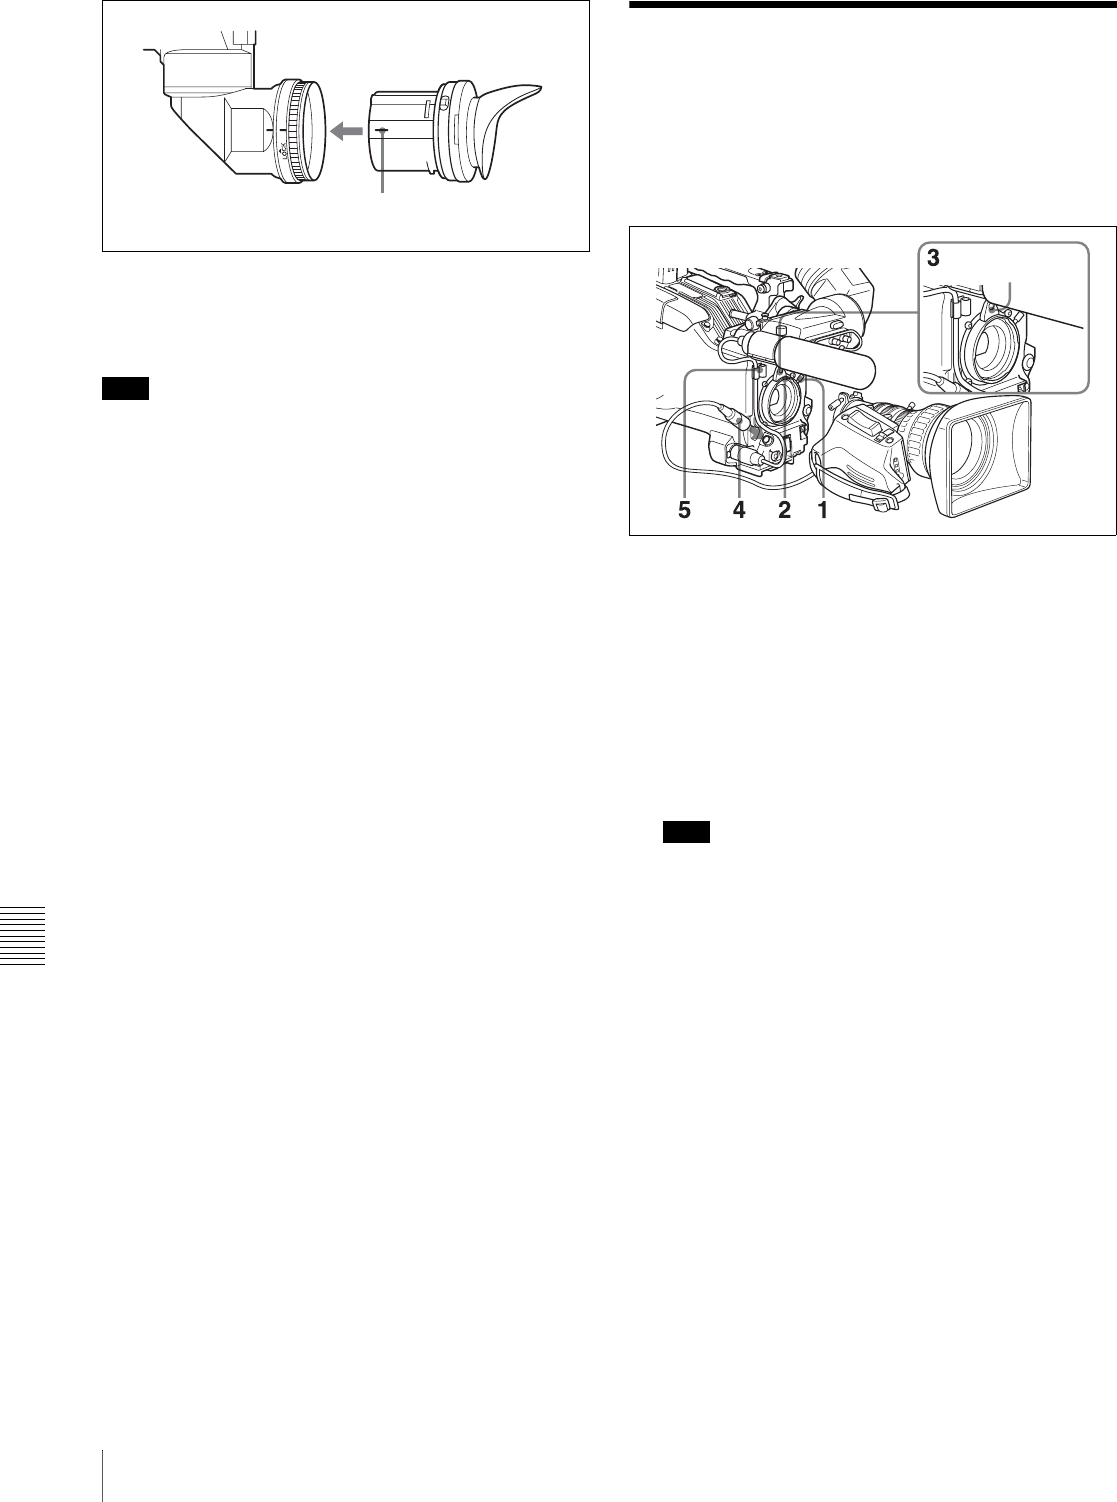
Mounting the lens
1
Push the lens locking lever up and remove the lens
mount cap from the lens mount.
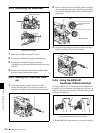
2
Align the center slot in the lens mount with the center
pin on the lens, and insert the lens into the mount.
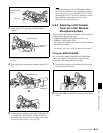
3
Holding the lens in place, push the lens locking lever
down to mount the lens.
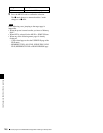
Note
If the lens is not firmly locked, it may come off while
the camcorder is being used. This could cause a serious
accident. Make sure the lens is firmly locked. It is
recommended that the lens mount securing rubber be
put on the lens-locking lever as illustrated above.
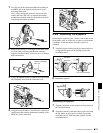
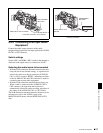
4
Connect the lens cable to the LENS connector.
5
Secure the lens cable with the cable clamps.
Red mark on the end of the eyepiece
Lens mount
securing rubber