


Chapter 3 Recording and Playback
52
3-2 Recording
3-2-5 Time-Lapse Video (Interval
Rec Function)
Using the memory in the camcorder, you can capture time-
lapse video. There are two modes for this function, which
is known as “Interval Rec.”
• Auto Interval Rec mode
In Auto Interval Rec mode, pictures are automatically
shot a frame at a time at the specified interval and stored
in memory. To use this function you must set the total
time for shooting (TAKE TOTAL TIME) and the length
of time for recording on the disc (REC TIME).
• Manual Interval Rec mode
A specified number of frames (NUMBER OF FRAME)
is recorded when you press the REC START button or
the lens VTR button.
There are two Manual Interval Rec modes: a single shot
mode in which recording is done once with each press of
the button, and a consecutive mode in which recording is
done repeatedly at a specified interval after the button is
pressed.
A pre-lighting function is available in Auto Interval Rec
mode and the consecutive mode of Manual Interval Rec
mode. This function automatically turns on the light before
recording starts, which allows you to record pictures under
stable light and color temperature conditions.
Note
The camcorder cannot be put into Interval Rec mode when
the scanning mode is 24P (with the CBK-FC01 expansion
board (see page 130) installed).
Auto Interval Rec mode settings and
shooting
To make settings before shooting
To record in Auto Interval Rec mode, you need to turn on
Auto Interval Rec and set the total time from start to finish
of shooting (TAKE TOTAL TIME) and the length of time
for recording on the disc (REC TIME), using the USER
menu.
Notes
• To make settings for Auto Interval Rec mode, set
“TAKE TOTAL TIME” first, then “REC TIME”.
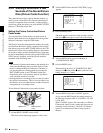
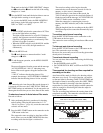
• To turn on the light automatically before starting to
record, set the LIGHT switch to AUTO.
To turn on Auto Interval Rec mode, proceed as follows.
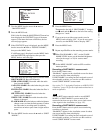
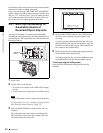
1
Set the MENU ON/OFF switch to ON.
The last accessed menu page appears on the screen.
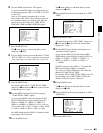
2
Turn the MENU knob until the FUNCTION 1 page
appears.
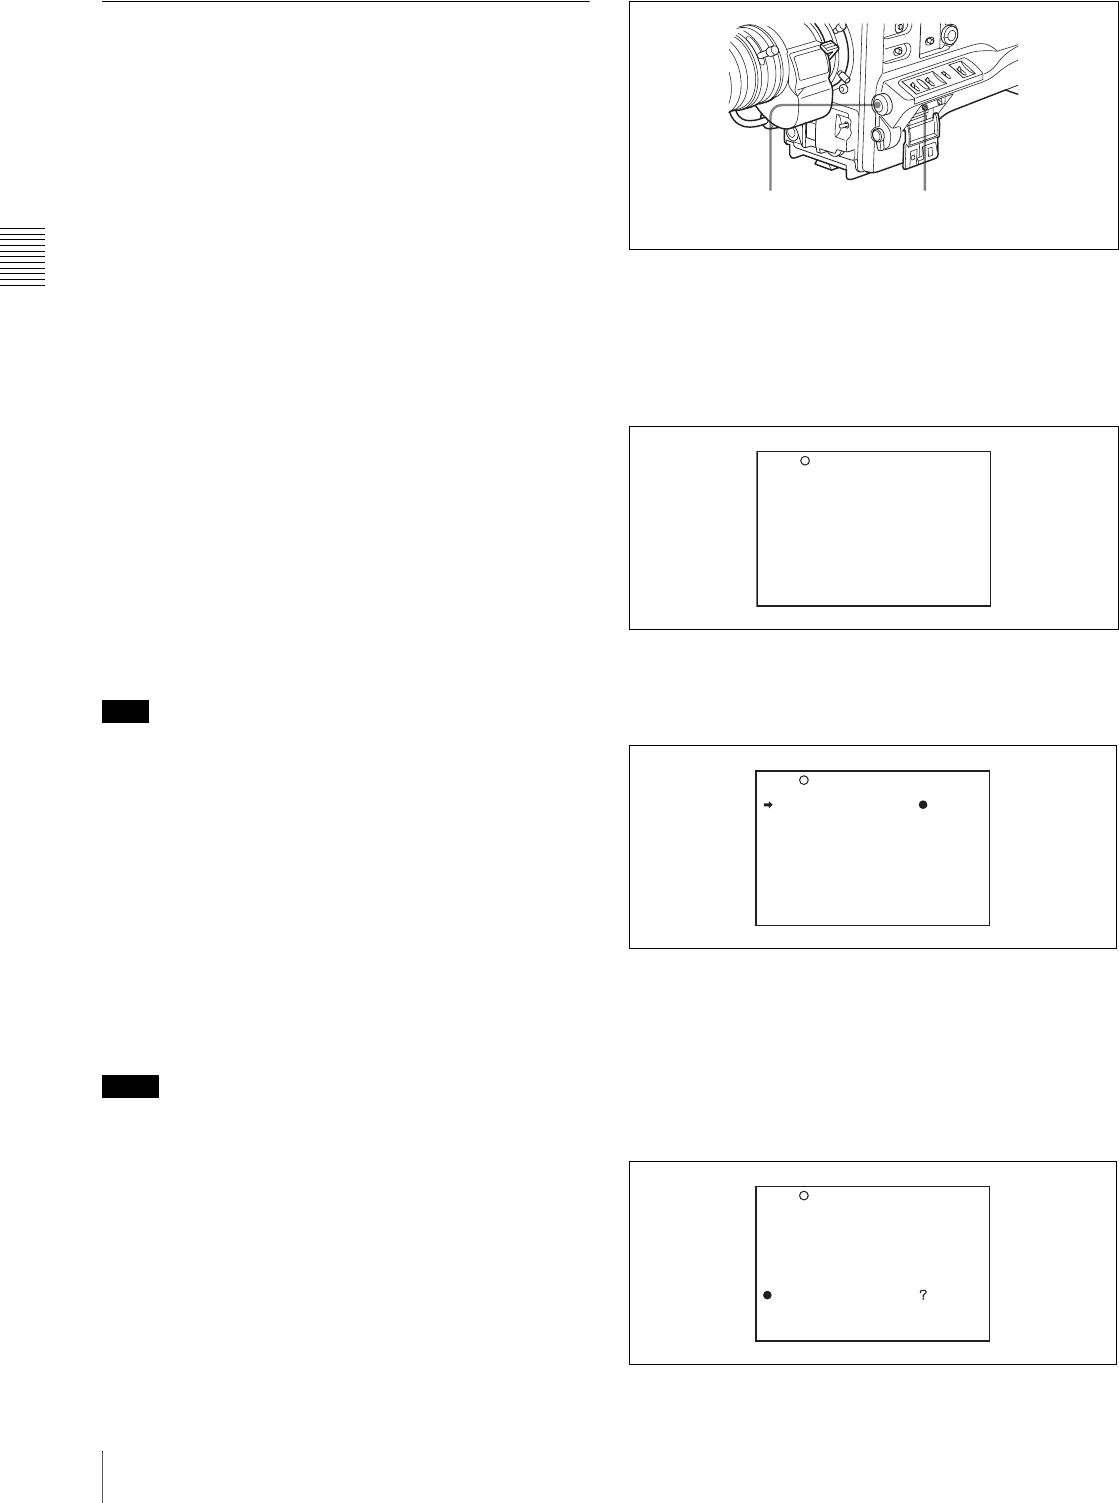
3
Press the MENU knob.
A b mark appears on the left of the currently selected
item and a z mark appears on the left of the setting.
4
Turn the MENU knob to move the b mark to
“CACHE/INTVAL REC”.
5
Press the MENU knob.
The b mark on the left of “CACHE/INTVAL REC”
changes to a z mark and the z mark on the left of the
setting changes to a ? mark.
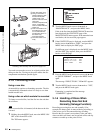
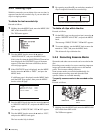
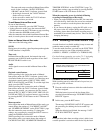
MENU knob
MENU ON/OFF switch
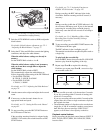
? 03 FUNCTION1 TOP
ASSIGN SW <1> : ATW
ASSIGN SW <2> : OFF
ASSIGN SW <3> : OFF
ASSIGN SW <4> : OFF
TURBO SW : TURBO
DF/NDF : DF
CACHE/INTVAL REC: OFF
03 FUNCTION1 TOP
ASSIGN SW <1> : ATW
ASSIGN SW <2> : OFF
ASSIGN SW <3> : OFF
ASSIGN SW <4> : OFF
TURBO SW : TURBO
DF/NDF : DF
CACHE/INTVAL REC: OFF
ASSIGN SW <1> : ATW
ASSIGN SW <2> : OFF
ASSIGN SW <3> : OFF
ASSIGN SW <4> : OFF
TURBO SW : TURBO
DF/NDF : DF
CACHE/INTVAL REC: OFF
03 FUNCTION1 TOP