Chapter 4 Scene Selection
68
4-2 Basic Operations
To move the cursor within the scene selection
window
When the scene selection window appears as you carry
out step 3, use the SEL/SET dial to move in the desired
direction.
6
When you have added all of the desired clips, save the
current clip list to disc.
For details, see 4-3-2 “Saving the Current Clip List to
Disc” (page 71).
Note
Unless the current clip list has been saved to disc, its
contents will be lost when the camcorder is powered
off or the disc is ejected. After creating a clip list, be
sure to save it.
4-2-2 Editing Clip Lists
You can carry out the following operations on sub clips
within a clip list.
• Moving sub clips (changing the sequence)
• Trimming sub clips
• Deleting sub clips
For details of how to add sub clips, see the procedure in 4-
2-1 “Creating Clip Lists” (page 67).
Loading a clip list to edit from disc
Proceed as follows.
1
With the thumbnail indicator off, hold down the
SHIFT button, and press the SUB CLIP button.
The CLIP menu appears.
Notes
• If the MENU ON/OFF switch is set to ON, set it to
OFF, then press the SUB CLIP button with the
SHIFT button held down.
• If you set the MENU ON/OFF switch to ON while
the CLIP menu is being displayed, thumbnail
display is cancelled and replaced with menu display.
2
Use the SEL/SET dial or the MENU knob to move the
cursor to LOAD, and press the dial/knob.
A list of the clip lists on the disc appears.
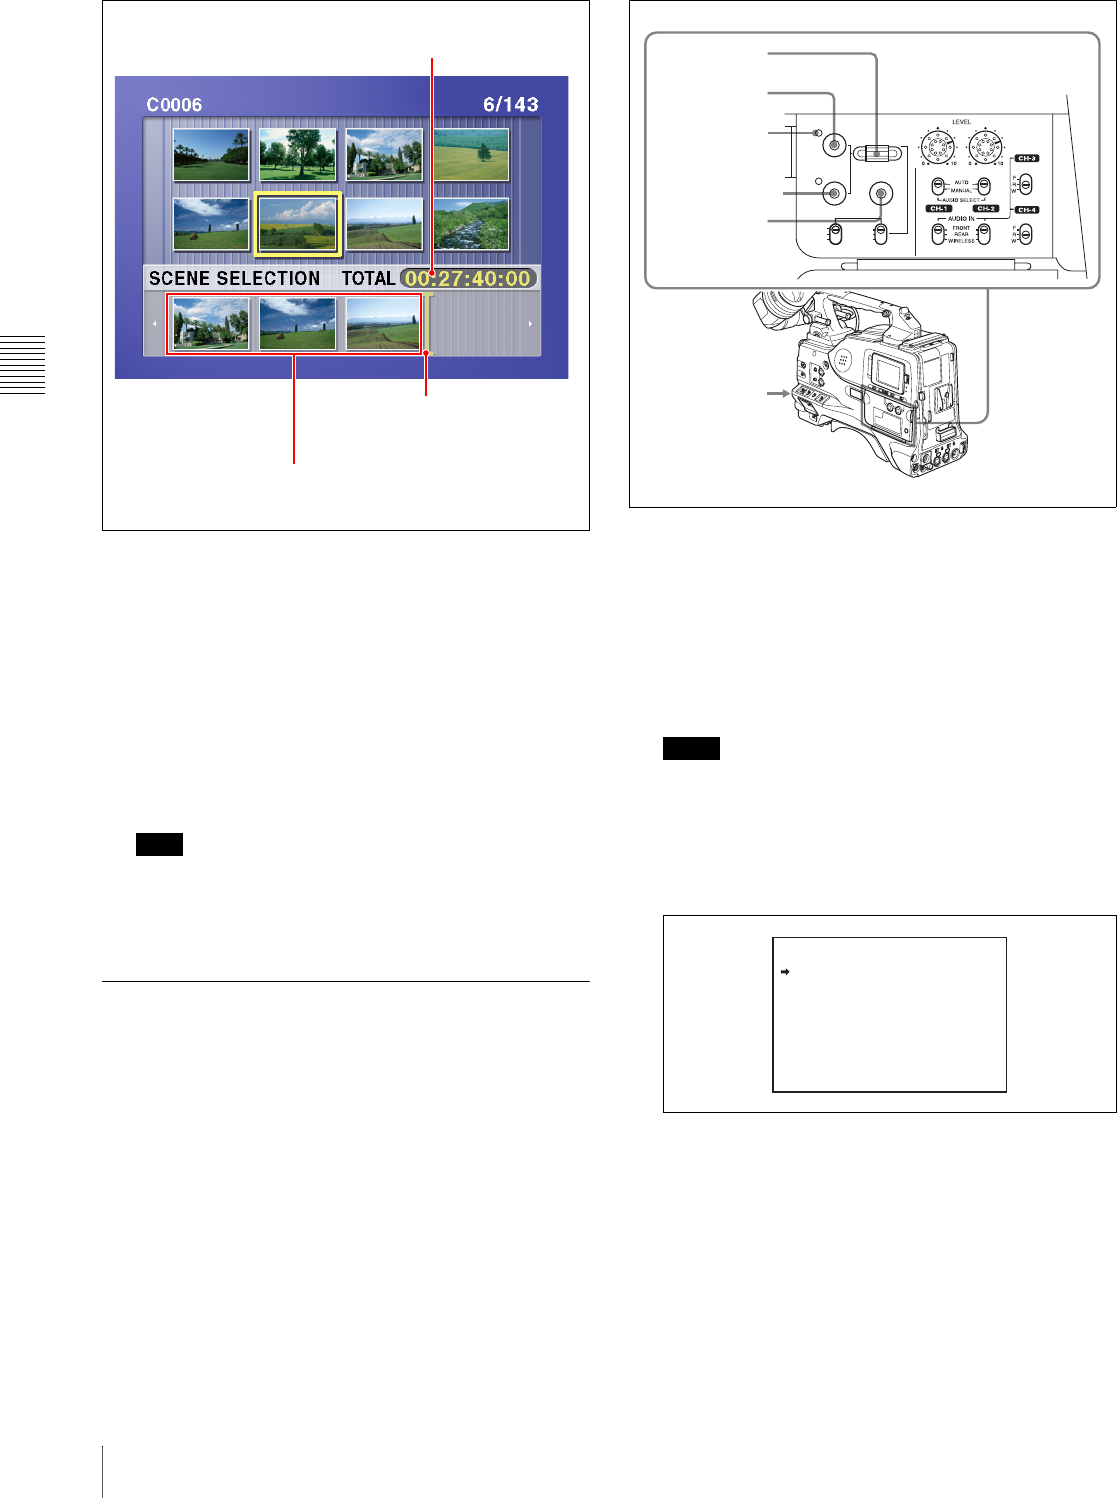
Total duration of the sub
clips in the current clip list
Cursor
(Insertion position for the next
sub clip to be included)
Thumbnails of the sub clips already
included in the current clip list
PRESET
SHIFTCLIP MENU
REGEN
CLOCK
SEL/SET
THUMBNAIL
S.SEL
ESSENCE MARK
SUB CLIP
REGEN
CLOCK
F-RUN
SET
R-RUN
SEL/SET dial
THUMBNAIL
button
Thumbnail
indicator
SUB CLIP button
SHIFT button
MENU knob
<CLIP MENU>
LOAD
SAVE
DELETE
CLEAR
TC PRESET


