


Chapter 5 Adjustments and Settings for Recording
91
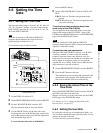
5-6 Setting the Time Data
Synchronizing the time code
1
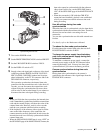
Turn on the POWER switch.
2
Set the PRESET/REGEN/CLOCK switch to PRESET.
3
Set the F-RUN/SET/R-RUN switch to F-RUN.
4
Set the DISPLAY switch to TC.
5
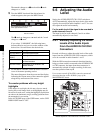
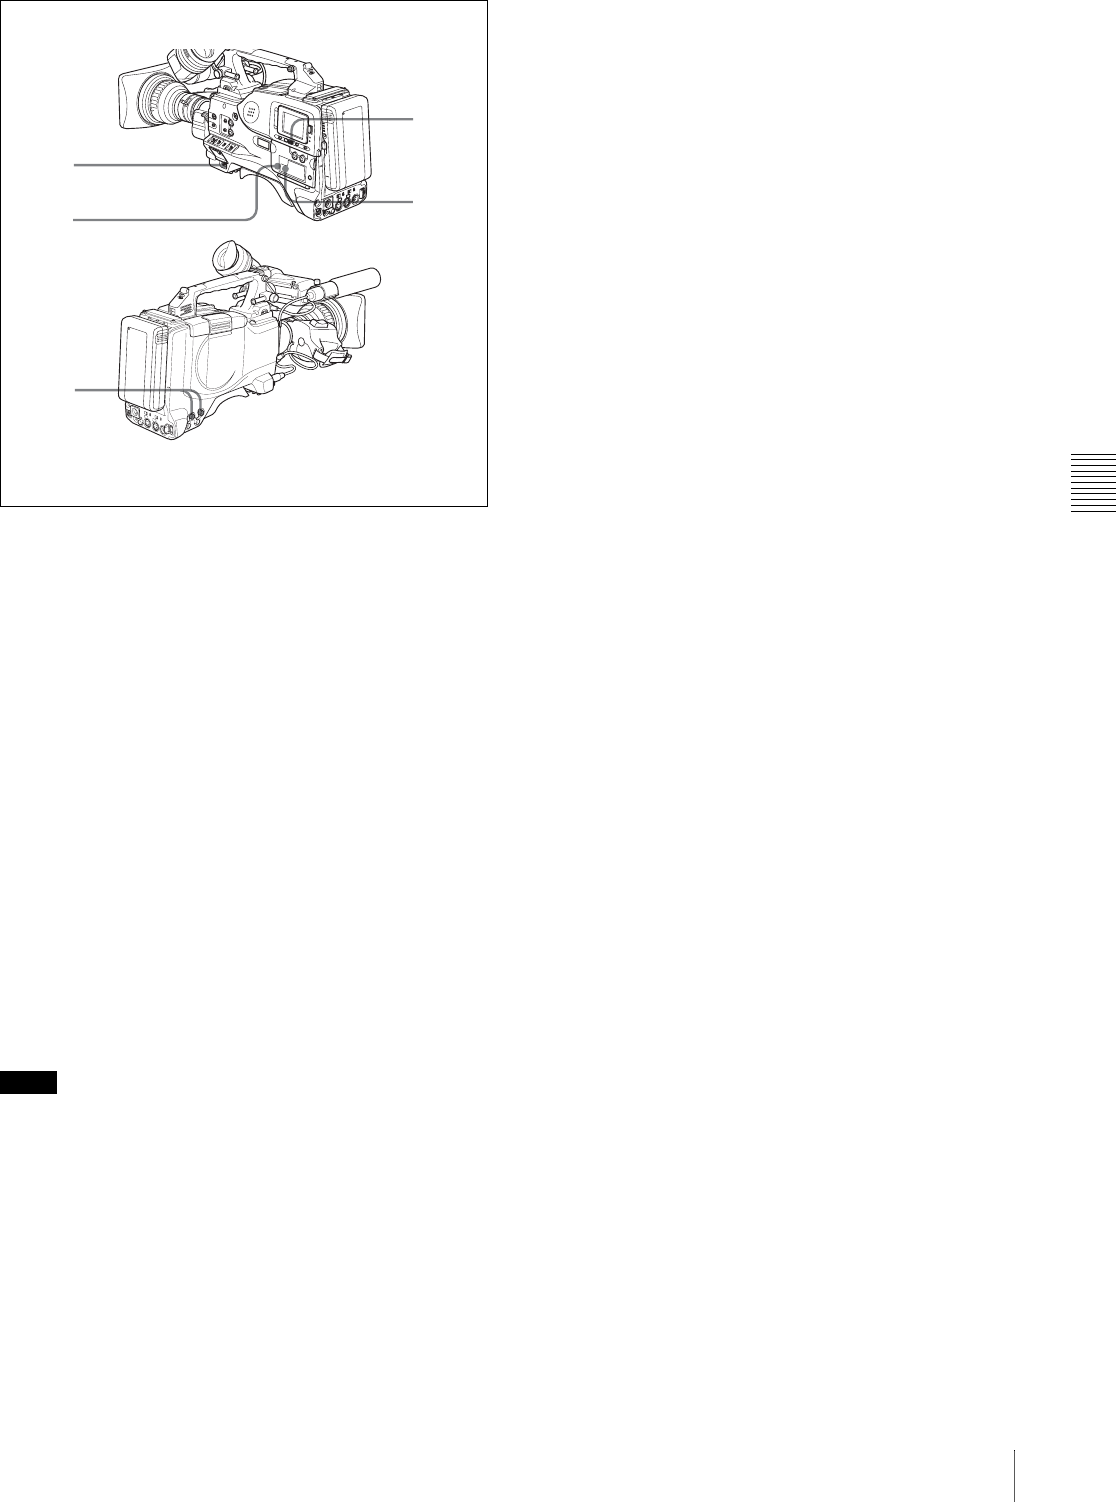
Supply a time code signal and a reference video signal
complying with the SMPTE (for PDW-510/530) or
EBU (for PDW-510P/530P) standard and in proper
phase relationship, to the TC IN connector and to the
GENLOCK IN connector, respectively.
This operation synchronizes the internal time code
generator with the external time code. After about 10
seconds, you can disconnect the external time code
without losing the synchronization. However, there
will be noise on the recorded image if you connect or
disconnect the time code signal during recording.
Notes
• When you finish the above procedure, the internal time
code is immediately synchronized with the external time
code and the counter display will show the value of the
external time code. However, wait for a few seconds
until the sync generator stabilizes before recording.
• If the frequency of the reference video signal is not the
same as the frame frequency of the camcorder, the
camera cannot be correctly genlocked. In such a case, the
internal time code is not correctly synchronized with the
external time code.
• When the GENLOCK ON/OFF item is set to “OFF” on
the GENLOCK page of the MAINTENANCE menu, the
time code cannot be synchronized with the reference
video signal. In this case, set the GENLOCK item to
“ON” on the GENLOCK page of the MAINTENANCE
menu.
• When the scan mode is 24P (with the CBK-FC01
expansion board installed), genlock is not established
even if you connect an external reference time code
during recording.
User bit settings during time code
synchronization
When the time code is synchronized, only the time data is
synchronized with the external time code value. Therefore,
the user bits can have their own settings for each
camcorder.
You can also synchronize the user bits with external user
bit data.
For details, refer to the Maintenance Manual.
To release the time code synchronization
First disconnect the external time code, then set the F-
RUN/SET/R-RUN switch to R-RUN.
To change the power supply from the battery
pack to an external power supply during time
code synchronization
To maintain a continuous power supply, connect the
external power supply to the DC IN connector before
removing the battery pack. You may lose time code
synchronization if you remove the battery pack first.
Camera synchronization during time code
synchronization
During time code synchronization, the camera is
genlocked to the reference video signal input from the
GENLOCK IN connector.
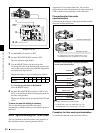
1
2
3
4
5