10-4
Cisco NAC Guest Server Installation and Configuration Guide
OL-15986-01
Chapter 10 Customizing the Application
Editing a User Interface Template
Editing the Print Template
The Print Template page contains the guest account details that the sponsor can bring up in a browser to
print out for handing to the guest after the account is created. The page is configured in HTML and can
be fully customized.
Tip Navigating to Reporting > Active Accounts on the sponsor interface and clicking the Print button next
to the guest account entry brings up the output of the Print Template for printing.
Step 1 Go to User Interface > Templates and click the Edit Template button for the template you want to edit
in the Current Templates list.
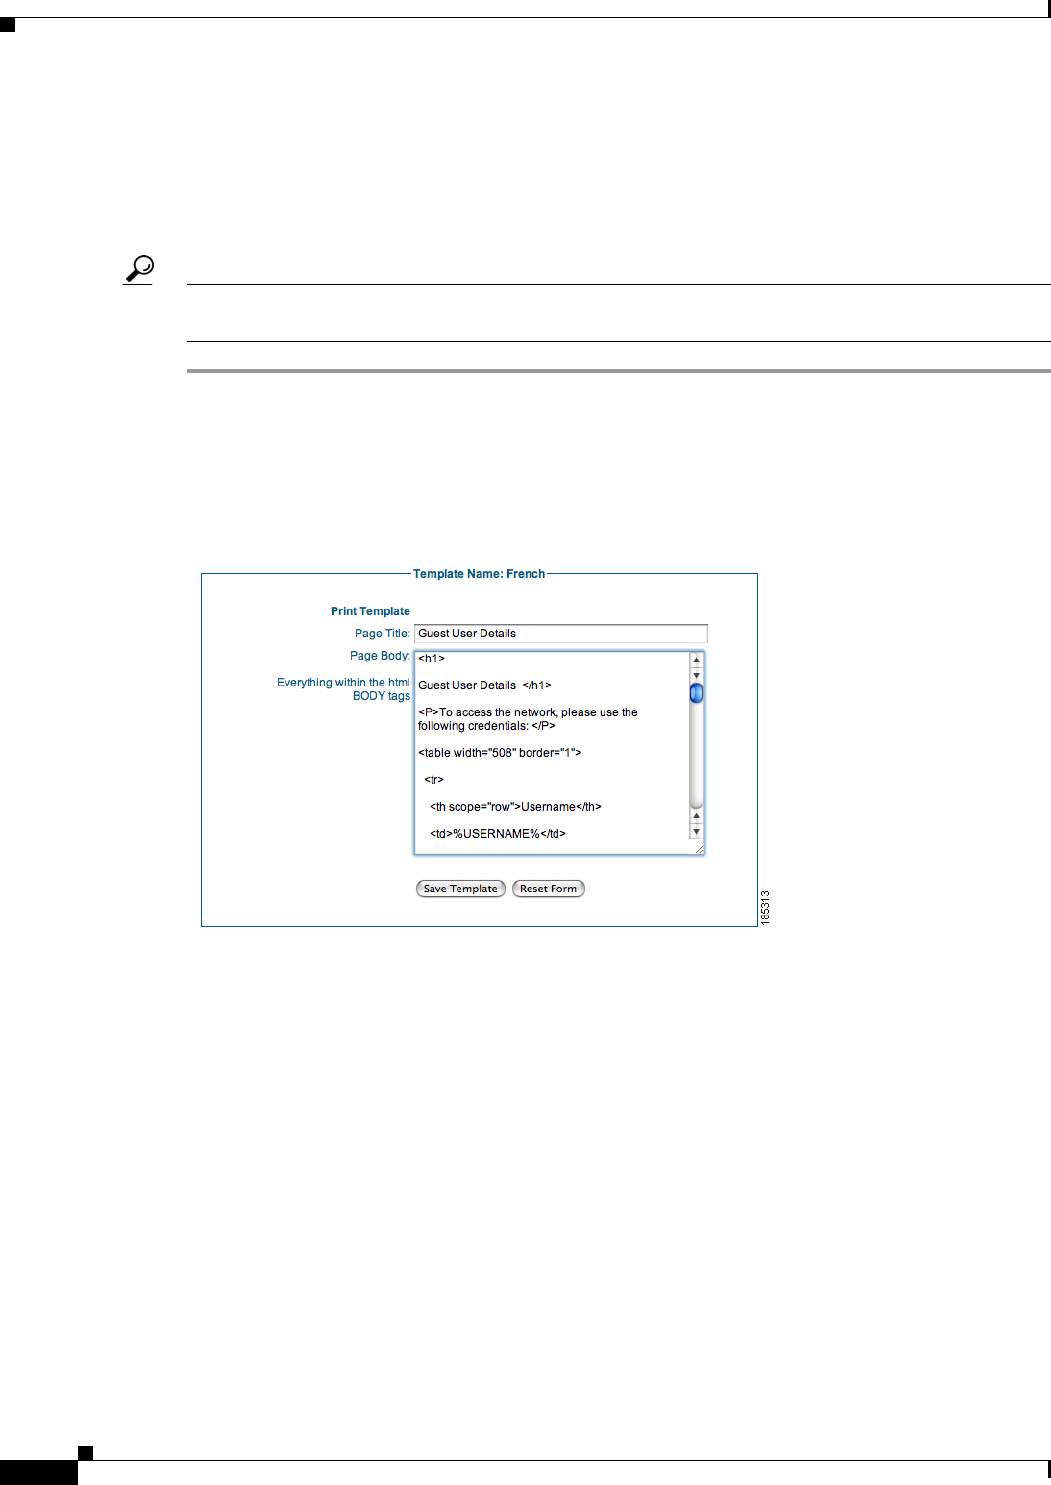
Step 2 In the Edit User Interface page, click the Print Template tab at the top of the page to bring up the Print
Template configuration page (
Figure 10-5).
Figure 10-5 Print Template Page
Step 3 Change the Page Title as desired (default is “Guest User Details”).
Step 4 In the Page Body text field, edit the default HTML code for the web page. The Page Body contains all
the HTML that sits between the BODY tags on a HTML page. All HTML outside these tags is used by
the application.
Step 5 In the HTML code you can use the following special variables to replace them with the details from the
created guest account.
• %USERNAME% = The Username created for the guest
• %PASSWORD% = The Password created for the guest
• %STARTTIME% = The time from which the guest account will be valid
• %ENDTIME% = The time the guest account will expire
• %FIRSTNAME% = The first name of the guest
• %LASTNAME% = The last name of the guest
