


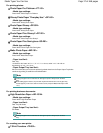


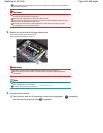


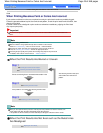


Do not push the sides of the ink tank. If you push the sides of the ink tank with the L-shape
air hole (D) blocked, ink may splash.
Do not touch the inside of the orange protective cap (E) or the open ink port (F). The ink
may stain your hands if you touch them.
Do not reattach the protective cap (E) once you have removed it. Discard it according to
the local laws and regulations regarding disposal of consumables.
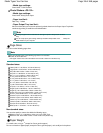
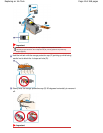
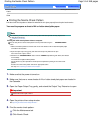
5. Install the new ink tank.
(1)
Insert the front end of ink tank into the Print Head at a slant.
Make sure that the position of the ink tank matches the label.
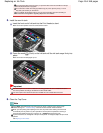
(2)
Press the mark
(Push) on the ink tank until the ink tank snaps firmly into
place.
Make sure that the ink lamp lights up red.
Important
You cannot print if the ink tank is installed in the wrong position. Be sure to install the ink tank in
the correct position according to the label on the Print Head Holder.
You cannot print unless all the ink tanks are installed. Be sure to install all the ink tanks.
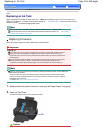
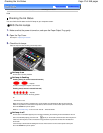
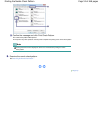
6. Close the Top Cover.
Note
If the
Alarm
lamp still flashes orange after the Top Cover is closed, refer to "Alarm Lamp
Flashes Orange" in " Troubleshooting
" of the on-screen manual:
Advanced Guide .
When you start printing after replacing the ink tank, the printer starts cleaning the Print Head
automatically. Do not perform any other operations until the printer completes the cleaning of
the Print Head. While cleaning is in progress, the
POWER
lamp is flashing green.
If printed ruled lines are misaligned or the print head position is misaligned, adjust the print head
position.
See
Aligning the Print Head
.
Page 45 of 468 pagesReplacing an Ink Tank